The invisible rot behind the escutcheon plate
I spent three days grinding concrete on a job last month just so the floor wouldn’t click like a castanet. Most guys skip the leveling compound and they definitely skip the moisture check behind the walls. I walked into this particular master bath and the smell hit me immediately. It was that sharp, metallic scent of wet cement board and the damp, earthy odor of rotting wood. The homeowner thought they just had a loose handle. In reality, the shower handle was leaking through the wall plate and feeding a slow rot into the subfloor joists. Water had migrated three feet out from the shower pan, wicking up into the drywall and turning the baseboards into mush. It is never just a leak. It is a structural engineering failure that begins at the molecular level.
The silent failure of the internal cartridge
A shower handle leak through the wall plate usually stems from a failed valve cartridge, deteriorated O-rings, or inadequate silicone sealant behind the escutcheon. Water bypasses the moisture barrier, saturating the cement board and eventually rotting the subfloor or baseboards located outside the shower enclosure. Addressing this requires cartridge replacement and silicone application to prevent mold growth and structural decay.
When you turn that handle, a plastic or brass cartridge rotates within the valve body to mix hot and cold water. Over time, calcium and magnesium deposits from hard water create an abrasive surface. This friction tears the rubber O-rings at a microscopic level. Once the seal is compromised, water under forty to sixty pounds of pressure escapes the valve body. It does not always drip into the tub. Often, it follows the copper pipe back toward the wall cavity. This is gravity and surface tension working against your home. The water clings to the pipe, bypasses the tile, and begins its work on your framing. If you are seeing moisture on the floor outside the shower, your chic baseboard designs that transform rooms in 2025 are likely already absorbing that water. Wood is a sponge. Plywood subfloors use urea-formaldehyde or phenol-formaldehyde resins to bond wood veneers. Constant moisture breaks these chemical bonds, leading to delamination. Your floor becomes soft, the tile grout cracks, and the structural integrity vanishes.
“Waterproofing membranes must be continuous and integrated with the plumbing fixtures to prevent moisture migration into the building substrate.” – Master Flooring Axiom
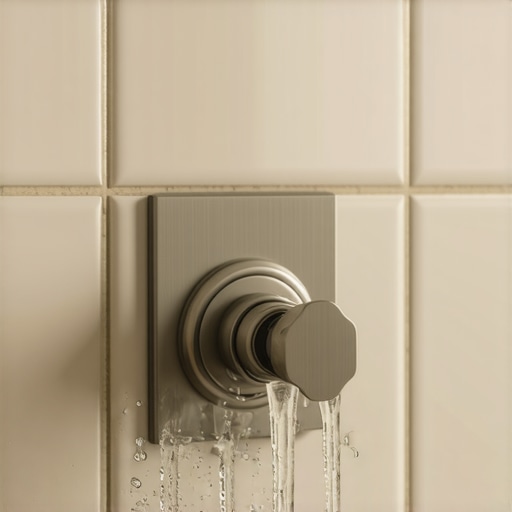
The physics of the weeping hole
Many installers fail to understand the role of the weep hole in the escutcheon plate. The escutcheon is that decorative metal disc behind your shower handle. It is designed to keep water out, but it also must let water out if it gets in. If you caulk the entire circle of the plate, you trap moisture inside the wall. Professional installers leave a small gap at the six o’clock position. This allows any water that sneaks behind the plate to drain back into the shower pan rather than soaking into the wall. I have seen countless DIY jobs where the homeowner used a whole tube of silicone to seal the plate. They thought they were being thorough. They actually built a tiny dam that funneled water directly into their wall studs. This moisture then travels down to the subfloor. If you have a concrete slab, the water will find the pores in the concrete and cause the adhesive under your floor to emulsify. If you have a wood subfloor, the joists will eventually bow under the weight of the wet material. This is why grout restoration secrets for long lasting results always include a check for substrate stability. You cannot fix grout if the wood beneath it is moving like a trampoline.
The chemical bond of modern sealants
The chemistry of the seal is what stands between your bathroom and a five thousand dollar repair bill. Silicone is a polymer that remains flexible, but it is not permanent. Most cheap silicones use an acetoxy cure system that releases acetic acid as it hardens. This is the vinegar smell you notice. High-end installers prefer neutral cure silicones for tile and metal because they have better adhesion to porous surfaces and do not corrode the brass valve components. When the seal around the handle fails, it is usually because the surface was not cleaned with denatured alcohol before application. Soap scum and body oils prevent the silicone from forming a molecular bond with the tile. Water then uses capillary action to pull itself behind the plate. Once inside, it attacks the tile backing. If you are using old-school greenboard instead of a modern cementitious backer unit or a waterproof membrane like Kerdi, the gypsum core will turn to oatmeal within weeks. This is why showers with a style must prioritize the wet-zone architecture over the aesthetics of the tile itself.
| Component | Failure Mode | Repair Priority |
|---|---|---|
| Valve Cartridge | Mineral Scaling | High |
| Escutcheon Gasket | Compression Set | Medium |
| Silicone Seal | Adhesion Failure | High |
| Pipe Joint | Pinhole Corrosion | Critical |
The tragedy of the unsealed grout line
Water is a persistent enemy. It does not just come through the handle hole. It moves through the grout. Grout is naturally porous. It is a mixture of portland cement and sand. Without a high-quality sealer, grout acts like a wick. If your shower handle is leaking, the water saturates the area behind the tile, and the grout becomes the exit point. You might see white crusty deposits, known as efflorescence, forming around the handle. This is the water carrying minerals from the mortar bed and depositing them on the surface as it evaporates. If you ignore this, the water will eventually reach the baseboards in the adjacent room. I recommend checking out baseboards makeover ideas to elevate your space once you have the leak contained, because you will likely need to replace the moldy ones. Do not just paint over them. Mold spores like Stachybotrys chartarum thrive in the paper backing of drywall and the cellulose of wood trim once they stay wet for more than forty eight hours.
The structural checklist for a dry wall cavity
- Check the cartridge for lime buildup and replace if rotation is stiff.
- Inspect the foam gasket on the back of the wall plate for degradation.
- Apply neutral cure silicone around the top three quarters of the escutcheon.
- Verify that the shower arm flange is also sealed against the tile.
- Monitor the baseboards on the opposite side of the wall for swelling or discoloration.
- Test the moisture levels in the subfloor using a pin-type meter if a leak is suspected.
The reality of bathroom maintenance is that the components you cannot see are the most important. A beautiful tile job is just a mask for the engineering underneath. When the handle starts to drip, you are not just losing water. You are losing the structural integrity of your home. Use tile cleaning tips for a sparkling bathroom in 2025 to keep the surface clear, but always keep an eye on that wall plate. If it moves when you turn the handle, the seal is broken. If the grout around it is dark, water is trapped. Fix it now, or prepare to replace your entire subfloor later. High-quality eco-friendly tile solutions for sustainable homes in 2025 depend on a dry, stable environment to last for the decades they are designed for.
“A floor is only as good as the subfloor beneath it; deflection is the enemy of every joint.” – Master Flooring Axiom