
The ghost in the expansion gap
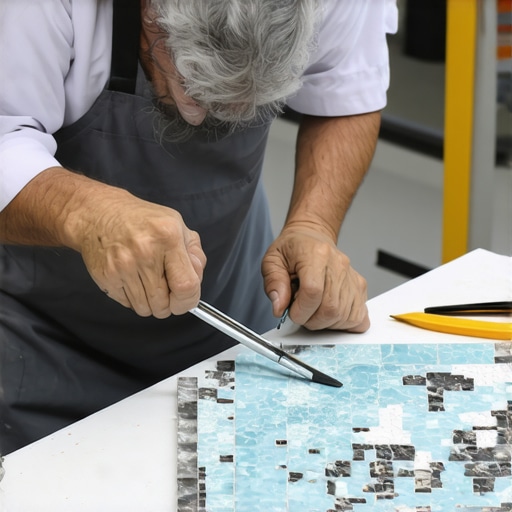
Cutting glass mosaic tiles requires diamond-rimmed blades and a light touch to prevent fractures and edge chipping. I once walked into a project where a homeowner tried to install a custom glass backsplash in one of their showers using a standard ceramic snapper. They lost nearly four hundred dollars in material within the first hour because the glass didn’t just cut, it exploded into jagged shards. Glass is an amorphous solid. It does not have a crystalline structure like stone. When you apply pressure, the energy travels through the material in unpredictable ways unless you create a controlled fault line. Most guys skip the leveling compound on the wall. They think the thin-set will hide the dip. It won’t. I spent three days grinding down a substrate last month just so the glass wouldn’t crack when the grout dried and pulled it tight. Precision starts with the subfloor and the wall prep, not the saw. If your wall is bowed, your glass will eventually stress-crack. It is a mathematical certainty. You must treat these tiles like laboratory equipment rather than construction debris.
The physics of a clean break
Scoring glass tile creates a localized stress point that directs a fracture along a predetermined path. When you use a manual glass cutter, you are not actually cutting the material. You are creating a microscopic fissure. The wheel, usually made of tungsten carbide, displaces the surface molecules. This is why the speed and pressure of your score are so vital. If you press too hard, you create micro-fractures that branch out sideways. This results in a jagged edge that even the best grout cannot hide. Professional installers often prefer a wet saw with a specialized glass blade. These blades do not have teeth. They are continuous rim blades impregnated with a very high grit diamond dust. The water acts as both a lubricant and a coolant. Without it, the heat from the friction would expand the glass faster than the surrounding area can handle, leading to a thermal shock crack. This is the same reason you cannot use a wood saw or a standard masonry blade. The vibration alone would vibrate the mosaic right off its mesh backing.
“A floor is only as good as the subfloor beneath it; deflection is the enemy of every joint.” – Master Flooring Axiom
Why your wet saw is your worst enemy
Excessive vibration and improper blade RPM are the primary causes of shattered glass tiles during the cutting process. Most budget saws have a slight wobble in the arbor. That wobble is magnified at three thousand rotations per minute. When that vibrating blade hits the edge of a glass tile, it acts like a hammer. You need a saw with a high-quality motor and a perfectly true spindle. I always tell my apprentices to check the pump first. If the water flow is restricted, the blade gets hot. A hot blade binds. A binding blade ruins a fifty-dollar sheet of mosaic in three seconds. You also have to consider the mesh backing. Sometimes the adhesive holding the glass to the mesh reacts with the water, making the tiles slide around while you are trying to cut them. I use a piece of rigid foam board as a sacrificial backer. It supports the glass and keeps the individual pieces from falling into the reservoir tray after the cut is complete. This keeps your fingers away from the spinning diamond rim and ensures the final quarter-inch of the cut doesn’t snap off prematurely.
The structural reality of glass adhesives
Choosing the correct thin-set mortar is vital because glass tiles are translucent and show every air bubble or trowel mark behind them. You cannot use standard gray mortar. It will look like mud behind your beautiful showers with a style. You need a bright white, polymer-modified thin-set specifically rated for glass. The chemistry of the bond is different here. Unlike ceramic, which is porous and sucks the moisture out of the mortar to create a mechanical lock, glass is non-porous. The bond is almost entirely chemical. This means your cure times are longer. In high-humidity regions like the coastal South, that moisture can stay trapped behind the glass for days. If you grout too early, you trap that vapor. The vapor then tries to escape, causing the grout to discolor or even push the tile off the wall. This is a common failure point that many “weekend warriors” overlook. They want the tile cleaning tips before they even have a solid bond. You have to wait. Patience is a structural requirement.
| Tool Type | Ideal Use Case | Risk Level | Edge Quality |
|---|---|---|---|
| Manual Scorer | Straight cuts on thin glass | Low | Sharp/Clean |
| Wet Saw (Diamond) | Intricate shapes and thick glass | Medium | Smooth/Factory |
| Glass Nippers | Small adjustments and nipping | High | Rough/Jagged |
| Ring Saw | Circular or internal cutouts | Medium | Excellent |
The 1/8 inch that ruins everything
Expansion gaps at the perimeter of a glass installation prevent structural shifting from crushing the tiles. Buildings move. Foundation settling and thermal expansion are real forces. If you butt your glass tile tight against your baseboards or the corner of a shower, you are asking for a disaster. When the house shifts, even by a fraction of an inch, the pressure is transferred directly to the edge of the glass. Glass has high compressive strength but zero flexibility. It will buckle or shatter. I always leave a minimum of one-eighth of an inch gap at every change of plane. This gap should not be filled with hard grout. It must be filled with a high-grade 100 percent silicone caulk that matches the grout color. This allows the glass to float. It is a buffer zone. If you ignore this, you will eventually need to learn how to refresh grout without replacing it because the movement will crack the joints first, then the tiles.
- Always use a fresh diamond blade specifically labeled for glass.
- Tape the cut line with blue painter’s tape to reduce surface chipping.
- Run the wet saw at a slow, consistent feed rate to avoid binding.
- Smooth the cut edges with a diamond hand sanding pad before installation.
- Keep the water reservoir clean to prevent grit from scratching the tile face.
The chemistry of the final polish
Polishing the edges of cut glass is a mandatory step that separates a professional installation from a DIY failure. Even a perfect cut on a wet saw leaves a microscopic burr. This burr is sharp enough to cut skin and can catch the light in a way that looks unfinished. I use a sequence of diamond hand pads, starting at 120 grit and working up to 400 grit. It takes a few extra minutes per sheet, but the result is a factory edge. This is especially important near chic baseboard designs where the tile meets a different material. You want that transition to be perfect. If you are working on eco-friendly tile solutions, you might be using recycled glass, which can be even more brittle than standard silica-based glass. Recycled glass often has internal stresses from the manufacturing process. It requires even more delicate handling and a higher grit for the final polish. If you see a spark while cutting, your blade is dull or the glass is too hard. Stop immediately. Change the blade. The heat from a dull blade is a silent killer for glass mosaics.
“Grout is not a structural adhesive; it is a filler that must accommodate the movement of the substrate.” – TCNA Handbook Adaptation
The regional humidity factor
Environmental moisture levels dictate the success of the bond between glass and the substrate in bathroom environments. In areas with high ambient humidity, the drying process of the thin-set is significantly slowed down. Because glass does not breathe, the only way for the water in the mortar to evaporate is through the grout lines. If your grout lines are narrow, this takes even longer. I have seen jobs where the thin-set was still wet a week later because the installer used a non-breathable sealer too soon. This leads to grout restoration secrets being needed much earlier than they should be. You must ensure the room is dehumidified during the curing phase. This is why I prefer to work in a controlled environment whenever possible. If you are doing showers that wow, you need to ensure the waterproofing membrane behind the tile is also compatible with your glass adhesive. Not all membranes play nice with the polymers in glass-grade thin-set. Always check the manufacturer’s compatibility chart before you spread a single trowel of mud.