
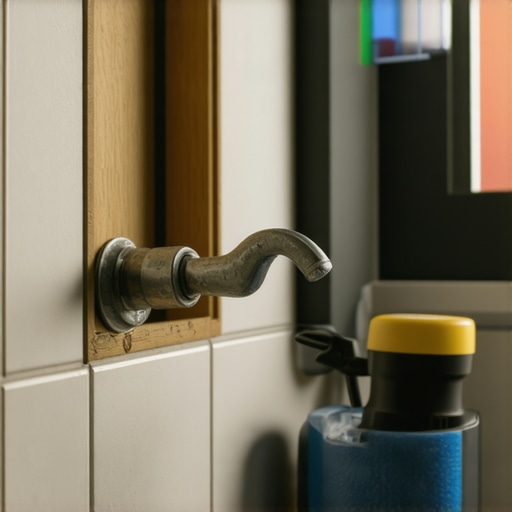
The ghost in the wall cavity
Fixing a leaky showerhead arm requires identifying the drop-ear elbow failure, removing the threaded pipe, and applying PTFE tape or pipe dope to the male threads. Most showers fail at the joint connection where the arm meets the internal plumbing, leading to water damage. I spent three days grinding concrete on a job last month just so the floor wouldn’t click like a castanet, and let me tell you, moisture is a patient killer. I once walked into a project where a client thought they had a simple grout issue, but the reality was a slow drip from the shower arm that had migrated down the wall studs, rotted the bottom plate, and turned the subfloor into a sponge. By the time I arrived, the tile was floating on a bed of mold. This is the reality of plumbing hidden behind your beautiful showers that wow. It is never just a drip. It is a structural threat. The physics of water dictates that it will follow the path of least resistance, often traveling down the back of the wallboard until it hits the floor assembly. If you ignore a leak inside the wall, you are effectively composting your house from the inside out.
The physics of the threaded seal
National Pipe Thread standards rely on a tapered fit where the threads compress against each other to create a mechanical seal. The 1/2 inch NPT connection on a shower arm usually features 14 threads per inch, and if these are not sealed with thread sealant, hydrostatic pressure will force water through the microscopic gaps. When you screw that chrome-plated arm into the brass elbow, you are engaging in a battle of metallurgy. Brass is softer than steel but harder than plastic. If you cross-thread that connection, you have just bought yourself a much bigger problem involving a reciprocating saw and a hole in your drywall. The leak usually happens because the original installer used a single wrap of cheap, thin tape or, worse, nothing at all. Vibration from the water flow, known as water hammer, can actually wiggle these connections loose over a decade. You need to understand that every time you turn the water on, the change in pressure causes a tiny physical expansion in the pipes. Over thousands of cycles, a weak joint will fail.
“A floor is only as good as the subfloor beneath it; deflection is the enemy of every joint.” – Master Flooring Axiom
The 1/8 inch that ruins everything
Structural movement and building settling can shift a showerhead arm by a fraction of an inch, causing stress fractures or loosened seals. If your tile grout is cracked around the escutcheon plate, that is a warning sign of excessive moisture. When I see cracked grout, I do not just think about aesthetics. I think about the capillary action pulling water into the wall cavity. This moisture then finds its way to your chic baseboard designs, causing them to swell and pull away from the wall. You might think the problem is the baseboard, but the culprit is ten feet higher, dripping behind the tile. I have seen LVP flooring buckle in a bedroom because a shower leak in the adjacent bathroom traveled along the plate line. The wear layer of your floor does not matter if the plywood subfloor is delaminating from a slow, hot water drip. You have to be a detective. You have to look for the mineral deposits or calcium buildup around the shower arm base.
| Sealant Type | Pressure Rating | Temperature Resistance | Best Use Case |
|---|---|---|---|
| White PTFE Tape | Standard | High | Residential shower arms |
| Yellow Gas Tape | High | Moderate | Heavy duty fittings |
| Pipe Dope (Paste) | Very High | Extreme | Permanent plumbing joints |
| Plumber’s Putty | Low | Low | Drain flanges only |
The chemistry of the drip
Anaerobic sealants and polytetrafluoroethylene tape work by filling the voids between male and female threads to prevent capillary leaks. The chemistry of a leak is often ignored until the mold starts growing. When water sits in a dark, unventilated wall cavity, it creates a micro-climate. The relative humidity inside that wall can hit 100 percent in minutes. This leads to the breakdown of the gypsum core in your wallboard. Even if you have cement board, the water will find the fasteners. Steel screws will rust. The rust expands. The expansion cracks the board. It is a domino effect that ends with your tile falling off the wall. This is why grout restoration secrets are only useful if the substrate is dry. You cannot fix a cosmetic problem if the structural core is rotting. I always tell my guys to smell the air when they pull a faceplate. If it smells like a damp basement, you have a leak inside the wall.
- Turn off the main water supply before attempting any internal thread removal.
- Use a pipe extractor tool if the shower arm has snapped off flush with the elbow.
- Apply at least five wraps of high-density PTFE tape in a clockwise direction.
- Inspect the drop-ear elbow for cracks in the brass casting.
- Test the connection under full pressure for 20 minutes before replacing the escutcheon.
- Seal the gap between the pipe and the tile with 100 percent silicone.
Why your subfloor is lying to you
Moisture meters can detect hidden leaks behind tile and baseboards even when the surface feels dry to the human hand. I have seen guys walk onto a job and say the floor is fine because it looks flat. Then they put a calcium chloride test down or a pin-less meter, and the numbers go off the charts. That water from the shower arm is sneaky. It does not always show up as a puddle. Sometimes it just increases the vapor emissions through the slab. If you are installing engineered hardwood, that extra moisture will cause the veneer to check or the adhesive to re-emulsify. You have to treat the shower as a containment vessel. If any part of that vessel is breached, the whole room is at risk. This includes your tile cleaning tips because no amount of scrubbing will fix a mold colony living behind the thin-set. Proper waterproofing like Schluter systems or liquid membranes can help, but they cannot stop a leak that starts behind the membrane at the pipe connection.
“Water is a universal solvent; given enough time, it will dissolve your mortgage and your peace of mind.” – Master Flooring Axiom
The final inspection
Verification of the seal involves pressure testing the shower arm and inspecting the wall cavity with a borescope or flashlight to ensure zero moisture bypass. Do not trust your eyes alone. Use a dry paper towel and wrap it around the joint after you have tightened it. Run the water. If that towel has even a damp spot the size of a pinhead, you are not done. You need to pull it apart and do it again. Use a combination of tape and dope if the threads feel loose. The tape provides the bulk and the dope provides the lubrication and secondary seal. This is how you ensure that your showers with a style stay functional for decades instead of months. When you finally slide that escutcheon plate back, do not just leave it. Caulk the top and sides but leave a tiny weep hole at the bottom. If the leak ever returns, the water will come out onto the tile where you can see it, rather than hiding in the wall and eating your house. This is the difference between a DIY hack and a master installation. Keep your tools clean, your threads sharp, and your subfloors dry. That is the only way to build something that lasts.