
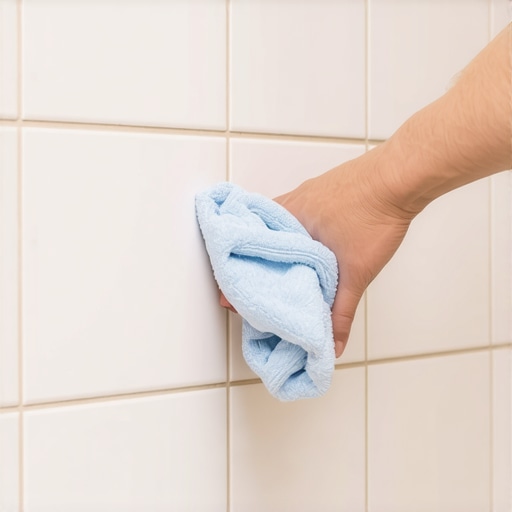
The ghost in the grout line
I once spent four nights in a high-end penthouse because a sub-contractor didn’t wash his buckets during an epoxy grout install. By the time I arrived, the $40 per square foot porcelain looked like it had been dipped in plastic wrap. The owner was ready to rip out the entire floor, which would have cost fifty thousand dollars. This is the reality of epoxy haze. It is not just a stain. It is a chemical bond. Most guys think they can just scrub it with a bit of vinegar or a standard floor cleaner. They are wrong. Epoxy is a two-part resin system that undergoes a chemical reaction called cross-linking. Once those polymers lock together, you are no longer dealing with a cement-based product that can be dissolved with mild acids. You are dealing with a hardened plastic shield that has fused to the surface of your tile. To win this battle, you have to understand the molecular structure of what you are fighting and use the right solvents to break that bond without destroying the glaze on your tile or the integrity of the grout joints. We are going to look at the exact physics of resin removal and the chemistry required to restore your surface.
The molecular lock of epoxy resin
To remove epoxy grout haze after it cures, you must use a specialized epoxy stripper containing benzyl alcohol or similar solvents to break the chemical bond between the resin and the tile. This requires a dwell time of 20 to 40 minutes followed by mechanical agitation using a white nylon scrub pad. Unlike traditional cement grout, epoxy grout, classified as RG by the Tile Council of North America, is waterproof and chemically resistant. This means standard water-based cleaning methods are useless once the material has reached its full cure state. The haze you see is a thin film of Part A resin and Part B hardener that wasn’t properly emulsified and wiped away during the initial installation window. This film fills the microscopic valleys in the tile surface, creating a dull, greasy, or cloudy appearance that traps dirt and makes the floor impossible to keep clean. If you are struggling with this in your showers that wow, you need to act before the resin reaches peak hardness, which typically occurs after seven days.
“The removal of epoxy grout residue must occur before the resin cross-links with the tile surface or mechanical scraping will be the only option.” – Master Flooring Axiom
Selecting the right chemical weapon
You cannot use just any cleaner for this job. You need a solvent that targets the epoxy polymers specifically. Many homeowners reach for muriatic acid or harsh bleach, but these will only damage your baseboards and do nothing to the epoxy. The most effective removers are often soy-based or benzyl alcohol-based strippers. These chemicals work by penetrating the film and softening the resin, essentially turning it back into a semi-liquid state that can be lifted. The dwell time is the most significant factor here. If you wipe it off too soon, the chemical hasn’t had time to break the molecular chains. If you leave it too long, the solvent may evaporate and allow the resin to re-bond to the tile. You are looking for that sweet spot where the haze becomes tacky and can be rolled off the surface. For those interested in eco-friendly tile solutions, there are now citrus-based strippers that perform reasonably well on lighter haze, though they often require double the dwell time of their more aggressive counterparts.
| Stripper Type | Active Ingredient | Dwell Time | Surface Safety |
|---|---|---|---|
| Heavy Duty Solvent | Benzyl Alcohol | 15 to 30 mins | Ceramic and Porcelain |
| Eco-Friendly Gel | Soy or Citrus Base | 60 to 90 mins | Most Natural Stone |
| Heat Method | Thermal Energy | Instant | Heat-Resistant Tile |
| Abrasive Cream | Calcium Carbonate | 5 to 10 mins | Glazed Tiles Only |
The heat gun method for stubborn spots
When chemicals alone won’t budge the residue, I turn to thermodynamics. Most epoxy resins have a heat deflection temperature. When you apply focused heat using a professional heat gun, the resin softens and loses its grip on the tile. This is a delicate process. If you get the tile too hot, you risk thermal shock, which can crack the porcelain or cause the tile to de-bond from the thin-set. You want to move the heat gun in a constant motion, never staying in one spot for more than a few seconds. Once the haze starts to bubble or soften, you immediately hit it with a plastic scraper. Do not use metal scrapers. Metal will leave gray marks on your tile that are even harder to remove than the grout haze. This technique is especially useful in corners and around chic baseboard designs where liquid strippers might run and damage the paint or wood finish.
Mechanical agitation and the white pad rule
Never use green or black scrub pads on a tile surface to remove epoxy haze. Those pads contain abrasive minerals that are harder than the glaze on many ceramic tiles. You will end up with a clean floor that is covered in permanent scratches. Always use white nylon pads. They provide enough friction to lift the softened resin without biting into the tile itself. The process should be a cycle of applying the chemical, waiting, scrubbing, and then neutralizing. Neutralizing is a step most people skip. After you use a heavy solvent, there is still a microscopic layer of chemical residue on the floor. You need to wash the area with a high-pH cleaner or a dedicated grout soap to ensure the surface is truly clean. This is part of the tile cleaning tips that professionals use to ensure a streak-free finish.
“Proper cleanup of epoxy grout is a three-step process involving specific emulsifiers to break the surface tension of the resin.” – Master Flooring Axiom
The 1/8 inch that ruins everything
Precision is everything in tile work. If you have a haze problem, it is often because the installer tried to work too large of an area at once. Epoxy grout has a very short open time. In a warm room, you might only have 20 minutes before it starts to set. If you are working on a large floor, the first area you grouted is already curing by the time you finish the second area. This is why we work in small sections. If you find that your grout lines are also looking uneven, you might need to look into grout restoration secrets to fix the aesthetics after the haze is gone. Remember that removing haze can sometimes pull a little bit of color from the top of the grout joint if you are too aggressive with the chemicals. You have to be surgical. Use a small brush to apply the stripper only to the tile faces, avoiding the actual joints as much as possible.
- Always wear heavy-duty nitrile gloves to protect your skin from solvents.
- Ensure the room has high-CFM ventilation to exhaust VOC vapors.
- Test the stripper on a spare tile or a hidden closet corner first.
- Work in sections no larger than four square feet at a time.
- Keep a bucket of clean water and a fresh sponge for the final rinse.
Protecting the surface after restoration
Once you have successfully removed the haze, the tile should have its original luster back. If the tile feels sticky or looks dull again after a few days, it means you didn’t fully neutralize the stripper. Go back and wash it with a dedicated tile soap. For those with showers with a style, this is the perfect time to evaluate if your grout joints need a sealer, though epoxy grout itself is technically non-porous. If you had to use a lot of mechanical force, check the edges of your tiles for any micro-chipping. If you find any issues, you might want to look at how to refresh grout without replacing it to touch up those specific spots. A clean, haze-free floor is the foundation of a professional-looking home, and while removing cured epoxy is a nightmare, it is a solvable problem with the right chemistry and a lot of patience.