
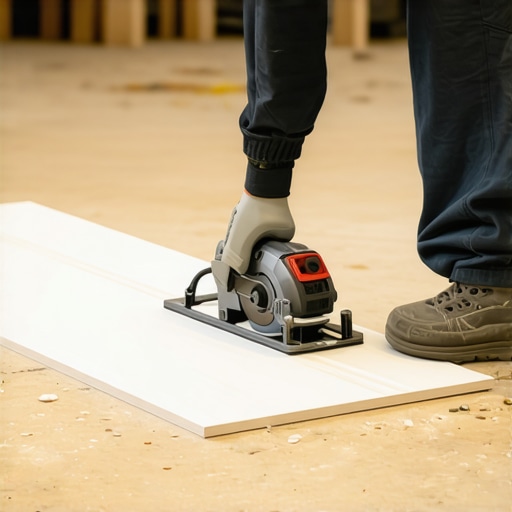
Most guys skip the leveling compound. They think the underlayment will hide the dip. It won’t. I spent three days grinding concrete on a job last month just so the floor wouldn’t click like a castanet. That same philosophy applies to baseboards. If the floor is a mess, your trim will be a nightmare. You can have the sharpest blade in the tri-state area, but if you’re pinning PVC trim to a wall that looks like a bag of pretzels, you’re going to have gaps you could park a truck in. Achieving a tight fit with PVC baseboards requires a combination of geometric precision, high-speed friction management, and an understanding of cellular expansion. This guide breaks down the structural engineering of a perfect miter.
The subfloor secret that ruins your trim
Subfloor levelness is the primary factor that determines whether your baseboard miters will stay closed over time. If a subfloor has a dip, the baseboard will follow that curve, causing the top of the miter joint to pull apart. This is especially true with PVC baseboards, which are more flexible than solid oak but less forgiving than thin pine. You must ensure the transition between your tile and the wall is flat within 1/8 inch over 10 feet. If it is not, you are fighting a losing battle against physics. Before you even touch your saw, you need to check the floor with a 6-foot level. If you find a valley, you have two choices. You can either shim the baseboard or address the floor. Shimming is the hack way. Grinding the high spots or filling the lows is the professional way. For those working with showers and bathroom environments, the floor level is even more critical due to the drainage slopes required by code.
The molecular reality of cellular PVC
Cellular PVC is a synthetic material made of polyvinyl chloride that has been expanded to create a wood-like density while remaining 100 percent waterproof. Unlike wood, it does not have a grain structure, which means it will not split when you nail near the edge. However, it is highly sensitive to thermal expansion. While wood moves with moisture, PVC moves with temperature. If you install your trim in a cold room, it will expand when the sun hits it. This is why a tight fit in December might become a buckled mess in July. You must acclimate the material to the room temperature for at least 24 hours. The molecular structure of PVC also reacts differently to saw blades. High-speed steel creates heat. Heat melts the plastic. If you use a standard 24-tooth framing blade, you will end up with a melted, jagged edge that will never form a tight joint. You need a dedicated 80-tooth carbide-tipped blade to achieve a surgical cut.
“A floor is only as good as the subfloor beneath it; deflection is the enemy of every joint.” – Master Flooring Axiom
The geometry of the imperfect corner
Wall corners are almost never a perfect 90 degrees due to the buildup of drywall mud and tape at the inside angles. If you cut two boards at exactly 45 degrees, the joint will usually be open at the front because the corner is actually 91 or 92 degrees. You must use an angle protractor to measure the actual angle of the wall. Do not guess. If the wall is 91 degrees, you set your saw to 45.5 degrees. This is the difference between a master-grade installation and a DIY disaster. In wet areas where grout lines meet the wall, this precision is even more vital. You want the baseboard to sit tight against the tile without leaving a cavernous gap that requires a gallon of caulk to hide. If you are looking for inspiration on how to integrate these elements, check out these chic baseboard designs that transform rooms in 2025 for modern ideas on profile selection.
The blade mechanics for surgical cuts
Saw blade selection for cutting PVC trim requires a high tooth count and a negative hook angle to prevent the blade from grabbing the material. A 10-inch or 12-inch miter saw equipped with an 80-tooth carbide blade is the industry standard. When you make the cut, do not slam the saw down. Let the blade reach full RPM before engaging the material. Bring the blade through the PVC in a slow, steady motion. If you see smoke or the smell of burning plastic, your feed rate is too slow or your blade is dull. A clean cut in PVC should look like it was polished. If there are burrs on the edge, use a fine-grit sanding block to remove them. This ensures that when the two pieces of the miter meet, there is no debris preventing a molecularly tight bond. For those who want to see how these clean lines complement a fresh floor, learning about grout restoration secrets for long-lasting results can help tie the whole room together.
| Material Type | Expansion Trigger | Best Blade Tooth Count | Water Resistance |
|---|---|---|---|
| Cellular PVC | Temperature | 80-100 Tooth | 100% Waterproof |
| Solid White Oak | Humidity | 60-80 Tooth | Low |
| MDF Trim | Humidity | 60-80 Tooth | Zero |
| Finger-Jointed Pine | Humidity/Temp | 40-60 Tooth | Moderate |
The back beveling technique for professional results
Back beveling is the process of cutting the miter at a slight inward angle, usually 1 to 2 degrees, to ensure the front edges of the trim meet first. This is a secret used by high-end finish carpenters to hide the slight imperfections of a wall. By back-beveling, you create a sharp point at the visible edge of the baseboard. This allows the front of the joint to close tightly even if the wall is slightly bowed. When you apply PVC cement or a 2-part cyanoacrylate glue to the joint, the back-bevel provides a small cavity for the excess glue to reside without squeezing out the front. This technique is especially useful when transitioning from a standard room into showers or bathrooms where the baseboards must meet tile surfaces at a clean 90-degree vertical. If you are planning a bathroom update, explore showers that wow modern designs for 2025 to see how trim interacts with glass and stone.
Managing the expansion and contraction gap
Expansion gaps are the most misunderstood part of flooring and trim installation. Most people think you should jam the baseboard tight against the floor. In reality, you need to leave a microscopic gap, often the thickness of a business card, if you are using a floating floor. For the miters themselves, use a PVC glue that chemically welds the two pieces together. This creates a single continuous piece of plastic around the corner. If you do not glue the miters, they will inevitably open up as the house settles and the temperature fluctuates. This is why many pros are moving away from wood in bathrooms. Wood rots. PVC does not. If you are doing a baseboards makeover, consider the long-term durability of synthetic materials in high-moisture zones.
- Acclimate PVC trim for 24 hours in the destination room.
- Use an 80-tooth carbide blade for all cuts.
- Measure the actual wall angle with a protractor.
- Back-bevel the miters by 1-2 degrees.
- Apply a 2-part instant bond glue to every miter joint.
- Nail into the wall studs, not just the drywall.
The interaction of baseboards and tile in wet environments
Tile floors and showers present a unique challenge for baseboard installation because the floor is rigid while the walls may shift. In a bathroom, you must seal the bottom of the PVC baseboard with a high-quality silicone caulk to prevent water from seeping under the wall. This is a common failure point that leads to mold. Unlike wood, PVC won’t soak up the water, but the drywall behind it will. Ensuring your grout is properly sealed is the first step. You can find more on this in our guide on tile cleaning tips for a sparkling bathroom. When the baseboard meets a shower curb, the miter must be perfect. Any gap here will be highlighted by the contrast between the white trim and the dark grout or tile. If your grout is looking dingy, look into how to refresh grout without replacing it to elevate the entire look of the baseboard project.
“Deflection in the subfloor is the primary cause of miter failure in modern residential construction.” – TCNA Technical Bulletin
The final finish and maintenance protocol
Finishing PVC baseboards is different than wood because the material does not take stain. You must use a high-quality 100 percent acrylic latex paint if you choose to paint it. However, many people leave it white. If you leave it white, you must use a non-yellowing white caulk for the nail holes. Over time, the static charge of the plastic can attract dust. A simple wipe down with a damp cloth is all that is needed. For those interested in sustainable building, there are eco-friendly tile solutions for sustainable homes that pair beautifully with long-lasting PVC trim. By following these structural steps, you ensure that your baseboards remain a permanent part of the home architecture rather than a temporary cosmetic fix. If you have specific questions about your project, you can always contact us for expert advice on flooring and trim integration.