
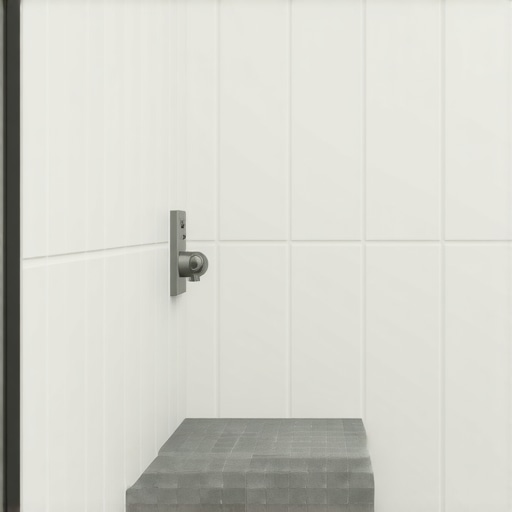
I spent three days grinding concrete on a job last month just so the floor wouldn’t click like a castanet, and that same level of obsession is what you need for a floating bench. Most guys think they can just slap some lumber against a wall and call it a day. I once walked into a luxury remodel where a heavy stone bench had literally sheared the studs because the installer used deck screws instead of structural lags. The homeowner was lucky nobody was sitting on it when it dropped. A floating bench is a structural engineering challenge that happens to be covered in pretty tile. If you do not respect the physics of leverage and the chemistry of waterproofing, you are building a liability, not a seat. Success starts with the framing, not the grout.
The structural anatomy of a cantilever
Floating shower bench installation requires structural blocking, heavy duty steel brackets, and moisture resistant substrates to ensure weight capacity and long term durability. You are creating a cantilevered surface that must withstand several hundred pounds of live load plus the dead weight of the tile and mortar. This requires direct attachment to the wall studs, often involving reinforcing the internal framing with doubled-up 2×6 members. The physics of a floating seat mean that the further the bench protrudes from the wall, the greater the force exerted on the mounting points. It is not just about the downward pressure; it is about the rotational torque that wants to pull the top of the bracket out of the wood. We use 1/4 inch thick cold-rolled steel brackets specifically designed for this application. Anything less is a gamble you will eventually lose. We are talking about a shear force that can easily exceed the holding power of standard fasteners.
“A floor is only as good as the subfloor beneath it; deflection is the enemy of every joint.” – Master Flooring Axiom
The ghost in the expansion gap
Subfloor preparation and wall stud alignment are the foundations of waterproof shower systems and tile adhesion. If your studs are not perfectly plumb and square, your bench will be crooked before you even mix the thin-set. I use a six-foot level to check for any bowing in the lumber. If I find a dip, I sister a new stud or plane the existing one down. You cannot hide a half-inch discrepancy with tile. The expansion gap is another area where installers fail. Wood expands and contracts at a different rate than tile and stone. If you lock your bench tight against a corner without allowing for a fraction of movement, the grout will crack within six months. This is why we use 100 percent silicone at all change-of-plane joints. It is flexible, unlike cementitious grout which is brittle and unforgiving. You want to look at showers with a style trendy ideas for small bathrooms to see how these benches integrate into tight spaces, but never sacrifice the gap for the look.
Why your subfloor is lying to you
Moisture vapor transmission and subfloor deflection will compromise thin-set mortar bonds and lead to tiled bench failure. Even if the bench is rock solid, if the floor it sits above is flexing, the entire shower enclosure is at risk. I have seen guys install benches in showers where the subfloor was 3/4 inch plywood with joists spaced at 24 inches on center. That is a recipe for disaster. The TCNA (Tile Council of North America) is clear about deflection limits. For natural stone, you need a L/720 rating. If you are sitting on that bench and the floor moves even a hair, the waterproof membrane can tear. I always verify the subfloor thickness and joist span before I ever touch a hammer to the wall. If I see any bounce, I am adding a layer of 1/2 inch cement board or better yet, a second layer of plywood glued and screwed to the first. We are building for decades, not for the next two years.
The chemistry of modern thin-set
Modified thin-set mortar uses polymer additives to create a chemical bond that is far superior to standard unmodified Portland cement. When you are sticking heavy porcelain or large format tile to a vertical bench face, you need sag resistance. I look for mortars that meet or exceed ANSI A118.15 standards. This is the heavy-duty stuff. The polymers in the mix allow the mortar to remain slightly flexible, which is vital in a shower where temperature swings cause materials to expand. When you pour hot water on a cold tile bench, that material is moving. If your thin-set is too rigid, the bond will snap. I always back-butter every tile on a bench. I want 100 percent coverage. No air pockets. Air pockets collect moisture, and moisture leads to mold and bond failure. If you are interested in keeping it clean after the fact, check out these tile cleaning tips for a sparkling bathroom in 2025 to maintain that chemical integrity.
| Material Type | Janka Hardness / Strength | Acclimation Time | Recommended Use |
|---|---|---|---|
| Pressure Treated Studs | N/A (Structural) | 72 Hours | Internal Framing Only |
| Cold-Rolled Steel | Extreme Shear Strength | None | Support Brackets |
| Porcelain Tile | High Density | 24 Hours | Surface Finish |
| Natural Quartzite | Very High Janka | 48 Hours | Bench Top Slab |
Waterproofing is not a suggestion
Liquid waterproofing membranes and sheet membranes like Schluter Kerdi are the only things preventing rot and mold inside your shower bench framing. I have seen too many benches built out of 2x4s and covered in greenboard. That is a death sentence for a house. Water will find a way through the grout, through the thin-set, and into the wood. Once the wood gets wet, it swells. When it swells, it pushes the tile off the wall. I wrap my benches in a continuous sheet membrane. Every corner gets a pre-formed inside or outside corner piece. I do not trust myself to fold a flat sheet into a corner and get a perfect seal. It is a few extra bucks for the pre-formed parts, but it is cheap insurance against a $20,000 mold remediation bill. After the waterproofing is cured, I flood test the area if possible. If it does not hold water, it does not get tile.
- Double the studs where the brackets will be bolted.
- Use 3/8 inch stainless steel lag bolts with washers.
- Apply a bead of sealant to the bolt holes before driving them in.
- Ensure the bench top has a 1/4 inch per foot slope toward the drain.
- Never use drywall screws for any structural component.
The final grout line and aesthetic transition
Grout color matching and epoxy grout applications ensure a stain resistant finish and structural cohesion in modern shower designs. The transition from the bench to the wall is the most critical aesthetic point. I prefer to use a solid slab for the top of the bench to minimize grout lines where water sits. If you use tile, you need to be surgical with your layout. The lines must line up with the floor and the walls. It is a puzzle that requires planning. I also pay close attention to where the tile meets the floor or the wall base. In some high end designs, we integrate the look with baseboards makeover ideas to elevate your space to create a unified bathroom aesthetic. If you have old grout that is failing around a bench, you should look into grout restoration secrets for long lasting results. But for a new build, epoxy is the king. It is waterproof, stain-proof, and practically indestructible. It is harder to work with, but the result is a bench that looks new ten years from now. While most people want the thickest underlayment or the most cushion, in a shower, you want zero compression. Any movement is a failure point.