
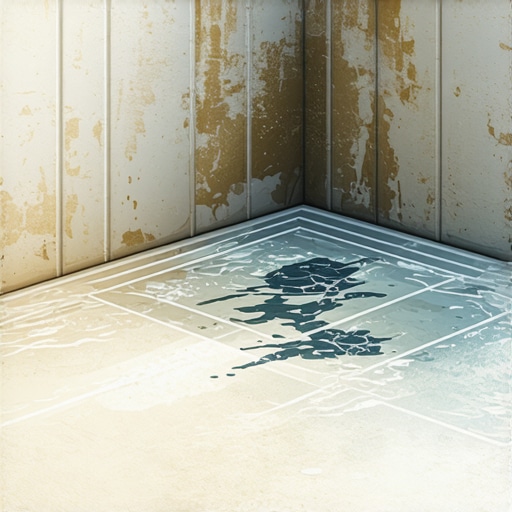
The betrayal of the folded corner
A leaking shower pan corner usually stems from improper membrane folding or a lack of pre-formed corner reinforcements. When installers fold heavy 40 mil PVC liners without proper adhesive or dam corners, they create a site where water pressure and capillary action force moisture through the fold. I spent four hours yesterday troubleshooting a leak where the installer folded the PVC liner like a cheap burrito instead of using pre-formed corners. It was a disaster. The subfloor was a sponge. This is a common failure point in modern residential construction. The installer thinks they can just tuck the excess material. They are wrong. Physics does not care about your schedule. Water finds the path of least resistance. In a shower, that path is almost always the corner where the vertical wall meets the horizontal curb. If the liner is not sealed with Oatey X-15 or a similar solvent weld, that fold is just a slow-motion flood waiting to happen. Most guys skip the leveling compound. They think the underlayment will hide the dip. It won’t. The moisture will pool in the low spots and eventually find a way out. I have seen thousand-dollar tile jobs ruined because someone saved twenty bucks on a pre-molded corner bit. This is not about aesthetics. This is about structural engineering. If you do not respect the membrane, the membrane will not respect your house.
“A floor is only as good as the subfloor beneath it; deflection is the enemy of every joint.” – Master Flooring Axiom
The physics of the pre slope
A pre slope is a mandatory mortar layer installed beneath the waterproof liner to ensure that any water reaching the membrane migrates toward the weep holes. Without this 1/4 inch per foot pitch, water sits stagnant on the flat subfloor, eventually rotting the wooden joists and causing liner failure. Most people assume the liner goes flat on the plywood. That is a rookie mistake that leads to a stinking shower. When water penetrates the tile and grout, it hits the liner. If that liner is flat, the water stays there. It becomes a petri dish of bacteria. Eventually, the hydrostatic pressure or simple capillary action pushes that water into the corner folds. Once it reaches the wood, you are done. I have torn out pans where the plywood was so soft you could poke a finger through it. The smell is something you never forget. It smells like failure and wasted money. You need a dry pack of sand and Portland cement. You screed it to a perfect pitch. Only then do you lay your liner. This ensures that every drop of water that makes it past the tile find its way to the drain. This is the difference between a shower that lasts five years and one that lasts fifty. Modern showers that wow are built on these invisible foundations.
The silent failure of weep holes
Weep holes are small openings in the middle flange of a three piece shower drain that allow moisture from the mortar bed to exit into the plumbing. If these holes are clogged with thin set or mortar during installation, the pan becomes a saturated pond that eventually leaks at the perimeter. It is a tiny detail. It ruins everything. I always tell the kids on the job site to put a little bit of pea gravel around the drain base. This keeps the mud from plugging the holes. If those holes are blocked, the water has nowhere to go. It builds up. It saturates the entire mud bed. Then it starts looking for a way out. Usually, it finds the transition between the shower and the bathroom floor. You will see the baseboards starting to swell or discolor. That is not a cleaning issue. That is a structural failure. People try to fix it by putting more caulk on the tile. That is like putting a band-aid on a gunshot wound. The water is already under the tile. It is under the grout. You cannot stop it from the top. You have to manage it from the bottom. This is the reality of the wet-area physics. You must respect the drainage path or the house will pay the price.
| Material Type | Mil Thickness | Chemical Resistance | Installation Difficulty |
|---|---|---|---|
| PVC Liner | 40 mil | Moderate | High (Requires Folds) |
| CPE Liner | 40 mil | High | Medium |
| Liquid Membrane | 20-30 mil | Very High | Low (Brush/Roll) |
The chemistry of the clamping ring
The clamping ring is the mechanical component that locks the waterproof liner to the drain body using stainless steel bolts. Failure occurs when the liner is not properly centered, the bolts are under-torqued, or the sealant between the liner and the lower flange is omitted. I see this all the time. Someone forgets the silicone. Or they use the wrong kind. You need a 100 percent silicone sealant between the bottom flange and the liner. Not caulk. Not grout. Silicone. When you tighten those bolts, you are creating a gasket seal. If you over-tighten, you snap the plastic flange. If you under-tighten, the water slips right through the bolt holes. It is a balancing act. You need to feel the resistance. It is like torquing a cylinder head on an engine. You do it in a cross pattern. You ensure even pressure. If that seal fails, the corners are the first place you will see the moisture migration because of how the liner bunches at the walls.
“Waterproof membranes must be continuous and integrated with the drainage system to prevent moisture intrusion into the substrate.” – TCNA Handbook Standards
A checklist for a leak proof shower
- Verify the pre slope is exactly 1/4 inch per foot toward the drain.
- Apply 100 percent silicone sealant between the liner and the drain flange.
- Use pre-formed outside dam corners for the shower curb transition.
- Perform a 24 hour flood test before any tile is installed.
- Ensure the liner extends at least 3 inches above the finished curb height.
- Protect weep holes with pea gravel or a dedicated plastic spacer.
The ghost in the expansion gap
Expansion gaps at the perimeter of a shower floor allow for the natural movement of the house frame without cracking the grout or stressing the waterproof liner. When these gaps are filled with rigid mortar instead of flexible sealant, the stress is transferred directly to the liner corners. Houses move. They breathe. They expand and contract with the seasons. If you pack the corners tight with tile and grout, something has to give. Usually, it is the liner. The movement can actually tear a PVC liner if it is pinned too tightly by the mud bed. This is why we use 100 percent silicone in the change of plane. It is flexible. It handles the movement. If you see your grout cracking in the corners, that is a warning sign. It means the structure is moving and the materials cannot keep up. Check your tile cleaning habits, but more importantly, check the integrity of those joints. A cracked corner is an open door for moisture. Once that door is open, the clock starts ticking on your subfloor. Use the right materials. Do not take shortcuts. A floor is a performance surface. Treat it like one. If you have questions about specific materials, you should contact us for professional guidance before you start demolition. Preventing a leak is ten times cheaper than fixing one. This is the truth of the trade. Stick to the standards. Follow the NWFA and TCNA guidelines. Your house will thank you. Your wallet will thank you. Do not be the guy who thinks he knows better than the physics of water. “