
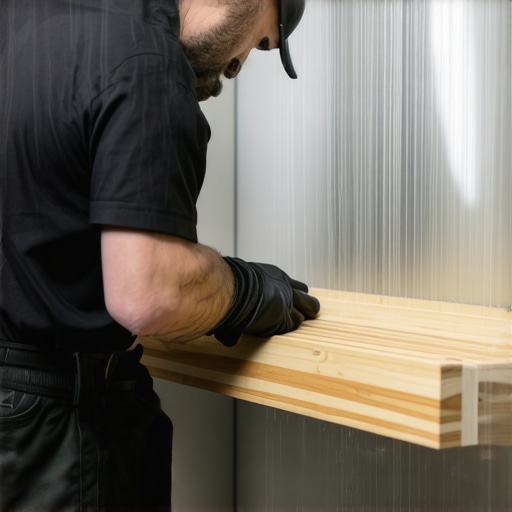
The subfloor secret that ruins your drainage
Most guys skip the leveling compound. They think the underlayment will hide the dip. It won’t. I spent three days grinding concrete on a job last month just so the floor wouldn’t click like a castanet. When you are building a shower bench, that same negligence leads to a pool of water that rots your studs in six months. A shower bench must be treated as a structural extension of the subfloor and wall assembly, requiring a precise 1/4 inch per foot slope toward the drain and a complete moisture barrier. If the foundation is off by even a fraction of an inch, gravity will pull water into the corner instead of away from it. Water is a patient enemy. It will find the smallest pinhole in your waterproofing and settle there. I have seen 2x4s turned into mush because an installer forgot to wrap the bench corners properly. You cannot trust a builder grade approach here. You need to understand the physics of hydrostatic pressure and the chemistry of modified thin set. I smell the dust of a thousand renovations and the sour scent of rotted plywood every time I walk into a failed bathroom. We do not do that here. We build things that last for decades, not just until the check clears.
“A floor is only as good as the subfloor beneath it; deflection is the enemy of every joint.” – Master Flooring Axiom
The chemistry of water resistance in wet areas
Waterproofing a shower bench requires a topical membrane that creates an unbroken barrier between the tile and the substrate to prevent moisture from saturating the internal structure. Many old school installers still rely on a rubber liner tucked behind the bench. This is a mistake. This creates a mold sandwich. The moisture goes through the grout, stays in the mortar bed, and rots the wood from the inside out. You need a modern system. Use a liquid applied membrane or a bonded sheet membrane. Think about the perm rating. A perm rating measures how much water vapor can pass through a material. You want a rating as close to zero as possible. This is vital in high humidity regions like the Florida coast or the Pacific Northwest. In these areas, the ambient moisture in the air is already high. If your bench is not sealed, it will never dry out. It will become a petri dish. I prefer high performance modified thin sets that meet ANSI A118.15 standards. These products have more polymers. They grip better. They resist the constant expansion and contraction that happens when you turn on the hot water in a cold room.
The skeleton of the bench and material selection
Selecting the right core material for a shower bench determines its longevity and resistance to capillary action which is the movement of water through narrow spaces. You have three main choices. Wood framing is the traditional method. It is cheap. It is also the most likely to fail if your waterproofing is 99 percent instead of 100 percent. I prefer solid concrete blocks or high density expanded polystyrene foam. Foam sounds flimsy. It is not. It is engineered to withstand thousands of pounds of pressure. It cannot rot. It cannot grow mold. If you use wood, you must use pressure treated lumber and cover it in cement board. Do not use green board or drywall. That is a recipe for disaster. The cement board must be fastened with alkali resistant screws. Normal screws will corrode. When they corrode, they expand. When they expand, they crack your tile. It is a chain reaction of failure. Look at showers that wow and you will see that the best designs are built on solid engineering.
The gravity of a two percent slope
The top surface of a shower bench must have a pitch of at least two percent to ensure that surface tension does not hold water on the tile. If the bench is flat, water will sit. It will eventually find a way through the tile cleaning tips and into the grout. Grout is porous. Even the best grout will absorb some moisture. If that moisture has nowhere to go, it stays. It breaks down the bond of the tile. Use a digital level to check your slope. Do not eyeball it. The slope must be built into the substrate, not just the tile. Some guys try to make the slope with a thick layer of thin set. This is lazy. Thin set shrinks as it cures. If you have a thick glob of it, it will pull away from the wall. This creates a gap. That gap is where the leak starts.
| Material | Rot Resistance | Install Speed | Cost |
|---|---|---|---|
| Wood Frame | Low | Medium | Low |
| EPS Foam | Maximum | Fast | High |
| Cinder Block | High | Slow | Medium |
The ghost in the expansion gap
Expansion gaps are mandatory at every change of plane to accommodate the natural movement of the building without cracking the grout or tile. This is where most people mess up. They grout the corner where the bench meets the wall. Grout is rigid. Houses move. When the house shifts, that grout will crack. Instead, you must use a 100 percent silicone sealant. Silicone is flexible. It acts like a gasket. It keeps the water out while allowing the bench to breathe. This is especially true if you are using eco friendly tile solutions which can have different thermal expansion rates. I always tell my apprentices that the smallest detail is the one that will leak.
- Verify subfloor deflection limits meet L/360 for ceramic or L/720 for stone.
- Apply two coats of liquid waterproofing at all corners and transitions.
- Use mesh tape to reinforce the joints between the bench and the wall.
- Perform a 24 hour flood test before laying any tile.
- Ensure the bench does not interfere with the linear drain path.
The microscopic bond of thin set and tile
The bond between the tile and the waterproofing membrane relies on the mechanical and chemical interlocking of the mortar particles. You need 95 percent coverage for wet areas. This means you cannot just put five dots of glue on the back of a tile and slap it on. You must back butter every single piece. This fills the voids. Voids are air pockets. In a shower, air pockets become water pockets. When water gets trapped behind a tile, it creates hydrostatic pressure. This can actually pop tiles off the wall over time.
“A shower is a managed flood; if you do not control the water, the water will control you.” – Tile Council of North America Standard
If you find yourself needing grout restoration secrets later, it is usually because the original installation allowed too much moisture to sit in the joints. Do it right the first time. Check your moisture meter. If the studs are wet from construction, do not cover them up. Let them dry. If you trap moisture in the wall, you are just building a ticking time bomb. The baseboards in the adjacent room will eventually show the signs of your failure. You can find baseboards makeover ideas online, but no amount of molding can hide a moldy wall. Take your time. Measure twice. Water never sleeps.