
Most guys skip the leveling compound. They think the underlayment will hide the dip. It won’t. I spent three days grinding concrete on a job last month just so the floor wouldn’t click like a castanet, and that was just a dry living room. When you take that level of laziness into a bathroom, you aren’t just looking at a noisy floor, you are looking at a catastrophic structural failure. I have seen countless homeowners lose their kitchen ceilings because an installer thought they could eyeball a 1/4 inch slope or skip the waterproofing membrane behind the baseboards. A shower is a mechanical system, not a decoration. If you treat it like a painting, it will eventually rot your joists and drop the whole pan into the floor below.
The gravity of a failed slope
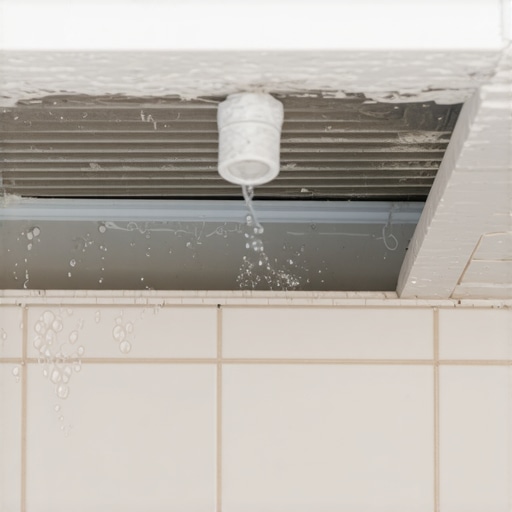
A shower pan leaks into the ceiling because the waterproofing envelope has failed, often due to a lack of a pre-slope, clogged weep holes in the drain, or structural deflection that cracked the membrane. Water travels through the porous grout and saturates the mud bed, eventually finding an exit point. Gravity is a relentless force in the world of plumbing. If the subfloor or the pre-slope does not lead water directly to the drain, it will sit and stagnate. This stagnation is the primary cause of liner failure. Most people assume the tile is the waterproof layer. It is not. The tile and grout are the first line of defense, but they are essentially a screen. Water moves through them. When it hits the mortar bed, it needs a clear path to the weep holes in the drain assembly. If that path is blocked by thin-set or if the slope is flat, the water stays there. Eventually, that standing water creates a hydrostatic pressure that will find the smallest pinhole in a PVC liner or the tiniest crack in a liquid-applied membrane.
“Waterproofing is not a suggestion but a requirement for any installation where standing water or frequent saturation occurs.” – TCNA Handbook for Ceramic, Glass, and Stone Tile Installation
The ghost in the expansion gap
The 1/8 inch that ruins everything is often found at the change of plane. When a wall meets a floor, or a bench meets a wall, there is a movement joint. If an installer fills this joint with hard grout instead of 100 percent silicone sealant, the grout will crack. It is a mathematical certainty. Houses move. They expand and contract with the seasons. If the grout at the base of your shower floor is cracked, water is being funneled directly behind your showers and into the wall cavity. This moisture then travels down the studs, bypasses the pan liner, and hits the subfloor. I have pulled up floors where the plywood was so soft you could stick a screwdriver through it like butter. This happens because the installer didn’t respect the physics of movement. While homeowners often demand the thickest mortar bed for perceived strength, an excessively thick bed without a properly functioning capillary break actually holds water for weeks, creating a swamp effect that eventually eats through the plumbing seals.
Why your subfloor is lying to you
Deflection is the silent killer of modern designs. If your floor joists are spaced too far apart or if they are undersized for the weight of a stone floor, the subfloor will flex. This flex is often microscopic, but over a few thousand showers, it fatigues the waterproofing membrane. For tile, we look for an L/360 deflection rating. This means the floor should not bend more than the length of the span divided by 360. If you have 12 inch joists on a 15 foot span, you are asking for a leak. The membrane can only stretch so much before it snaps. Once that bond is broken, the water has a direct highway to your drywall downstairs. I always check the subfloor moisture content. It must be under 12 percent. If you trap moisture under a new installation, you are just sealing in the rot. People want a sparkling bathroom, but they forget that the beauty is only skin deep. The real work is in the framing and the plywood layers beneath.
| Waterproofing Method | Permeability Rating | Installation Complexity | Primary Failure Mode |
|---|---|---|---|
| PVC Liner | High | High | Improper folding at corners |
| Liquid Membrane | Low | Medium | Pinholes from thin application |
| Sheet Membrane | Lowest | High | Seam failure or unbonded edges |
| Hot Mop | Moderate | Low | Cracking with house settling |
The physics of a saturated mortar bed
When the mud bed is mixed with too much water or the wrong ratio of sand to Portland cement, it becomes a sponge rather than a stable base. The industry standard is a 4:1 or 5:1 ratio of sand to cement. It should be the consistency of damp beach sand. If it is too wet, it shrinks as it cures, creating voids. These voids are where water collects. If the weep holes in the drain assembly are not protected by crushed stone or a plastic spacer, the mortar will clog them. This creates a bathtub effect within your floor. The water has nowhere to go. Eventually, the alkalinity of the concrete and the constant presence of moisture will degrade the adhesive bond of the tile. You might notice your grout looks dark or damp for days after a shower. That is the telltale sign of a saturated bed. It is a ticking time bomb for your ceiling.
“A floor is only as good as the subfloor beneath it; deflection is the enemy of every joint.” – Master Flooring Axiom
Chemical failure and the thin set bond
The molecular reality of modern adhesives is complex. Using a standard unmodified thin-set over a non-porous waterproofing membrane is a recipe for disaster. The thin-set needs to hydrate to cure. If it is sandwiched between two impermeable surfaces, it can take weeks to reach full strength. This is why we use polymer-modified mortars. The polymers create a chemical bridge between the tile and the membrane. However, if the membrane was not cleaned of dust or if the installer used a bucket of thin-set that was already skinning over, the bond is compromised. When you stand on that tile, it shifts. That shift, however small, tears at the waterproofing. You cannot skip steps here. You need the right trowel size to ensure 95 percent coverage in wet areas. Anything less leaves air pockets where moisture can condense and dwell.
The truth about the weep hole
If I had a dollar for every time I found a drain assembly with the weep holes packed solid with thin-set, I would have retired ten years ago. These holes are the emergency exit for your shower floor. They sit at the base of the drain flange, right where the liner is clamped. Their job is to take the water that has seeped through the grout and mortar and dump it into the waste pipe. If the installer didn’t put a handful of pea gravel around that drain before dumping the mud, those holes are gone. The water then sits against the clamping ring. PVC liners are tough, but they aren’t meant to be submerged for 365 days a year. Eventually, the bolt holes in the clamping ring will weep, and that is exactly how you get a brown spot on the ceiling of the room below. It is a simple mechanical failure that costs thousands of dollars to fix. Regular grout maintenance can help, but it won’t fix a buried mechanical error.
- Verify 1/4 inch slope per linear foot from the farthest corner.
- Clean all debris from the clamping ring and weep holes.
- Perform a 24 hour flood test to ensure the liner is watertight.
- Ensure a minimum 2 inch overlap on all sheet membrane seams.
- Use 100 percent silicone at all vertical and horizontal transitions.
- Check that subfloor moisture is below 12 percent before starting.
- Use a pre-slope under the liner, not just over it.
- Confirm joist span meets L/360 deflection standards for stone.
- Wrap the liner at least 3 inches above the finished floor height.
- Install a proper moisture barrier behind the backer board.
Protecting the structure from environmental stress
In humid regions, the wood framing of a house is constantly moving. This is why the integration of baseboards and transition strips must be handled with care. If the shower is on an exterior wall, the temperature differential can cause condensation behind the tile. This is why a topical waterproofing membrane is superior to the old school sub-pan method. By keeping the water at the very surface, you prevent the entire assembly from becoming a moisture reservoir. You save the joists, the subfloor, and the ceiling below. If you see a leak, do not just re-grout. Grout is not a patch for a structural failure. You have to find the source. Whether it is a puncture in the liner or a failed curb, the only real fix is to rebuild it to the standards that should have been followed in the first place. Anything else is just a temporary band-aid on a systemic wound.