
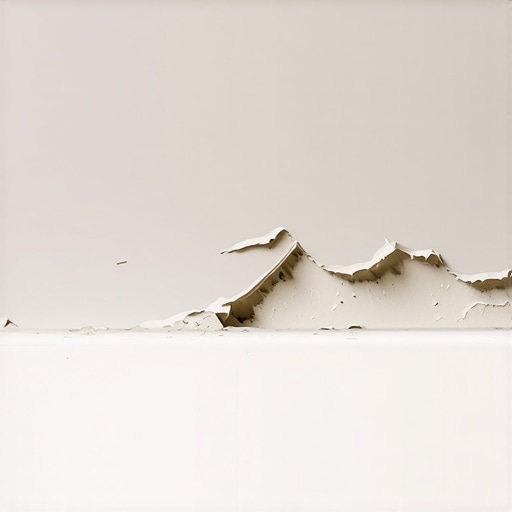
I spent three days grinding concrete on a job last month just so the floor wouldn’t click like a castanet, but people still think caulk is just toothpaste for tiles. It is not. Last July, I walked into a bathroom where the homeowner had replaced their sealant four times in a single year. Each time, the white bead turned into a shriveled, yellowing string that pulled away from the tub within weeks. They blamed the product. I blamed the physics. A floor or a tub is a structural component that moves, breathes, and deflects. If you do not respect the chemistry of the bond line, the material will fail every single time.
The invisible film of soap scum
Caulk peels because the surface contains microscopic contaminants like body oils, soap residue, and chemical cleaners that prevent molecular adhesion. Even if a tub looks clean to the naked eye, a layer of surfactants often remains. These substances create a low-energy surface where the silicone cannot bite. You must strip the area with denatured alcohol or a specialized bond promoter to ensure the sealant makes direct contact with the substrate. Most DIYers simply wipe the area with a damp rag and wonder why the bead lifts by Tuesday.
Three point bonding is a death sentence
A sealant bead must only touch two surfaces to function as an expansion joint. When caulk sticks to the back of the joint as well as the top and bottom, it undergoes three-point bonding. This creates a mechanical conflict. As the tub moves, the caulk is pulled in three different directions simultaneously, which exceeds its modulus of elasticity. The internal tension causes the material to tear or delaminate. Professional installers use a backer rod or bond breaker tape to ensure the silicone can stretch and compress like a rubber band without being anchored to the wall behind it.
“A floor is only as good as the subfloor beneath it; deflection is the enemy of every joint.” – Master Flooring Axiom
The weight of sixty gallons of water
Standard bathtubs deflect significantly when filled with water, which physically tears the caulk bead away from the tile. If you apply sealant to an empty tub, the joint is at its smallest. As soon as a human and sixty gallons of water enter that tub, the weight causes the basin to sink slightly. This movement stretches the fresh caulk beyond its limit before it has fully cured. You must fill the tub with water before you apply the bead. This pre-stresses the joint to its maximum width. Keep the water in the tub for twenty-four hours until the silicone has reached its full Shore A hardness.
Why your grout is killing your caulk
Grout is a porous mineral product that holds moisture deep within its structure, leading to bond failure from the inside out. If you have recently performed grout restoration, the moisture introduced during the cleaning process can take days to evaporate. When you cap that damp grout with silicone, you trap water. That water eventually turns into vapor, creating pressure that pushes the caulk off the wall. Always wait at least forty-eight hours after a deep clean before applying new sealant. Check out these tile cleaning tips to understand how chemicals interact with your finishes.
| Material Type | Elongation Capacity | Best Use Case | Cure Time |
|---|---|---|---|
| 100% Silicone | 25% to 50% | Showers and Tubs | 24 Hours |
| Siliconized Acrylic | 10% to 15% | Baseboards and Trim | 4 Hours |
| Polyurethane | 50%+ | Exterior Joints | 72 Hours |
The ghost in the expansion gap
Subfloor movement and joist deflection create a hidden cycle of stress that manifests as peeling caulk at the floor line. When I look at baseboard ideas for bathrooms, I always check the floor levelness first. If the subfloor has a dip, the baseboard and the floor will move independently. A standard caulk bead cannot bridge a gap that is constantly changing size. This is particularly common in older homes where the floor joists have sagged. The movement might be only 1/16 of an inch, but over a thousand footsteps, it acts like a saw on the sealant bond.
- Remove all old caulk with a plastic scraper to avoid scratching the tub.
- Clean the joint with isopropyl alcohol 90% concentration or higher.
- Apply a mold inhibitor to the open gap before sealing.
- Use a backer rod if the gap is wider than 1/4 inch.
- Tool the bead with a dry finger or a dedicated caulking tool.
Chemistry of the failed bead
Using an acetic cure silicone on a stone surface or a neutral cure silicone on an acrylic tub without testing can lead to chemical rejection. Acetic cure silicones release acetic acid, which is that vinegar smell, as they dry. This acid can etch natural stone and weaken the bond on certain plastics. Neutral cure silicones are slower to dry but safer for a wider variety of materials. If you are working with eco-friendly tile, ensure the sealant is compatible with the specific porosity of the material. Many modern tiles have factory glazes that are so smooth they require a primer for the caulk to stick. Never assume the most expensive tube at the big box store is the right one for your specific substrate chemistry.
“Deflection limits for tile installations must not exceed L/360 for ceramic and L/720 for stone to prevent joint failure.” – TCNA Handbook Standards
The moisture trap behind the tile
Water that seeps through old grout saturates the cement board behind the wall, causing the caulk to fail as the wall tries to dry. If your shower is old, the peeling caulk might be a symptom of a much larger moisture problem. When the substrate behind the tile is soggy, no amount of silicone will stay stuck. It is like trying to tape a wet cardboard box. If you see dark spots behind the caulk, you likely have water intrusion. In these cases, you might need to look into how to refresh grout properly to seal the entire system rather than just the perimeter. Without a dry substrate, you are just throwing money down the drain. If the situation is dire, you can always contact us for a professional assessment of your subfloor and shower integrity.