
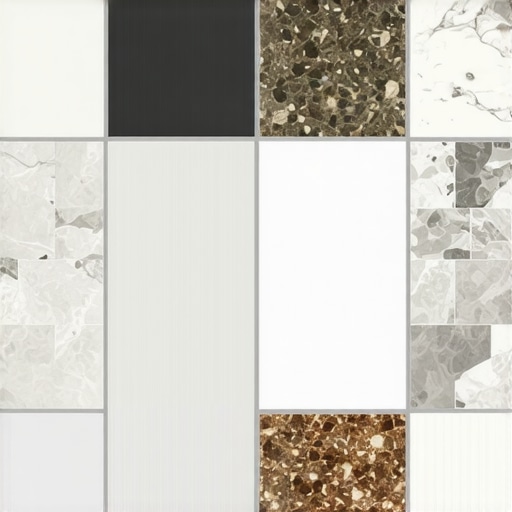
How to Choose Tile That Wont Show Water Spots
I spent three days grinding concrete on a job last month just so the floor wouldn’t click like a castanet. That client thought they had a tile problem, but they actually had a subfloor problem. When it comes to water spots, most people make the same mistake. They look at a tile in a dry, bright showroom and think it will look the same after a fifteen minute hot shower. It wont. I have been installing floors for twenty five years, and I can tell you that the physics of evaporation are a brutal judge of your design choices. If you pick a high gloss, dark tile, you are essentially buying a mirror for every mineral in your tap water. I have seen fifteen thousand dollar marble installations look like a salt flat within a month because the homeowner didn’t understand the chemistry of what happens when hard water meets a polished surface. You need to think about the microscopic topography of the glaze and the chemical bond of the mineral deposits if you want a shower that stays clean.
The science of evaporation and surface tension
Water spots are mineral deposits left behind when moisture evaporates from a surface. These deposits, primarily calcium carbonate and magnesium, bond to the micro-topography of the tile surface. Choosing non-porous materials with a matte glaze reduces the visibility of these Total Dissolved Solids after the water disappears. When a water droplet sits on a surface, it eventually loses its liquid state to the air, but the solids it carried cannot evaporate. They stay behind. If the surface is perfectly smooth like a mirror, these solids reflect light differently than the surrounding tile. This creates the ghosting effect we call a water spot. By selecting a tile with a slight texture or a matte finish, you break up the light reflection. This means the minerals are still there, but your eye cannot distinguish them from the natural variation of the tile surface. This is why showers with a style often prioritize porcelain over natural stone, as porcelain can be engineered with specific surface tensions that resist mineral bonding.
How matte finishes deceive the eye
A matte finish is the most effective defense against the visibility of hard water stains. This surface type scatters light in multiple directions rather than reflecting it back in a sharp line. When calcium deposits settle on a matte porcelain tile, they blend into the diffused light patterns. This makes the maintenance cycle significantly longer for the average homeowner. I always tell my clients to avoid the shiny stuff if they have hard water. In regions like the Southwest or areas with heavy well water, a high gloss black tile is a full time job. You will be squeegeeing that wall every single time someone even looks at the shower. Instead, look for a tile with a low sheen. The industry measures this through gloss units, but for a homeowner, the simple splash test works. Take a spray bottle to the showroom. Spray the tile. Let it dry under the lights. If you see a ring, that tile will be your enemy for the next twenty years. You might also consider eco-friendly tile solutions that use recycled glass with a frosted finish, which is excellent at hiding spots.
“A floor is only as good as the subfloor beneath it; deflection is the enemy of every joint.” – Master Flooring Axiom
The role of grout in visual cleanliness
Grout selection determines how much moisture is retained between tile units and how spots migrate. Using a high-density epoxy grout or a modified cementitious grout prevents the capillary action that draws mineral heavy water into the joints. When water sits in porous grout, it eventually seeps out and leaves efflorescence or salt streaks on the tile face. I have seen beautiful jobs ruined because the installer used a cheap, unsealed grout that acted like a sponge. If you want to keep your shower looking new, you need to understand grout restoration secrets before you even start the project. Picking a grout color that matches the mineral content of your water can also help. If you have high iron, a slightly tan or beige grout will hide the orange tint. If you have high calcium, a light gray or off-white is your best friend. For those looking to fix an existing issue, learning how to refresh grout without replacing it is a vital skill for any homeowner.
Technical comparison of tile materials
The material composition of your tile dictates how it reacts to water chemistry and cleaning agents. Different tiles have different porosity ratings and Mohs hardness scales, which affect how mineral scale adheres to the surface. Below is a breakdown of common materials and their performance in wet environments.
| Material | Porosity Rate | Spot Visibility | Hardness (Mohs) |
|---|---|---|---|
| Polished Marble | High | Extreme | 3-4 |
| Glazed Porcelain | Less than 0.5 percent | Low (Matte) | 7-8 |
| Matte Ceramic | Less than 3.0 percent | Moderate | 5-6 |
| Slate | High | Low (Texture hides) | 2.5-4 |
As the table shows, porcelain is the king of the shower. It is fired at temperatures exceeding 2200 degrees Fahrenheit, which vitrifies the clay and makes it nearly as dense as glass. This density means the water minerals have no place to grab onto. Even if a spot forms, it sits on the surface rather than etching into the material. This makes tile cleaning tips much more effective because you aren’t fighting a chemical bond inside the stone.
The ghost in the expansion gap
Proper installation of baseboards and perimeter joints prevents water from pooling and creating localized spotting. If your tile installer ignores the expansion gap or fails to use 100 percent silicone caulk at the change of plane, water will sit in the corners. This standing water is a factory for mineral buildup and mold. I often see people obsess over the tile but then install cheap baseboards that swell when they get wet. You need a transition that is as waterproof as the floor itself. If you are doing a bathroom, consider using tile baseboards or high density polymer options. Exploring chic baseboard designs can give you ideas for transitions that don’t trap moisture. Every eighth of an inch matters. If the floor is pitched correctly toward the drain, the water moves. If there is a dip, the water sits. If the water sits, you get spots. It is a simple equation.
The No-Spot shower checklist
Following a technical checklist during the selection process ensures long term satisfaction with your flooring performance. This process filters out aesthetic traps that lead to high maintenance requirements. Use this list when you go to the tile shop.
- Verify the PEI rating is at least 3 for residential showers.
- Confirm the water absorption rate is 0.5 percent or lower for porcelain.
- Check the Dynamic Coefficient of Friction for safety.
- Choose a matte or honed finish instead of polished.
- Select a variegated color pattern to hide mineral dust.
- Purchase a high quality sealer for any natural stone components.
- Specify epoxy grout for the shower floor to prevent water absorption.
By sticking to these metrics, you are designing for the reality of your home. If you want a space that looks like the showers that wow in magazines, you have to do the legwork on the technical specs first. Don’t let a salesperson talk you into a polished travertine because it looks like a luxury hotel. Those hotels have full time housekeeping staff to scrub those tiles every morning. You probably don’t.
“Porcelain tile with a water absorption rate of 0.5 percent or less is the gold standard for wet environments.” – TCNA Handbook Summary
Why your subfloor is lying to you
The flatness of your subfloor influences how water drains and where spots inevitably form. If your substrate has deflection or low spots, the thin-set mortar will not be uniform. This creates lippage, where one tile edge sits higher than another. These tiny dams catch water. As the water sits against the edge of the tile, it evaporates slowly, leaving a concentrated line of minerals. I have spent countless hours with a straight edge and self leveling compound just to make sure the water has a clear path to the drain. People think I am being picky, but I am saving them from a lifetime of scrubbing. If the tile is flat and the slope is correct, the water clears the surface before it has a chance to drop its mineral load. This is the structural secret to a clean floor. If you have questions about your specific layout, you can always contact us to discuss the engineering requirements of your project. We see these failures every day and we know how to prevent them at the framing stage.
The final word on tile selection
Choosing a tile that doesn’t show water spots isn’t about finding a magical material. It is about understanding the interaction between light, minerals, and surface texture. Avoid the mirrors. Avoid the deep blacks. Stick to the matte porcelains with a bit of movement in the pattern. Take care of your grout. Ensure your subfloor is dead level before the first tile is set. If you follow these rules, you will have a floor that works for you, rather than a floor that demands you work for it. Remember that a bathroom is a machine for moving water. If the machine is built right, it stays clean. If it is built for looks alone, it will fail the test of the first shower.