
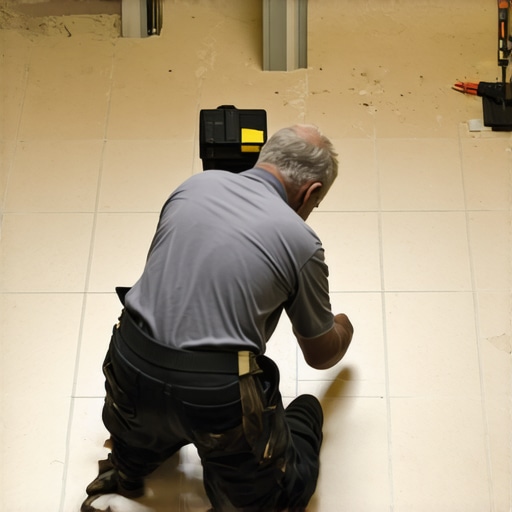
Most guys skip the leveling compound. They think the underlayment will hide the dip. It won’t. I spent three days grinding concrete on a job last month just so the floor wouldn’t click like a castanet. That client had bought the most expensive 24×48 porcelain available, but the slab was a topographical map of the Rockies. If I had just slapped that tile down, the lippage would have been enough to trip a toddler. I had to get my diamond-cup wheel out and eat dust for hours to get that substrate within the mandatory 1/8 inch tolerance over 10 feet. It is the dirty, loud, and unglamorous side of the business that separates a craftsman from a handyman.
The shadow of the uneven edge
Lippage on large format bathroom floor tiles occurs when the edges of adjacent tiles are not on the same plane, creating a tripping hazard and unsightly shadows. According to ANSI A108.02 standards, the allowable lippage for grout joints 1/16 inch or wider is only 1/32 of an inch. When you are dealing with tiles that have at least one edge longer than 15 inches, the margin for error disappears. The physics of manufacturing mean that almost every large format tile has a slight crown or bow. When you offset these tiles in a running bond pattern, the highest point of one tile sits next to the lowest point of the next. Without mechanical intervention, you are fighting a losing battle against the kiln-fired nature of the material itself. It is not just about the look. High lippage points create weak spots where the tile is prone to chipping when hit by a vacuum or a heavy object. In showers, lippage can even interfere with proper water drainage, leading to standing pools that breed mold. This is a technical failure, not a cosmetic preference.
“A floor is only as good as the subfloor beneath it; deflection is the enemy of every joint.” – Master Flooring Axiom
Why your subfloor is lying to you
Subfloor flatness is the primary determinant of whether your bathroom tile will suffer from lippage or maintain a flat profile. Most people mistake a level floor for a flat floor, but they are different metrics. A floor can be perfectly level but have a 2-foot dip in the middle. For large format units, you need a surface variation of no more than 1/8 inch over a 10-foot span. If your joists are undersized or the OSB subfloor has swelled from moisture, the tile will follow those contours. I always tell my apprentices that the mortar is not a magic filler. While you might want to use a thick bed of thin-set to bridge a gap, the chemistry of the drying process works against you. As the water evaporates from the cementitious bond, the mortar shrinks. This shrinkage pulls the tile down into the dip, creating the very lippage you tried to avoid. You must address the substrate first. This involves using a 10-foot straightedge to identify high and low spots. High spots get ground down with a diamond grinder. Low spots get filled with a high-compressive strength self-leveling underlayment that has been properly primed with a polymer-based primer. If you skip the primer, the dry concrete slab will suck the moisture out of the leveler too fast, causing it to crack and delaminate. This is why many pros look at showers that wow modern designs for 2025 and see the engineering first and the aesthetics second at https://elegantfloorz.com/showers-that-wow-modern-designs-for-2025.
The mechanical solution for tile heights
Mechanical leveling systems utilize plastic clips and reusable wedges to force adjacent tiles into planarity during the thin-set curing process. These systems are not a crutch for bad installers; they are a necessary tool for the physics of modern porcelain. When you tighten a wedge into a clip, it applies downward pressure on the high tile and upward tension on the low tile until they meet in the middle. You need to use a medium-bed mortar specifically designed for large format tile (LFT). These mortars have a different polymer density and rheology compared to standard thin-set. They are engineered to support the weight of the tile without slumping. If you use a cheap, standard thin-set, the weight of a 48-inch tile will simply squash the ridges and the tile will sink over the next twelve hours. You also need to pay attention to your trowel technique. You should always trowel in straight lines, never in swirls. Swirls trap air pockets. Straight ridges allow the air to escape when you set the tile, ensuring 100% mortar coverage. In a bathroom, where moisture is constant, you need at least 95% coverage to prevent water from accumulating under the tile and rotting the grout from the inside out.
| Tile Size | Max Variation (10 Feet) | Recommended Trowel Notch | Minimum Grout Joint |
|---|---|---|---|
| 12×12 Ceramic | 1/4 Inch | 1/4 x 3/8 Square | 1/16 Inch |
| 12×24 Porcelain | 1/8 Inch | 1/2 x 1/2 Square | 1/8 Inch |
| 24×48 Porcelain | 1/8 Inch | 3/4 x 9/16 Flow | 3/16 Inch |
The 1/8 inch that ruins everything
Large format tiles require a minimum grout joint of 1/8 inch or 3/16 inch to allow for thermal expansion and manufacturing tolerances. If you try to butt these tiles together with a 1/32 inch joint to get a stone look, you will have lippage. There is no way around it. The rectified edges of modern porcelain are sharp and unforgiving. Even a tiny deviation is felt by a bare foot. I always recommend back-buttering every single piece. This means applying a thin, flat layer of mortar to the back of the tile before placing it. This ensures that the mechanical bond is established at the molecular level. It also adds a tiny bit of height that allows the leveling clips to do their job. When the floor is finished, the transition to baseboards must be handled with care. If the floor has lippage at the perimeter, your baseboards will show a visible, oscillating gap at the bottom. You can learn more about how to handle these transitions at https://elegantfloorz.com/baseboards-makeover-ideas-to-elevate-your-space. A flat floor makes the carpenter’s job easy. A wavy floor makes it impossible.
- Use a 10-foot straightedge to map the bathroom floor substrate.
- Grind high spots and fill low spots with polymer-modified leveler.
- Select an ISO 13007 C2TE S1 rated mortar for large format units.
- Back-butter every tile to achieve 95% mortar contact.
- Deploy a mechanical wedge-and-clip leveling system at every corner.
- Wait a full 24 hours before removing clips to prevent mortar slump.
“Lippage is the vertical displacement between two adjacent tiles, often caused by inherent warping in large format units.” – TCNA Handbook 2024
The chemistry of the bond
Modified thin-set mortar contains dry polymers like ethylene-vinyl acetate that provide the flexural strength needed to hold large format tiles in place. When you are working in a bathroom, the adhesion strength is tested by constant temperature swings. If the mortar is too rigid, it will brittle-fracture. If it is too soft, the tile will shift. The S1 deformation rating on modern mortars tells you that the material can bend slightly without losing its bond to the substrate. This is a contrarian point that many homeowners miss. They want the hardest, most rock-like mortar possible. But a little bit of elasticity is actually what keeps the tile from popping. Once the tile is set and the lippage is eliminated, the grout becomes the next line of defense. If you find that your grout looks uneven because of minor height differences, you might need to look into grout restoration secrets for long-lasting results at https://elegantfloorz.com/grout-restoration-secrets-for-long-lasting-results. Proper tile cleaning tips for a sparkling bathroom in 2025 also rely on a flat surface because mop heads will snag on lippage points at https://elegantfloorz.com/tile-cleaning-tips-for-a-sparkling-bathroom-in-2025. If you have an existing floor with lippage, your options are limited. You can try to grind down the high edges of natural stone like marble or travertine, but you cannot do this with porcelain because you will grind right through the glazed pattern into the clay body. For porcelain, the only fix is to pop the offending tiles and reset them or refresh grout to mask the shadow line as seen at https://elegantfloorz.com/how-to-refresh-grout-without-replacing-it.