
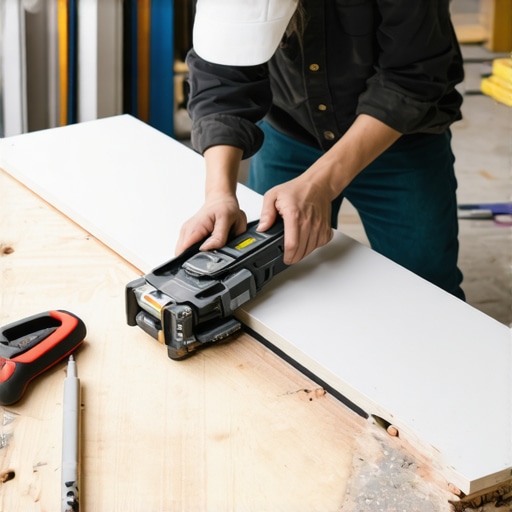
I spent three days grinding concrete on a job last month just so the floor wouldn’t click like a castanet. Most guys skip the leveling compound. They think the underlayment will hide the dip. It won’t. I have seen thousands of dollars in high-end porcelain wasted because an installer thought they could eyeball a twenty-four-inch cut on a subfloor that looked like a topographical map of the Ozarks. A floor is a performance surface. If the foundation is trash, the cut will be trash. You cannot expect a manual cutter to compensate for a lack of structural integrity. I have spent twenty-five years with sawdust under my nails and a level in my hand, and I can tell you that the secret to a perfect long cut starts long before you touch the scoring wheel. It starts with the physics of the material and the brutal reality of the subfloor.
The mechanics of the perfect score
Executing long cuts with a manual tile cutter requires maintaining consistent downward pressure across the entire length of the ceramic or porcelain body. You must ensure the scoring wheel is sharp, the tile is firmly seated against the fence, and the breaking bar is positioned correctly at the edge of the tile to ensure a clean snap. If you hesitate during the score, you create stress points that will lead to a jagged break. This is basic mechanical engineering. You are creating a controlled fracture along the surface glaze of the tile. If that line is not continuous and deep enough to penetrate the surface tension, the energy from the breaking bar will dissipate into the body of the tile, causing a diagonal crack that ruins the piece.
When we talk about long cuts, we are usually talking about planks or large-format tiles that are twelve by twenty-four inches or larger. These tiles have internal stresses from the kiln-firing process. When you score the tile, you are giving those stresses a path to escape. A manual cutter is often superior to a wet saw for these long, straight lines because it does not introduce moisture into the tile body, which can sometimes lead to micro-fretting in certain ceramic types. However, you need a professional-grade cutter with a rigid rail system. If your rails flex even a millimeter during the score, your cut will curve. You cannot fix a curved cut with grout. You can find more about maintaining your finish at grout restoration secrets for long-lasting results to ensure your joints remain as clean as your cuts.
“A floor is only as good as the subfloor beneath it; deflection is the enemy of every joint.” – Master Flooring Axiom
Why your subfloor is lying to you
The subfloor is the silent killer of the manual cut. If your work surface is not perfectly flat, the tile will bridge gaps in the air. When you apply pressure with the scoring wheel, the tile flexes into those gaps. This flex changes the angle of the wheel relative to the tile surface. Instead of a vertical score, you get an angled score. This is why many installers complain that their manual cutter is dull when the real problem is the plywood or concrete beneath it. I have walked into jobs where a fifteen-thousand-dollar wide-plank setup was failing because the installer ignored a three-sixteenths-inch dip. You must grind the high spots and fill the low spots with a high-quality self-leveling underlayment. Only then will your manual cutter perform like the precision instrument it is designed to be.
| Tile Material | Janka Hardness/Density | Scoring Pressure Required | Wheel Type |
|---|---|---|---|
| Ceramic Wall Tile | Low | Light | 6mm Carbide |
| Standard Floor Ceramic | Medium | Moderate | 10mm Tungsten |
| Glazed Porcelain | High | Firm | 22mm Titanium |
| Technical Porcelain | Very High | Heavy/Constant | 22mm Ball-Bearing |
The physics of the snap and the fulcrum
A manual tile cutter operates on the principle of the first-class fulcrum. The breaking bar acts as the pivot point. When you push down on the handle, you are multiplying the force applied to the score line. For a long cut, this force must be applied at the very edge of the tile. Many rookies try to snap the tile from the middle. This is a mistake. The break should always start from the end of the score line. You want the fracture to propagate through the tile like a lightning bolt. If the tile is dense, such as a technical porcelain, you may need to score it twice, though most manufacturers advise against this. Scoring twice can create a double line that confuses the fracture path. I prefer one solid, audible score. It should sound like a crisp zipper closing. If it sounds like grinding gravel, you are pressing too hard or your wheel is chipped.
- Check the rails for any debris or dried thin-set before starting.
- Lubricate the sliding carriage with a dry-teflon spray, never use oil.
- Verify the tile is square against the top fence using a metal speed square.
- Ensure the breaker feet are not resting on the tile until you are ready to snap.
- Clean the scoring wheel with a wire brush every ten cuts.
The ghost in the expansion gap
One of the biggest errors in flooring is forgetting that everything moves. Tiles expand and contract. If you cut your tiles too tight against the wall, they will tent or crack. This is where chic baseboard designs that transform rooms in 2025 come into play. Your baseboard is not just a decoration. It is a cover for the vital expansion gap required at the perimeter of the room. When making long cuts for the perimeter, always leave at least a quarter-inch of space. The manual cutter makes this easy because you can quickly batch-cut these pieces without the mess of a wet saw. For bathroom projects, this precision is even more important to keep things sanitary. Check out tile cleaning tips for a sparkling bathroom in 2025 to keep those tight joints looking new.
“Precision in the cut is wasted if the layout ignores the movement of the structure.” – Master Flooring Axiom
Molecular level zooming into ceramic structures
To understand why a tile snaps, you have to look at the chemistry. Ceramic tile is composed of silica, feldspar, and clay. These materials are bonded through vitrification at temperatures exceeding two thousand degrees Fahrenheit. This creates a brittle, glass-like structure. When you score the surface, you are creating a microscopic fissure in this glass-like matrix. This fissure acts as a stress concentrator. When the breaking bar applies pressure, the tension on the bottom of the tile and the compression on the top of the tile reach a critical point. The crack initiates at the score line because that is the path of least resistance. This is why a manual cutter is so efficient. It uses the tile’s own physical properties against itself. If your cut is jagged, it means the fissure was not deep enough or the material had internal voids from poor manufacturing.
The one-eighth inch that ruins everything
Accuracy is the difference between a master and a handyman. If your cut is off by an eighth of an inch over a four-foot span, it will be glaringly obvious once the grout is in. This is especially true in modern showers where large format tiles are the standard. For design inspiration on these layouts, see showers that wow modern designs for 2025. When you are using a manual cutter for these long vertical runs, you must account for the thickness of the tile spacers. If you don’t, you will find your layout drifting as you move across the wall. The manual cutter allows for micro-adjustments that a saw does not. You can shave off a tiny sliver of tile if you have a high-quality tungsten wheel and a steady hand. It takes practice. It takes patience. It takes a total refusal to accept anything less than perfection.