
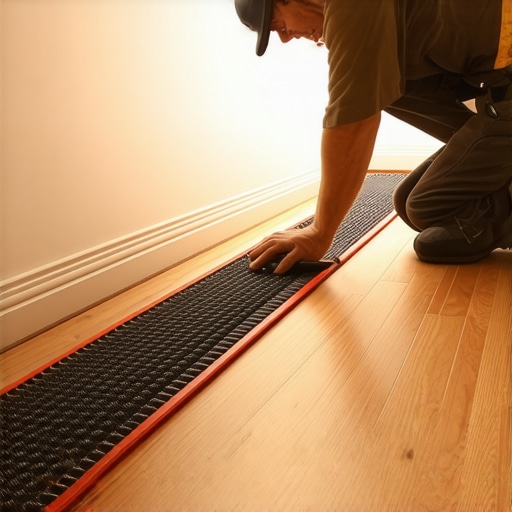
I have spent twenty five years with my knees on the subfloor and sawdust under my nails. Most guys skip the leveling compound. They think the underlayment will hide the dip. It won’t. I spent three days grinding concrete on a job last month just so the floor wouldn’t click like a castanet. That level of obsession is mandatory when you are dealing with a radiant heat floor. You are not just installing a piece of trim. You are navigating a structural engineering challenge where one wrong nail can cost ten thousand dollars in plumbing repairs. This guide is for the installer who respects the physics of heat and the chemistry of the bond.
The hidden dangers of radiant heating systems
Radiant floor heating systems utilize hydronic tubes or electric cables embedded in the subfloor which creates a high risk zone for mechanical fasteners. Installing baseboards requires a thermal mapping approach to ensure no penetration occurs within the heat zones. Failure to account for the thermal expansion of the baseboard material will result in buckling or significant gaps at the corners as the system cycles between temperatures. Understanding the difference between a hydronic system, which uses water-filled PEX tubing, and an electric system, which uses high-resistance cables, is the first step in planning your fastening strategy. If you hit a PEX line, you are looking at a flood. If you hit an electric cable, you are looking at a fire hazard. There is no middle ground here. You need to know exactly where those lines are before you even reach for your miter saw.
Why your subfloor is lying to you
Subfloor flatness is the most critical variable when installing baseboards over radiant heat because any gap between the floor and the wall acts as an insulator or an air leak. A subfloor that is not perfectly level within 1/8 inch over 10 feet will force the baseboard to follow an uneven line, creating unsightly shadows and compromising the thermal seal of the room. You have to understand that heat makes wood move. If your subfloor has a dip, the heat will concentrate in that air pocket and warp the bottom of your trim over time. I have seen solid oak baseboards twist like a pretzel because they were spanning a gap over a radiant heat source. You must use a straightedge to identify every high and low spot before the flooring goes down. Grinding and filling is not optional. It is the job.
“A floor is only as good as the subfloor beneath it; deflection is the enemy of every joint.” – Master Flooring Axiom
The 1/8 inch that ruins everything
Expansion gaps at the perimeter must be maintained at a minimum of 1/4 to 3/8 of an inch to allow the radiant floor to breathe and move without pushing against the wall. The baseboard serves as the bridge over this expansion gap, but it must never be pinned to the floor itself, only to the wall studs. This allows the floor to slide underneath the trim as it expands and contracts with the 100 degree temperature swings of the heating cycle. If you pin the floor down with your baseboard, the locking mechanisms on your LVP or the tongue and groove on your hardwood will snap. It is a slow motion disaster that usually takes one winter season to reveal itself. I have walked onto too many jobs where the homeowner was crying over a buckled floor simply because the baseboard was installed too tight. You need that 1/8 inch of clearance above the floor surface to prevent friction during the expansion phase.
| Material | Expansion Coefficient | Heat Resistance | Best Application |
|---|---|---|---|
| MDF Trim | Moderate | Low | Stable climates only |
| Solid Pine | High | Medium | Traditional homes |
| PVC Baseboard | Low | High | Showers and wet areas |
| Solid Oak | Very High | High | Premium longevity |
Thermal imaging and the art of the nail
Locating heat lines using infrared technology is the only professional way to identify the safe zones for nail placement into the wall plate. Many installers believe they can guess the tube location by looking at the manifold, but the reality of the layout often differs from the blueprints once the subfloor is poured. Using a thermal camera allows you to see the heat bloom through the floor. You can then mark the safe zones on the wall. If you are working in a bathroom near showers that wow modern designs for 2025, the heat lines are often packed tighter to keep the tile warm, leaving almost zero room for error. In these cases, mechanical fasteners are a liability. I prefer to use a high-quality construction adhesive on the back of the trim and only nail into the wall studs at the top of the baseboard, well away from the floor plate where the tubes reside.
Choosing the right material for heat zones
Medium Density Fiberboard or MDF is often the preferred choice for radiant heat environments because it lacks the grain structure that leads to warping in solid wood. However, solid wood baseboards can be used if they are properly acclimated for 72 hours in the room with the heat turned on to its normal operating temperature. For a truly professional finish, consider chic baseboard-designs that transform rooms in 2025, which often utilize taller profiles that provide more surface area for adhesive bonding to the drywall. If you are working in a kitchen or a mudroom where tile cleaning tips are a priority, you might even consider a porcelain baseboard. This removes the risk of wood rot and heat damage entirely. Solid wood is beautiful, but it is a living thing. When you put it over a heat source, it will fight you. You have to back-prime the wood to seal it from moisture and heat absorption from the rear.
The chemistry of the adhesive bond
Urethane based construction adhesives offer the necessary flexibility to withstand the constant thermal cycling of a radiant floor without becoming brittle over time. Most builders-grade adhesives will dry out and crack after three or four years of being baked by the floor heat. You need an adhesive that stays elastic. When you are doing a baseboards makeover ideas to elevate your space, the bond between the trim and the wall is what prevents the trim from pulling away as the studs dry out. I apply a continuous bead of adhesive two inches from the bottom and two inches from the top of the board. This creates a dual-point attachment that resists the natural tendency of the wood to cup away from the heat source. If you are working on a concrete slab, the moisture levels can also affect the adhesive. Always check the moisture content with a calcium chloride test before applying your glue.
- Acclimate all materials in the heated room for three days minimum.
- Use a thermal camera to map hydronic lines and mark them on the wall.
- Apply a flexible urethane adhesive to the back of each baseboard length.
- Fasten trim only to the wall studs, never into the floor or the bottom plate.
- Maintain a 1/8 inch gap between the floor and the bottom of the baseboard.
- Use miter joints with wood glue and 23-gauge pins for tight corners.
Integration with tile and grout systems
Managing the transition between baseboards and tile requires a deep understanding of how grout reacts to movement. When you have a radiant floor, the tile moves more than a standard floor. If you caulk the baseboard to the tile, that caulk line will eventually pull and tear. If you use grout, it will crack. The best practice is to leave the gap open or use a color-matched silicone that can handle the expansion. For those dealing with older installations, grout restoration secrets for long lasting results often involve removing the hard grout at the wall junction and replacing it with a flexible sealant. This is especially important in bathrooms where how to refresh grout without replacing it is a common concern. A floor is a system. The baseboard, the tile, and the grout must all work together to accommodate the thermal energy being pumped into the room.
“Radiant heat systems require a 10 percent increase in the perimeter expansion gap compared to standard HVAC systems to account for localized material swelling.” – NWFA Technical Guidelines
Maintenance and long term performance
Regular inspection of the baseboard joints will reveal how well the system is handling the heat stress. If you notice the miters opening up in the winter, it means your material was not properly acclimated or your adhesive has failed. In high-humidity regions, the conflict between the dry radiant heat and the external atmosphere can be brutal on wood trim. While many people want the thickest underlayment to help the floor feel soft, too much cushion actually causes the locking mechanisms on LVP to snap under pressure when the baseboard is installed too low. The baseboard must float just above the surface. This allows for air circulation which prevents the bottom of the trim from overheating. Keep your heat cycles gradual. Jumping from 60 to 80 degrees in an hour is what causes the most damage. Slow, steady heat is the friend of the floor and the trim alike. If you need more help with your project, you can contact us for expert advice on material selection and installation techniques. Safety and precision are the hallmarks of a master installer. Don’t take shortcuts with radiant heat.