
Most guys skip the leveling compound. They think the underlayment will hide the dip. It won’t. I spent three days grinding concrete on a job last month just so the floor wouldn’t click like a castanet. I see the same laziness in bathroom remodeling. Homeowners want a quick fix, but they ignore the physics of the assembly. A shower is a pressurized system of moisture and heat. If you try to modernize it without understanding the substrate, you are just putting a tuxedo on a pig. You have to look at the microscopic reality of the tile and the chemical bonds of the grout. If the bones are good, you can save it. If the bones are rotting, you are wasting your money. I have seen 1970s harvest gold tile become a high-end asset with nothing but proper chemistry and patience. It takes work. It takes the right tools. It takes a refusal to accept mediocre results.
The chemistry of grout restoration
Modernizing an old tile shower without replacement begins with chemical grout restoration using epoxy colorants or deep steam extraction. These methods remove mineral scaling and stabilize the cementitious bond without structural demolition. This approach targets the microscopic porosity of the grout line to provide a fresh, contemporary appearance. Grout is basically a sponge made of Portland cement and sand. Over twenty years, that sponge absorbs body oils, soap scum, and hard water minerals like calcium and magnesium. These minerals create a crystalline structure that bonds to the grout. You cannot just scrub it with a toothbrush. You need to understand the pH scale. Most household cleaners are too acidic or too alkaline. An acidic cleaner will eat the cement binder, making the grout brittle. An alkaline cleaner might cut the grease but leaves a residue that attracts more dirt. I always tell people to start with a neutral cleaner or a specialized tile cleaning routine before they even think about color. If the grout is structurally sound but stained, grout colorant is the secret weapon. This is not paint. It is an epoxy-based resin that penetrates the pores. It creates a waterproof barrier that prevents future staining. It changes the look of the entire room. Going from a dirty beige grout to a crisp charcoal or a bright white makes the old tile pop. You are essentially creating a new wear layer at the molecular level. You have to prep the surface by removing the top 1/32nd of an inch of old material. This exposes fresh cement for the resin to grab. If you skip this, the colorant will peel like a bad sunburn in six months. Check out grout restoration secrets for long-lasting results to see how the pros handle this. It is about the bond. It is about the physics of the joint. You must ensure the joint is dry. Moisture trapped behind the grout will turn to vapor when the shower gets hot, blowing the new colorant right off the wall.
“A floor is only as good as the subfloor beneath it; deflection is the enemy of every joint.” – Master Flooring Axiom
| Grout Type | Porosity Level | Chemical Resistance | Curing Time |
|---|---|---|---|
| Sanded Cement | High | Low | 72 Hours |
| Unsanded Cement | Medium | Low | 72 Hours |
| Epoxy | Near-Zero | Very High | 24 Hours |
| Urethane | Low | High | 7 Days |
The truth about tile resurfacing
Tile resurfacing involves applying a high-performance aliphatic acrylic polyurethane coating over existing ceramic or porcelain surfaces to change their color and texture. This process requires acid etching to create a mechanical bond between the old glaze and the new polymer layer. It eliminates the need for demolition. People think they can just buy a kit at a big box store and roll it on. That is how you end up with a mess. Professional resurfacing is about surface energy. Glazed tile is designed to repel things. To make a new coating stick, you have to kill that glaze. We use a hydrofluoric acid solution to etch the surface. This creates millions of microscopic pits. Then we apply a silane coupling agent. This is a molecular bridge. One end of the molecule bonds to the silica in the tile, and the other end bonds to the resin. If you don’t have that bridge, the coating is just sitting on top. It will fail. When done right, you can turn pink 1950s tile into a modern matte white or a sleek gray. You have to consider the humidity of the environment. In a place like Florida, the high ambient moisture can interfere with the cross-linking of the polymer. You need to keep the room bone dry during the cure. The coating itself is a high-solids material that is sprayed on with an HVLP system. It flows out to a smooth finish that looks like factory glaze. It is hard enough to resist scratches but flexible enough to handle the thermal expansion of the walls. Every time you turn on the hot water, the tile expands. If the coating is too brittle, it cracks. If it is too soft, it stains. It is a balancing act of chemistry. You can find how to refresh grout without replacing it as a companion step to this process. The goal is a monolithic surface that sheds water like a duck. No more scrubbing grout lines. No more mold. It is a total transformation without the sledgehammer.
The 1/8 inch that ruins everything
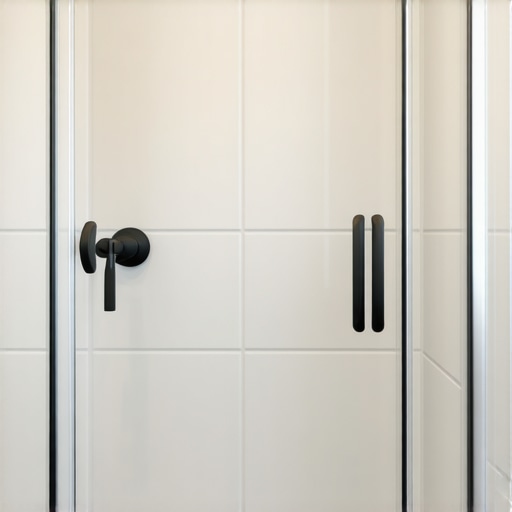
Modernizing a shower requires precision in the transitions and hardware interfaces, specifically the gap between the tile and the baseboards or fixtures. Replacing old chrome handles with matte black or brushed gold hardware creates an immediate visual upgrade. Properly executed silicone joints at the change of plane ensure waterproof integrity. Most installers are lazy with the perimeter. They leave gaps or use cheap caulk that turns yellow. I hate it. You should use a 100 percent silicone sealant that matches your grout color. This is the expansion joint. Walls move. If you use hard grout in the corners, it will crack. That is the law of physics. By replacing the old, crusty hardware with modern fixtures, you change the focal point. But you have to be careful with the seals. When you pull off an old handle, you often find a mess of mineral deposits. You have to clean that back to the brass. Use a 50/50 mix of white vinegar and water to dissolve the calcium. If you are updating the surrounding area, look at your trim. Using chic baseboard designs can bridge the gap between a vintage bathroom and a modern home. If your tile stops at the floor, the baseboard is the frame of the picture. Most people use cheap MDF that swells at the first sight of a puddle. Use a PVC or a high-density polymer baseboard. It won’t rot. It won’t warp. It stays crisp. I once saw a guy try to save money by using wood baseboards in a wet room. Three months later, the paint was peeling and the wood was black with rot. It is a rookie mistake. You need materials that respect the moisture. While most people want the thickest underlayment, too much cushion actually causes the locking mechanisms on LVP to snap under pressure, and the same logic applies to shower benches. You want rigidity and waterproof layers. Don’t forget the drain cover. A modern square drain cover in a finish that matches your new faucets is the final touch. It covers the old round drain and gives the floor a custom look. It is about the details. It is about the 1/8 inch of perfection.
“Water is a patient thief; it will find the one hole you forgot to plug.” – Master Flooring Axiom
- Inspect for hollow tiles by tapping with a plastic mallet to ensure the mortar bed is still bonded.
- Measure moisture levels behind the substrate using a non-invasive meter to rule out hidden leaks.
- Clean out the weep holes at the base of the drain assembly to ensure the pan can breathe.
- Remove every trace of old silicone using a sharp blade and a chemical softener.
- Test the tile surface energy with a water drop test to see if it is ready for a new coating.
The modernization of a shower is a technical challenge. It is not just about picking a color. It is about understanding how the materials interact. If you have an old shower, you don’t have to rip it out. You just have to be smarter than the guy who built it. You have to use the right resins, the right sealants, and the right hardware. You have to respect the chemistry of the grout and the physics of the expansion joints. When you do that, the result is a shower that looks like it belongs in a 2025 design catalog. It will last because it was built on a foundation of technical knowledge, not just a coat of paint. Look into showers that wow for more inspiration on the final look. Take your time. Measure twice. Clean ten times. That is how you get a professional finish without the professional price tag of a full demolition. It is hard work, but the results speak for themselves. You can transform a space by simply focusing on the microscopic details that everyone else ignores.