
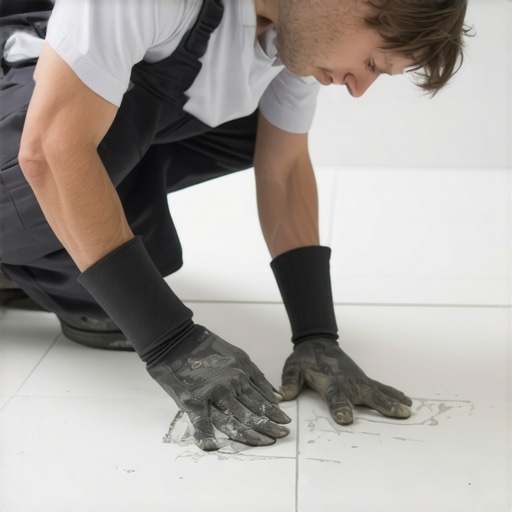
Most guys skip the leveling compound. They think the underlayment will hide the dip. It won’t. I spent three days grinding concrete on a job last month just so the floor wouldn’t click like a castanet. That client thought I was overcharging until they saw the laser line. Now they have a bathroom where every single line is laser-straight. If you want a floor that looks like it belongs in a magazine, you have to stop thinking about the tile and start thinking about what is underneath it. A floor is a machine. If the parts do not align, the machine breaks. Grout is the oil in that machine, but if the gears are crooked, the oil just leaks out. It is that simple. I have seen too many DIY jobs and cheap contractor flips fail because they ignored the physics of the substrate.
The structural reality of your subfloor
Subfloor flatness is the primary driver of uniform grout lines. If the substrate has a deviation greater than 1/8 inch over 10 feet, the tile will lippage, creating shadows that make grout lines appear crooked or uneven to the naked eye. You cannot fix a bad floor with more grout. You fix it with a grinder and a straightedge. Before the first thin-set scoop hits the floor, you need to check for deflection. Deflection is the amount of flex in your floor joists. If your joists are too far apart or too thin, the floor will bounce. That bounce cracks grout lines and ruins your uniform look. In high-humidity regions like Florida or the Gulf Coast, subfloor moisture can also cause wood to expand, pushing tiles together and shrinking your lines.
“A floor is only as good as the subfloor beneath it; deflection is the enemy of every joint.” – Master Flooring Axiom
The National Wood Flooring Association and the Tile Council of North America both agree that preparation is ninety percent of the work. If you are working on showers, the slope of the mud pan must be consistent. A single dip in the waterproofing membrane will cause the tile to sink just enough to widen the grout joint. It will look like a mistake because it is a mistake. [image_placeholder] I always use a laser level to map out the high and low spots. It is not about being fancy. It is about being right. You can find more about making spaces look right in this guide on showers with a style which explains how layout affects perception.
The physics of the expansion gap
Expansion gaps at the perimeter of a room allow the entire tile assembly to move as a single unit without buckling or compressing the grout lines. Without a 1/4 inch gap hidden under the baseboards, the grout will eventually crumble or heave due to thermal expansion. This is a non-negotiable rule of engineering. When the temperature changes, everything moves. If the tile hits the wall, the force has nowhere to go but up. This ruins the symmetry of your grout lines. For those looking to finish the look correctly, checking out baseboards makeover ideas will show you how to hide these necessary gaps professionally. You want the floor to breathe. You want the grout to stay exactly where you put it.
Chemistry inside the grout bucket
Grout consistency must mimic heavy peanut butter to ensure it stays suspended in the joints without shrinking or cracking during the hydration process. If you add too much water, you dilute the pigments and weaken the polymer chains. This leads to shading, where the grout looks dark in some spots and light in others. This is why your lines look uneven even if they are straight. You must mix at a low RPM. High-speed mixing introduces air bubbles. Air bubbles become pinholes. Pinholes become cracks. I always let the grout slake for ten minutes. This is a chemical pause. It allows the water to fully saturate the dry powders. If you skip the slake, the grout will be brittle.
Professional Grout Selection Matrix
| Tile Type | Joint Width | Grout Type | Best Use Case |
|---|---|---|---|
| Rectified Porcelain | 1/16 inch | High-performance Non-sanded | Modern Kitchens |
| Handmade Ceramic | 1/4 inch | Sanded Polymer-modified | Rustic Bathrooms |
| Natural Stone | 1/8 inch | Cementitious with sealer | Luxury Entries |
| Glass Tile | 1/16 inch | Epoxy or Translucent | Showers and Pools |
The 1/16 inch that ruins everything
Tile spacers are not optional tools for anyone who values their reputation as an installer. You need to use a leveling system, not just those little rubber crosses. A leveling system pulls the tiles to the same height while maintaining the gap. This prevents lippage. If one tile is 1/32 of an inch higher than the next, the shadow will make the grout line look twice as wide as it actually is. This is an optical illusion that ruins high-end tile work. I prefer T-spacers for offset patterns. They keep the vertical and horizontal lines in perfect alignment. If you are struggling with old, messy lines, you might need to check how to refresh grout to get back to a clean slate before attempting a new installation.
The Master Installer Checklist
- Check substrate for L/360 deflection standards
- Vacuum every single joint to remove thin-set debris
- Mix grout using a digital scale for water-to-powder ratio
- Use a hard rubber float at a 45-degree angle
- Wait for the haze before the first wipe
- Use a microfiber cloth for the final polish
The art of the clean wipe
Washing the grout requires a hydrophilic sponge and a very small amount of water to prevent pulling pigment out of the joint. If your sponge is dripping, you are ruining the job. You are washing away the cement that holds the sand together. I see guys using a giant bucket and a soaking wet rag. It is lazy. It leads to soft grout. You want to wipe once, flip the sponge, wipe again, and then rinse. Every time you wipe, you are shaping the joint. A consistent depth in the joint is what creates the uniform look. If the grout is deep in one spot and flush in another, the light will hit it differently. For long term maintenance, tile cleaning tips can help homeowners keep that professional look from degrading over time.
“Grout is the most misunderstood component of a floor; it is both a structural filler and a visual frame.” – Tile Council Standards
Protecting the bond after the job
Curing time is the final hurdle that most people fail because they are in a hurry to walk on the floor. In dry climates like Arizona, the grout can dry too fast, which stops the chemical reaction and leaves it powdery. In those cases, I lightly mist the lines with water to keep them hydrated. You want a slow cure. Do not seal the grout too early. If you trap moisture inside with a sealer, you will get efflorescence. That is the white salty crust that ruins the color. If you are dealing with an old floor that has lost its luster, grout restoration secrets provide the technical path to bringing it back to life. A floor is a legacy. Treat it like one. Avoid the cheap shortcuts. Use the right chemistry. Respect the physics of the subfloor. That is how you get perfect lines every single time.
“,”image”:{“imagePrompt”:”A macro photograph of a professional tiler’s hands using a mechanical tile leveling system and plastic spacers on a large format porcelain tile floor, showing perfectly straight and consistent grout channels, sharp focus on the tools and tile edges, industrial lighting.”,”imageTitle”:”Precision Grout Line Alignment Tools”,”imageAlt”:”Professional tile leveling system being used for uniform grout lines”},”categoryId”:0,”postTime”:””} Ready to ship.