
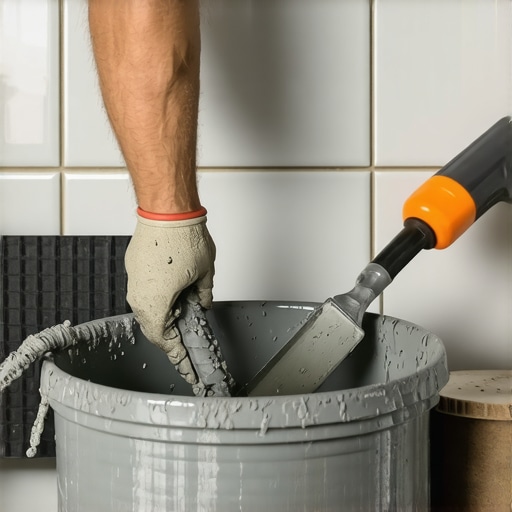
The molecular bond of modern mortars
Mixing thinset for wall tiles requires polymer-modified mortar to ensure a high-suction chemical bond. This bond prevents vertical slip and handles the weight of heavy ceramic or stone. Proper water ratios are the only way to activate these chemical additives and achieve professional results. Most guys skip the leveling compound. They think the underlayment will hide the dip. It won’t. I spent three days grinding concrete on a job last month just so the floor wouldn’t click like a castanet. That same level of obsession applies to your walls. When you are standing in a shower stall at seven in the morning, you are relying on the crystalline structures of Portland cement to fight gravity. If you get the mix wrong, those crystals never form a proper lattice. I have seen guys dump a bag of cheap mortar into a bucket of pond water and wonder why the subway tile is sliding down the wall like a slow-motion car crash. It is about the chemistry of hydration. You are not just getting things wet. You are triggering a chemical reaction that transforms a powder into a structural adhesive. This is why we focus on the mechanical properties of the grab. You need that instant suction. You need the mortar to hold the tile exactly where you press it without the need for a dozen spacers that eventually fail. It starts with the bucket. It starts with the water. If you do not respect the process, the house will let you know in six months when the grout starts cracking or the tiles sound hollow when you tap them.
“A floor is only as good as the subfloor beneath it; deflection is the enemy of every joint.” – Master Flooring Axiom
The slaking ritual and why it matters
The slaking process is a mandatory ten minute rest period after the initial mixing of thinset mortar. This allows the dry polymers and chemical additives to fully saturate and activate. Skipping this step leads to a weak bond and a mixture that dries out too quickly on the wall. You see it on every amateur job site. Someone mixes the mud, sees it looks good, and immediately starts troweling it onto the substrate. That is a death sentence for your tile. Those little chemical beads in the powder need time to wake up. When you let the mortar sit, or slake, you are allowing the water to penetrate the core of the cement particles. After ten minutes, you mix it again without adding more water. This breaks the initial set and gives you a creamy, peanut butter consistency that stays open longer. If you ignore this, you will find your mortar skinning over before you even get the tile on the wall. This is especially true when working on showers that wow where moisture management is the priority. The water you use should be cool and clean. Warm water accelerates the set time and ruins your working window. I have seen guys try to use hot water from a garden hose in the summer. By the time they hit the second row of tile, the bucket was a brick. You want to mix at a low speed, around 300 RPM. If you go too fast, you whip air into the mix. Those air bubbles are pockets of weakness. They reduce the surface area of the bond and create failure points.
| Mortar Type | Best Use Case | Working Time | Sag Resistance |
|---|---|---|---|
| Unmodified | Floor tile over cement board | 2 hours | Low |
| Polymer-Modified | Wall tile and wet areas | 3 hours | High |
| Large Heavy Tile (LHT) | Large format stone or porcelain | 4 hours | Superior |
Gravity and the vertical slip test
Vertical slip resistance is the measure of a mortar ability to hold a tile in place on a vertical surface without sagging. Professional grade thinset is engineered with high-viscosity polymers that create an immediate mechanical lock upon contact. This ensures that even heavy tiles remain perfectly aligned during the curing process. When you are dealing with wall tile, gravity is your primary antagonist. You are looking for a specific type of grab. I call it the vacuum effect. When you press a tile into a properly notched bed of thinset, the ridges should collapse and create a vacuum that pulls the tile toward the substrate. If your mix is too thin, it acts like a lubricant and the tile slides. If it is too thick, you cannot collapse the ridges and you end up with poor coverage. You want a consistency that hangs off the trowel without dripping but still feels supple when you spread it. I always check the back of my tiles periodically. I pull one off and look at the coverage. If I do not see 95 percent coverage in a wet area, I stop everything. You cannot afford gaps behind the tile in a shower. Those gaps collect moisture. They grow mold. They eventually cause the bond to fail. It is the same reason you need to pay attention to your grout restoration secrets later on. If the foundation is bad, the finish will never hold up. You have to be a stickler for the details. If you are not sweating the small stuff, you are in the wrong trade.
“Proper thin-set coverage for wet areas must exceed 95% to prevent water accumulation behind the tile.” – TCNA Handbook Standards
The structural failure of air bubbles
Air entrapment in thinset mortar significantly reduces the compressive and shear strength of the tile installation. Excessively high mixing speeds or improper troweling techniques introduce voids that compromise the bond. A solid, void-free mortar bed is the only way to ensure long-term durability on wall surfaces. Think about the physics here. A tile is a rigid body. The wall is also a rigid body. The mortar is the interface. If that interface is 20 percent air, you have 20 percent less strength. When the house shifts or vibrates, those air pockets become the starting point for cracks. I always use a margin trowel to scrape the sides of the bucket. You do not want dry powder chunks falling into your smooth mix. It is like a grain of sand in a watch movement. It ruins the whole mechanism. Also, the angle of your trowel matters. You should hold it at a 45 degree angle to get consistent ridge heights. Then, you collapse those ridges by moving the tile slightly across the grain. This is how you achieve the perfect grab. It is not about brute force. It is about technique. I have spent 25 years perfecting this, and I still treat every bucket like it is the most important one I have ever mixed. Even when you are finishing the bottom row and thinking about baseboards makeover ideas, you cannot rush the thinset. The transition from floor to wall is where most failures occur because people get lazy at the finish line.
- Use a clean five gallon bucket with no dried mortar residue.
- Always pour the water in first to prevent powder from clumping at the bottom.
- Mix at a slow speed to avoid introducing air into the chemical matrix.
- Allow the mixture to slake for at least ten minutes to activate polymers.
- Check coverage frequently by pulling a tile to verify 95 percent contact.
- Keep the bucket out of direct sunlight to maintain a consistent temperature.
Baseboards and the final perimeter seal
The junction between the wall tile and the floor requires a specific expansion gap to accommodate structural movement. Filling this gap with rigid grout instead of flexible sealant often leads to cracking at the base of the wall. Professional installers always leave a 1/8 inch gap at the bottom to ensure the longevity of the installation. This is the part where most people mess up. They run the tile all the way to the floor and then jam grout into the corner. Houses move. They breathe. They expand and contract with the seasons. If you have a rigid joint at that 90 degree angle, something is going to snap. It is usually the grout, but sometimes it is the tile itself. I always tell people to look at their chic baseboard designs for inspiration on how to hide these gaps, but the gap must exist. You need to use a color-matched 100 percent silicone caulk for that bottom joint. It stays flexible. It handles the movement. It is the same principle as the expansion gap you leave around the perimeter of a hardwood floor. If you do not give the material room to move, it will find its own room, and you will not like how it does it. If you have old grout that is already failing at the base, you should look into how to refresh grout without replacing it to see if you can save the installation. But for a new build, do it right the first time. Leave the gap. Use the right mortar. Respect the chemistry. That is how you build a floor and a wall that lasts a lifetime.