
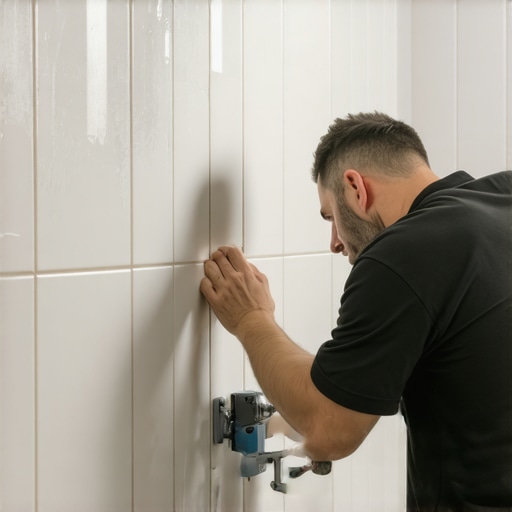
The microscopic reality of shower leaks
Repairing a punctured shower liner without removing tile requires the precise application of low-viscosity waterproofing resins or hydrophobic epoxy injected through the grout lines into the subfloor void. This method addresses capillary action and hydrostatic pressure by creating a chemical bond with the PVC or CPE membrane. It is a surgical procedure that preserves the aesthetic integrity of your showers while stopping moisture migration into the wooden framing. I have spent twenty five years on my knees with a moisture meter and a level. I have seen the damage that a single pinhole can cause. I once walked into a house where a fifteen thousand dollar wide plank walnut floor was cupping so bad it looked like a potato chip because the installer did not check the crawlspace humidity or the adjacent shower pan. Water is a patient hunter. It finds the path of least resistance. When a shower liner is punctured, usually by a dropped tool during construction or a poorly aimed grout saw, the water does not just sit there. It wicks through the mortar bed and begins to rot the subfloor from the inside out. You do not always need a sledgehammer to fix this. You need chemistry and physics. The smell of PVC cement and damp lumber is a scent I know too well. Most guys will tell you to rip it all out. They want the easy payday. But if you understand the molecular structure of the liner and the way water moves through porous thin-set, you can perform a surgical strike. This is about the physics of the assembly, not just the appearance of the tile.
The physics of the shower pan assembly
A shower pan is a complex multi-layered system designed to manage water via gravity and capillary breaks through the use of a pre-slope and a waterproof membrane. The mortar bed acts as a sponge, while the liner serves as the final fail-safe that directs moisture toward the weep holes in the drain assembly. Understanding this layering is essential before attempting a repair. When you look at your tile, you are seeing the cosmetic layer. Below that is a world of cementitious material that is constantly absorbing and releasing moisture. If the liner is breached, the water bypasses the drain. It starts a slow, destructive journey into your floor joists. The chemical bond of modified thin-set is strong, but it is not a vapor barrier. This is why grout is never the primary waterproofing. People think that if they just put more sealer on the grout, the leak will stop. It will not. Water will find the micro-fissures. You need to reach the liner itself. This requires a deep understanding of the TCNA standards for shower receptors. You have to know where the liner sits in relation to the substrate. Usually, it is buried beneath two inches of sand mix. That is a long way for an epoxy to travel without losing its structural integrity.
“A floor is only as good as the subfloor beneath it; deflection is the enemy of every joint.” – Master Flooring Axiom
The surgical approach to liner repair
Localized repair of a shower liner involves the removal of specific grout sections to provide an entry point for high-pressure injection of waterproofing compounds. This technique utilizes polyurethane resins or two-part epoxies that have a high tensile strength and the ability to cure in damp environments. You are essentially creating a new, localized membrane on top of the old one. First, you must identify the exact location of the puncture. This is often the hardest part. You use a moisture map. You look for where the subfloor is the wettest from the underside. Once you have the coordinates, you clear out the grout. Do not use a power tool here. One slip and you make the hole bigger. Use a manual carbide scraper. You want to reach the top of the mortar bed. From there, you use a long needle to inject the resin. The resin must be thin enough to flow through the porous mortar but thick enough to form a plug. This is where the chemistry comes in. If the viscosity is off, the repair fails. It is like trying to fix a tire from the inside without taking it off the rim. It is difficult, but possible if you have the right materials. If you find your grout restoration needs are extensive, you might consider refreshing the entire surface after the leak is sealed.
The chemistry of hydrophobic resins
Hydrophobic resins work by reacting with the moisture present in the mortar bed to expand and create a watertight seal that is impervious to further liquid penetration. These chemicals are engineered to seek out voids and fill them with a non-porous cell structure that can withstand hydrostatic pressure. When the resin hits the water, it begins to cross-link. It turns from a liquid into a dense, rubbery solid. This solid is often stronger than the original PVC liner. You are looking for a product with a high elongation rate. The shower pan moves. It expands and contracts as the water temperature changes. If your patch is brittle, it will crack within a month. You need something that can flex. This is why standard hardware store epoxies are useless here. They are too rigid. You need a specialized flooring architectural grade resin. I have seen guys try to use silicone. Silicone does not bond to wet cement. It is a waste of time. You need a chemical that loves water during the application phase but hates it once it is cured. This is the paradox of high-end floor repair. The material has to be compatible with both the inorganic cement and the organic polymers of the liner. It is a tightrope walk of chemical engineering. If you are looking for how to refresh grout without replacing it, ensure the moisture levels are below three percent before you begin.
| Material Type | Moisture Resistance | Flexibility Rating | Cure Time |
|---|---|---|---|
| PVC Liner | 100% | High | N/A |
| Modified Thin-set | Low | Low | 24 Hours |
| Injection Resin | High | Medium | 12 Hours |
| Standard Grout | Moderate | None | 48 Hours |
The 1/8 inch that ruins everything
A measurement error of as little as 1/8 inch in the pre-slope or the placement of the liner can lead to standing water that eventually causes the membrane to degrade. This stagnant water creates an acidic environment that eats away at the adhesives and the plasticizers in the liner. When I am inspecting a shower, I look for the slope first. If the water is not moving toward the drain, the liner is under constant stress. Over time, the PVC becomes brittle. A brittle liner punctures easily. Even the weight of a person stepping on a tile can cause a crack if there is a void underneath. This is why I always emphasize the subfloor. Most guys skip the leveling compound. They think the underlayment will hide the dip. It won’t. I spent three days grinding concrete on a job last month just so the floor wouldn’t click like a castanet. The same logic applies to showers. If the foundation is soft, the liner will fail. When you are doing a surgical repair, you are also reinforcing that small area of the subfloor. The resin acts as a structural grout. It fills the void and stops the movement. You are fixing the leak and the cause of the leak at the same time. This is what separates a master from a handyman. You have to think three layers deep. You have to consider the mil-thickness of the wear layer on the tile and the deflection of the joists below.
- Inspect the subfloor from the crawlspace for water staining.
- Use a non-invasive moisture meter to map the leak perimeter.
- Remove grout manually to avoid further liner damage.
- Inject high-grade polyurethane resin at the puncture site.
- Perform a 24-hour flood test to verify the seal.
- Re-grout the entry points with matching color-matched sealer.
Why your subfloor is lying to you
The subfloor often hides the true extent of a shower leak because wood can absorb up to 30 percent of its weight in water before showing visible signs of decay. By the time you see a water spot on the ceiling below, the plywood or OSB has already begun to lose its structural integrity. This is the danger of the