
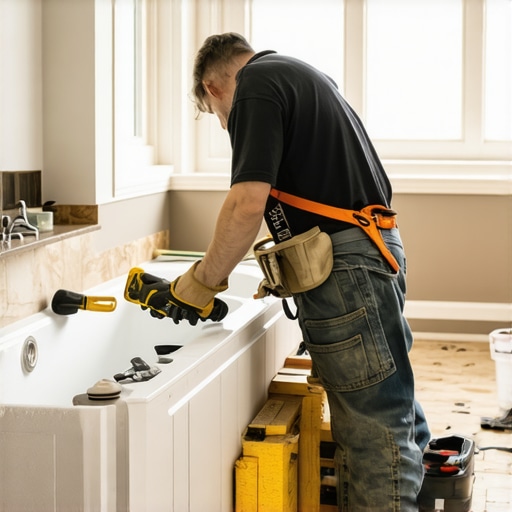
I have spent twenty five years on my knees with a moisture meter and a level. I have smelled enough WD-40 and oak dust to last three lifetimes. Most guys skip the leveling compound. They think the underlayment will hide the dip. It won’t. I spent three days grinding concrete on a job last month just so the floor wouldn’t click like a castanet. That job involved a curved bathtub that the previous installer tried to trim with straight pine. The wood had snapped, the grout was crumbling, and the homeowner was furious. It was a mess that could have been avoided with a bit of respect for the physics of the curve.
The nightmare of the curved radius
Curved bathtub skirts require specialized flexible baseboards or kerf cutting techniques to maintain a tight seal against the tub apron. Standard straight trim will not conform to a radius without snapping or creating unsightly gaps. You must choose between polyurethane flexible molding or manual wood modification to achieve a professional finish that lasts for decades.
When you look at a curved tub, you are looking at a geometry problem. Wood fibers are straight. They like to stay straight. If you force them into a curve, the outer fibers stretch and the inner fibers compress. In a bathroom, where humidity fluctuates every time someone takes a hot shower, that tension is a ticking time bomb. If you do not manage that tension, the baseboard will pull away from the wall or the tub, leaving a gap that invites mold and rot. I have seen it happen in high end homes where they spent a fortune on showers that wow but pennies on the trim installation. You can see some of those high end concepts at showers that wow modern designs for 2025.
Why your subfloor is lying to you
Subfloor levelness is the single most important factor when installing baseboards on curved bathtub skirts because any vertical dip creates an uneven gap that trim cannot bridge. You must use a self-leveling compound or manual grinding to ensure the floor-to-tub transition is perfectly flat before applying trim or tile. Most installers assume the tub is level, but it rarely is.
I once walked into a project where the floor had a 1/4 inch dip right at the apex of the tub curve. The installer tried to force the baseboard down, which caused the top of the board to tilt away from the tub. It looked like garbage. We had to rip it all out, grind the high spots of the concrete, and pour a feather finish to get it flat. If the subfloor is not dead level, your curved trim will look like a roller coaster. This is especially true when working with chic baseboard designs that transform rooms in 2025, where precision is the hallmark of the aesthetic.
“A floor is only as good as the subfloor beneath it; deflection is the enemy of every joint.” – Master Flooring Axiom
The physics of the relief cut
Kerf cutting involves making a series of vertical saw cuts on the backside of a wood baseboard to allow it to bend around a curved bathtub. These cuts must reach roughly 80 percent through the thickness of the material to be effective. The spacing of the kerfs depends entirely on the radius of the curve, with tighter curves requiring closer spacing between cuts.
If you choose to use real wood, like a 3/4 inch oak or maple, you have to be a surgeon with the miter saw. I set my depth stop so the blade leaves just a thin skin of wood on the face. If you go too deep, the board snaps. If you do not go deep enough, it won’t bend. I usually space my cuts every half inch for a standard garden tub. When you bend that board, those kerfs close up on the inside, allowing the face to remain smooth. However, you have to be careful with the end grain. Unsealed end grain in a bathroom is a sponge. Every cut you make is a new entry point for moisture. You have to seal those kerfs with a water resistant primer before installation. [IMAGE_PLACEHOLDER]
Polymer bonds that never let go
Adhesive selection for curved baseboards must account for material expansion and the non-porous nature of fiberglass or acrylic tubs. A high-tack polyurethane construction adhesive is required to hold the tension of a bent board while it cures. You cannot rely on finish nails alone because they will pull out of the studs under the constant pressure of the wood trying to straighten itself.
Most people make the mistake of using a standard water based caulk or wood glue. In a bathroom, the humidity will break that bond in months. I use Loctite PL Premium or a similar structural adhesive. You apply a heavy bead to the back of the trim, press it into place, and then use heavy weights or temporary braces to hold it until it sets. If you are going against a tiled surface, you need to make sure the grout is fully cured first. For tips on maintaining that area, check out tile-cleaning tips for a sparkling bathroom in 2025. The chemical bond is what keeps the trim from snapping back to its original shape.
| Material Type | Flexibility Rating | Moisture Resistance | Difficulty Level |
|---|---|---|---|
| Solid Wood (Kerfed) | Low | Medium | High |
| PVC / Vinyl | High | High | Low |
| Polyurethane | Very High | High | Medium |
| MDF | Zero | Very Low | N/A |
The 1/8 inch gap that ruins everything
Expansion gaps are mandatory for flooring and baseboard transitions to prevent buckling and joint failure. When installing trim around a tub, you must leave a 1/8 inch gap at the floor line and the tub meeting point to be filled with 100 percent silicone sealant. This allows the different materials to expand and contract at different rates without cracking the finish.
I have seen beautiful showers ruined because the installer ran the baseboard tight against the floor and then grouted the gap. Tile moves. Tubs move when they fill with hundreds of pounds of water. If that joint is rigid, it will crack. You need a flexible sealant that matches your grout color. If your grout is already failing, you might need grout restoration secrets for long lasting results. The goal is a waterproof, flexible bridge. Here is the checklist I use for every curved tub job:
- Check subfloor for flatness within 1/8 inch over 10 feet.
- Measure the radius of the tub using a template tool.
- Select flexible polyurethane trim for radii tighter than 12 inches.
- Apply back-priming to all wood surfaces to prevent moisture absorption.
- Use stainless steel trim nails to prevent rust bleed in wet areas.
- Seal the bottom edge with 100 percent silicone, never acrylic caulk.
Regional humidity and the swelling factor
Regional climate conditions like the swampy humidity of Houston or the dry heat of Phoenix significantly impact how baseboards behave around wet areas. In high humidity environments, engineered cores or PVC baseboards are superior to solid wood because they do not swell and contract as violently. In dry climates, wood will shrink, potentially pulling your mitered corners apart.
If you are in a place like Florida, installing solid wood baseboards against a tub is asking for trouble. The moisture from the shower combined with the ambient humidity will cause the wood to cup. This is why I often steer my clients toward high density polyurethane. It looks like wood once painted, but it is inert. It doesn’t care about the humidity. It stays where you put it. If you want to see how this fits into a broader home update, look at baseboards makeover ideas to elevate your space. Precision in these environments is the difference between a floor that lasts and a floor that fails.
“Movement is inevitable; the goal of the installer is to manage where that movement occurs without compromising the aesthetics.” – NWFA Installation Standards
Managing the moisture barrier in showers
Moisture barriers must remain continuous behind the baseboard to protect the wall studs from wicking water. When you nail baseboards into a tub skirt area, you are potentially puncturing the waterproofing membrane if the tub was not framed correctly. You must know exactly where your framing members are before you fire a single nail.
I prefer to use adhesive as the primary fastener and nails only where absolutely necessary. This preserves the integrity of the vapor barrier. If you are dealing with a small space, you can find more inspiration at showers with a style trendy ideas for small bathrooms. The intersection of the baseboard, the tile, and the tub is the most vulnerable point in a bathroom. If water gets behind that trim, it has nowhere to go. It sits there and rots the base plate of your walls. That is why the silicone bead is not just for looks; it is a structural necessity.
Final field notes
Installing baseboards on a curved tub skirt is not a DIY task for the faint of heart. It requires a deep understanding of material science and a stubborn refusal to accept an uneven subfloor. You have to prep the surface, choose the right material for your local climate, and use adhesives that can handle the stress of the curve. Do not let a beautiful bathroom be ruined by lazy trim work. Take the time to do the kerf cuts right, or spend the money on the high quality flexible molding. Your floor, and your home, will thank you for it ten years down the line.