
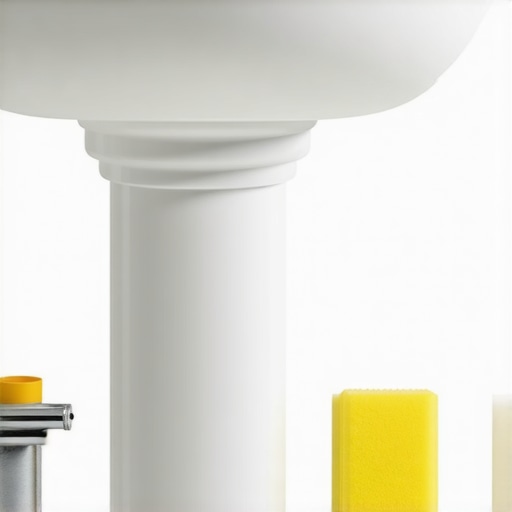
The hidden failure of the pedestal base
Sealing the base of a pedestal sink requires a waterproof bond that accounts for structural shifting and moisture vapor transmission. Most homeowners assume a quick bead of cheap caulk solves the problem. It does not. I spent three days grinding concrete on a job last month just so the floor would not click like a castanet, and right next to that perfectly leveled floor was a pedestal sink that had been leaking into the subfloor for years. The previous installer forgot that a pedestal sink is a heavy lever of vitreous china. Every time someone leans on that basin, the base micro-shifts. If your seal is brittle or low-grade, it snaps. I have seen fifteen thousand dollar walnut floors cupping like potato chips because a sink base was not sealed against the humidity rising from the crawlspace. You need a seal that handles the physics of the weight and the chemistry of the bathroom environment.
The physics of movement and ceramic weight
A standard pedestal sink can weigh anywhere from sixty to over one hundred pounds depending on the density of the ceramic. This weight is concentrated on a small footprint. When you install this on tile, you are placing immense pressure on the glaze and the substrate below. If the subfloor has even a millimeter of deflection, that pedestal will rock. You cannot fix a structural rock with caulk. You must ensure the floor is dead level first. I smell the oak dust and WD-40 on my clothes every time I have to rip out a rotted subfloor because someone thought the sealant was a structural adhesive. It is not. The sealant is a moisture barrier. Its job is to prevent water from showers or splashes from migrating under the pedestal where it cannot evaporate.
“A floor is only as good as the subfloor beneath it; deflection is the enemy of every joint.” – Master Flooring Axiom
Why your subfloor is lying to you
Subfloor moisture is the silent killer of bathroom installations and sink seals. Even if the surface looks dry, the concrete slab or plywood below might be holding a high percentage of relative humidity. If you trap that moisture under a non-porous pedestal base with a full perimeter seal, you create a petri dish. This is why I always leave a small weep hole at the back of the pedestal. It allows the floor to breathe. I have seen guys seal the whole thing tight, only to have the grout around it crumble because of hydrostatic pressure. Most guys skip the leveling compound. They think the underlayment will hide the dip. It won’t. You need to verify the floor flatess within an eighth of an inch over ten feet before that pedestal even touches the ground.
The chemistry of the perfect bead
The choice between 100 percent silicone and siliconized acrylic determines the longevity of your bathroom seal. Silicone has a higher Shore A hardness and better elongation properties. This means it can stretch when the house settles in the winter and compress when the humidity of a place like Houston or Miami hits in the summer. Acrylic caulk is easier to tool but it shrinks. As it loses its moisture content during the curing process, it pulls away from the ceramic. This creates micro-fissures. Water finds those fissures. It is the same reason people have to look into how to refresh grout without replacing it after just a few years. They used the wrong material for a high-moisture zone.
Sealant material performance comparison
| Material Type | Elongation Capacity | Moisture Resistance | Shrinkage Rate |
|---|---|---|---|
| 100% Silicone | High (25%+) | Excellent | Near Zero |
| Siliconized Acrylic | Moderate | Good | 5% to 10% |
| Traditional Grout | Zero | Low | Minimal |
The danger of the trapped puddle
Water that seeps under a sink base without a weep hole will eventually rot the subfloor or delaminate the tile adhesive. If you are working with baseboards nearby, you will see the paint start to bubble at the bottom. That is a sign of moisture migration. You should always use a mold-resistant sealant that contains a high concentration of fungicides. The chemistry of the sealant must fight off the organic growth that thrives in dark, damp spaces under the sink.
The preparation checklist for a dry floor
- Vacuum the pedestal base and the floor to remove all debris.
- Clean both surfaces with denatured alcohol to remove oils.
- Apply painter’s tape to the floor and the pedestal base to ensure a clean line.
- Check the floor for levelness using a precision level.
- Verify that the sink is bolted to the wall studs to prevent lateral movement.
The ghost in the expansion gap
Every flooring material expands and contracts based on the atmospheric conditions of the room. If you are installing on a floating floor, never seal the pedestal to the floor itself. You must seal the pedestal to the subfloor or use a decorative trim that allows the floor to move independently. If you lock a floating floor down with a heavy pedestal sink and a thick bead of silicone, the floor will buckle. It is a common mistake. People want a clean look, but they ignore the mechanical requirements of the materials.
“The most expensive floor is the one you have to install twice.” – Master Flooring Axiom
Refining the aesthetic with precision tooling
A messy bead of caulk ruins the look of high-end ceramic. Use a spray bottle with a mixture of water and a few drops of dish soap. After you lay down your bead of silicone, mist it lightly. Use a profiling tool or a gloved finger to smooth the bead. The soap prevents the silicone from sticking to the dry parts of the ceramic or the chic baseboard designs you just installed. It results in a professional finish that looks like it came from the factory.
Final technical review
Success depends on the microscopic preparation of the surfaces. If there is even a thin layer of dust, the chemical bond will fail. The silicone will peel off like a dead skin cell. I always tell my apprentices that the cleaning takes longer than the sealing. If you do it right, that seal will last twenty years. If you do it wrong, you will be looking at a mold problem in six months. Check your levels. Clean your surfaces. Leave a weep hole. That is how a pro does it.