
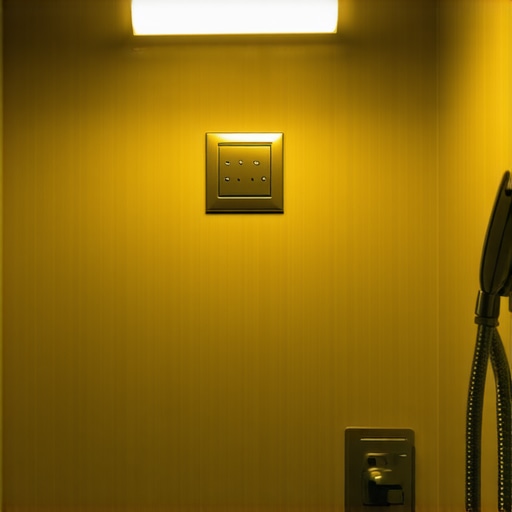
I spent three days grinding concrete on a job last month just so the floor wouldn’t click like a castanet. That is the reality of this trade. Most guys skip the leveling compound. They think the underlayment will hide the dip. It won’t. I see the same laziness in bathroom installs every single week. People focus on the pretty tile and forget that water is a persistent, hungry solvent. If your shower light is flickering, you are not just looking at a bad bulb. You are likely looking at a structural failure where moisture has breached your vapor barrier and is playing games with your voltage. My knees are shot and I smell like WD-40 because I do things the right way. I have seen the damage that a 1/8 inch gap in grout can do to an entire electrical circuit. It is not pretty. We are going to look at the physics of why your ceiling is humming and your light is blinking like a neon sign in a dive bar.
The moisture trap behind your tiles
A flickering shower light indicates moisture infiltration into the electrical housing or a loose connection caused by thermal expansion and contraction of the bathroom structure. When grout cracks or tiles de-bond, water vapor migrates into the wall cavity. This creates a high conductivity environment that leads to arcing, short circuits, and dangerous electrical instability in the ceiling joists. This is not just an annoyance. It is a fire hazard hidden behind your aesthetic choices. Water moves through capillary action. If your grout is porous, it acts like a wick. It pulls moisture from the shower spray and deposits it directly onto the timber framing. Once that timber reaches a certain moisture content, it swells. That swelling puts pressure on electrical boxes. It pulls at the Romex staples. It loosens the wire nuts. You see a flicker. I see a structure that is literally pulling itself apart because someone used cheap grout. You should check out grout restoration secrets for long lasting results to understand how to keep that barrier intact. A floor or a wall is only as strong as its weakest joint. If that joint lets water in, the electricity will find it.
Why your subfloor might be the culprit
Subfloor deflection causes wall movement that vibrates electrical fixtures and creates intermittent contact in ceiling light circuits. If your subfloor is not rigid, it moves when you walk near the shower. That movement travels up the studs. It shakes the light fixture. If the wire nuts are not torqued to spec, the light flickers. Most installers ignore the L/360 deflection standard. They think a little bounce is fine. It is not fine. It breaks the bond of your tile and it ruins your wiring.
“A floor is only as good as the subfloor beneath it; deflection is the enemy of every joint.” – Master Flooring Axiom
I have walked into million dollar homes where the owner was complaining about a blinking LED in the master bath. I didn’t look at the light. I looked at the floor. The subfloor was 1/2 inch plywood with a 24 inch span. Every time someone walked into the room, the ceiling flexed. The electrical box was literally dancing. You need to ensure your baseboards are properly installed to hide these structural transitions. See chic baseboard designs that transform rooms in 2025 for ideas on how to finish these spaces without compromising structural integrity. If your floor moves, your lights will blink. It is physics.
The chemical bond of modified thin-set
Modified thin-set provides the polymer bond necessary to prevent tile movement that exposes electrical components to damp air. Standard mortar is brittle. Polymer modified mortar has flexibility. It can handle the heat cycles of a hot shower. If the installer used the wrong mud, the tiles will tent. When tiles tent, they pull away from the wall. This creates a chimney effect. Warm, moist air is sucked up behind the tile. It hits the cold electrical box. It condenses. Now you have liquid water sitting on your light socket. That is why your light is flickering. It is a chemical failure as much as a structural one. I always tell people to look at their tile cleaning habits too. Using the wrong chemicals can degrade the polymer bond over time. Check tile cleaning tips for a sparkling bathroom in 2025 to keep your shower sealed. While most people want the thickest underlayment, too much cushion actually causes the locking mechanisms on LVP to snap under pressure, and the same logic applies to tile. Too much flex in the adhesive layer leads to failure. We need a rigid, waterproof assembly. Below is a comparison of how different materials handle moisture in these environments.
| Grout Type | Water Absorption Rate | Chemical Resistance | Best Use Case |
|---|---|---|---|
| Cementitious | High 8-10% | Low | Low moisture areas |
| Modified Epoxy | Low 0.5% | High | Steam showers |
| Urethane | Low 1% | Medium | General residential |
The ghost in the expansion gap
The lack of a proper expansion gap at the perimeter of a bathroom floor puts lateral pressure on walls that can pinch electrical wiring. Most people think you butt the tile right against the wall. You don’t. You need a 1/4 inch gap. This gap is hidden by your baseboards. If you don’t have it, the floor expands as it gets wet and warm. It pushes against the bottom of the wall studs. This tilts the studs ever so slightly. That tilt is enough to pull a wire loose in a ceiling fixture five feet away. I have spent years tracking down flickers that were caused by a floor that was too tight. It is a hidden force. You can’t see it until you pull the baseboards off. If you are doing a makeover, look at baseboards makeover ideas to elevate your space to see how to cover these necessary gaps. It will save your lights and your sanity.
“Structural expansion must be accounted for in every plane of the installation to prevent mechanical failure of secondary systems.” – Master Flooring Axiom
How to fix the flicker without burning the house down
Fixing a flickering shower light requires checking the bulb seating, inspecting the wire nuts for corrosion, and re-sealing the tile envelope to stop moisture. First, turn off the breaker. Do not trust the switch. I have seen too many DIY guys get a buzz because they thought the switch was enough. Remove the trim kit. Look for green crust on the wires. That is copper oxide. It means water is getting in. You need to clean that off and tighten the connections. Then you need to find out where the water is coming from. Is the grout cracked? Is the caulk at the ceiling line failing? If you have a small bathroom, this is even more vital. Take a look at trendy ideas for small bathrooms to see how modern designs manage moisture. You must ensure the seal is perfect. Follow this checklist to diagnose your issue accurately.
- Check the bulb for a loose filament or improper seating in the socket.
- Inspect the electrical box for signs of moisture or rust.
- Verify that the wire nuts are tight and not showing signs of heat damage.
- Test the grout around the fixture for cracks using a moisture meter.
- Ensure the bathroom exhaust fan is pulling at least 50 CFM to clear vapor.
- Check the subfloor for bounce that might be vibrating the fixture.
If you find that your grout is the culprit, you don’t always have to rip it all out. There are ways to fix it. See how to refresh grout without replacing it for a quicker fix that still protects your electrical. It is about maintaining the barrier. If the barrier holds, the lights stay on. It is that simple. I have spent 25 years on my knees making sure those barriers hold. I don’t want to see your house smoke because you ignored a blink. Get it fixed right. Use the right thin-set. Use the right grout. Respect the physics of the room. Your shower should be a place to relax, not a place to worry about a short circuit.