
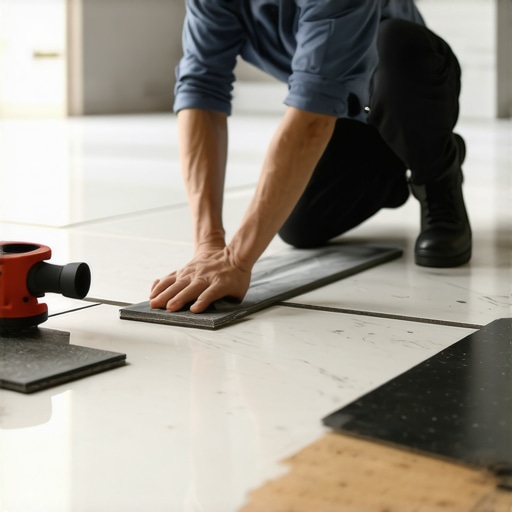
Most guys skip the leveling compound. They think the underlayment will hide the dip. It won’t. I spent three days grinding concrete on a job last month just so the floor wouldn’t click like a castanet. That is the reality of modern flooring. You cannot hide garbage with expensive porcelain. When a homeowner asks if they can just slap tile over their old kitchen vinyl, I tell them the same thing every time. It depends on the chemistry of the bond and the stiffness of the bones underneath. If you ignore the deflection or the wax buildup on that old sheet goods, your new grout lines will turn into dust within six months.
The gamble of the existing substrate
Installing tile over vinyl is possible only if the vinyl is fully adhered, non-cushioned, and the subfloor meets L/360 deflection standards. You must verify that the vinyl is not perimeter-bonded and that the structural integrity of the joists can support the dead load of the ceramic or stone. This is a performance surface, not a sticker. Most people fail because they do not understand that vinyl acts as a cleavage membrane. If that membrane moves, the tile snaps. You are looking for a rock-solid foundation, not a soft plastic pillow. If your vinyl has a thick foam backing, stop now. You have to rip it out. There is no adhesive on the planet that can turn a sponge into a bridge.
Why your subfloor is lying to you
The deflection rating of your subfloor determines if your tile installation lives or dies. A subfloor for tile must meet a minimum L/360 rating, which means the floor should not bend more than the length of the span divided by 360 under a concentrated load. Vinyl hides rot. I have seen 5/8 inch plywood that looked fine from the top but was soft as wet cardboard underneath because of a slow leak at the refrigerator line. You have to check the Janka hardness of the wood and the spacing of your joists. If those joists are 24 inches on center, you cannot just throw tile down. You need another layer of 1/2 inch exterior grade plywood or a cement backer board to kill the bounce. [IMAGE_PLACEHOLDER]
“A floor is only as good as the subfloor beneath it; deflection is the enemy of every joint.” – Master Flooring Axiom
The chemical handshake of thinset and plastic
Modified thinset mortars are the only option for bonding ceramic tile to vinyl because they contain latex or acrylic polymers that create a mechanical bond. These polymer chains wrap around the microscopic imperfections in the vinyl surface to create a bridge for adhesion. Standard unmodified mortar relies on suction and capillary action, which works great on porous concrete but fails miserably on non-porous PVC vinyl. You are looking for a Type 1 organic adhesive or an ANSI A118.4 modified mortar. Without these additives, the tile is just sitting on the floor like a plate on a table. One good stomp and the bond breaks. I have seen entire floors pop up like a deck of cards because someone used the cheap bag of mud.
| Material Property | Sheet Vinyl (Fully Adhered) | Luxury Vinyl Plank (Floating) | Old VCT Tile |
|---|---|---|---|
| Bonding Potential | High (if scarified) | Zero (Must remove) | Excellent (if stable) |
| Flexibility | Moderate | High | Low |
| Required Prep | Degloss and Prime | N/A | Stripping Wax |
The 1/8 inch that ruins everything
Surface flatness is more important than surface levelness when you are dealing with large format tiles. A floor flatness tolerance of 1/8 inch over 10 feet is the industry standard for large format porcelain. If your vinyl has a dip, the tile will lippage. This means one edge of the tile sits higher than the other. It is a trip hazard and it looks like amateur hour. You need to use a self-leveling underlayment that is rated for use over non-porous substrates. Before you pour, you must use a multipurpose primer to ensure the leveler does not peel off the vinyl like a scab. I have spent years fixing floors where people thought they could just use more thinset to level the floor. Thinset is an adhesive, not a filler. It shrinks as it cures, which pulls the tile down and creates voids.
Preparation steps for a permanent bond
- Strip all wax and floor finish using a heavy duty degreaser or mechanical sander.
- Check the entire perimeter for loose edges or air bubbles in the vinyl.
- Perform a bond test by installing one tile and trying to pry it up after 24 hours.
- Scuff the surface with 36 grit sandpaper to create a mechanical profile.
- Vacuum all dust and wipe with a damp sponge to ensure a clean surface.
Managing the vertical transition
Adding a layer of tile and mortar on top of existing vinyl will raise your floor height by at least 1/2 inch. This means your door casings will need to be undercut and your baseboards makeover will likely require new trim to hide the gap. You cannot just jam the tile against the wall. You need an expansion gap at the perimeter to allow for the house to breathe. If you lock the tile against the studs, the grout will crack as the seasons change. I have seen baseboards crushed because a floor expanded in the humidity and had nowhere to go. This is especially true if you are transitioning from a kitchen to a carpeted living room. You need a proper transition strip or a Schluter metal profile to protect the edge of the tile from chipping.
“Standard installation practices for ceramic tile require a rigid substrate; any movement in the subfloor will manifest as failure in the grout or tile body.” – TCNA Handbook Summary
The grout and tile synergy
The grout joint is the shock absorber of your floor. When installing over a flexible substrate like vinyl, using a high-performance grout with polymer additives is non-negotiable. These grouts have a higher compressive strength and better flexural properties than standard sand and cement mixes. If you find your grout is already failing, you might need to look into grout restoration secrets to stabilize the installation. However, restoration is a band-aid if the subfloor is moving. You have to get it right the first time. The chemistry of the grout must match the demands of the room. In a kitchen, you want epoxy grout or stain-resistant cementitious grout that can handle the grease and the traffic.
Showers and wet area exceptions
Never install tile over vinyl in wet environments. If you are looking at showers that wow, the first step is total demolition. Vinyl is a vapor barrier, but it is not a waterproofing system for a shower. Moisture will get trapped between the tile and the vinyl, leading to mold growth and delamination. In a bathroom, the moisture vapor emission rate (MVER) of the subfloor must be managed. If you trap moisture under a layer of vinyl and then cap it with tile, you are creating a petri dish in your floor. Always strip back to the subfloor in bathrooms and use a proper liquid applied waterproofing membrane or kerdi board.
The final structural verdict
Success in flooring is about managing energy. Every time someone walks across the floor, energy is transferred through the tile, into the mortar, through the vinyl, and into the wood. If any of those layers is weak, the energy will find the weakest point and break it. Most of the time, that is the bond between the mortar and the vinyl. By using a high-grit sandpaper to scarify the surface and a premium modified thinset, you give that energy a path to ground without breaking your tiles. It is a technical process that requires patience and the right tools. Do not rush the drying times. Give the mortar at least 48 hours to cure before you walk on it. The weight of a person can break the micro-bonds of the curing mortar if you are too impatient to wait. Follow the standards, check your levels, and treat the floor like the engineering challenge it is.