
Most guys skip the leveling compound. They think the underlayment will hide the dip. It won’t. I spent three days grinding concrete on a job last month just so the floor wouldn’t click like a castanet. That job taught me that if you do not fix the substrate, the grout will crack before the check clears. When you are staring at a floor that was installed ten years ago, you are not just looking at a color. You are looking at a decade of foot traffic, moisture cycles, and chemical exposure that has altered the molecular surface of that grout. Matching it is not about picking a stick from a plastic kit. It is about understanding the physics of aging and the chemistry of hydration. I have seen too many homeowners buy a bag of white grout and wonder why it looks like a neon sign against their off-white tiles. The reality is that matching old grout is a structural engineering challenge that starts with the subfloor and ends with a precise mix of iron oxide pigments.
The subfloor secret that ruins grout
Matching grout color requires stable subfloors because any movement causes micro-fractures that change light reflection. You must ensure the L/360 deflection standard is met before applying new pigmented cement. If the substrate flexes, the color bond will fail and lead to permanent shading shifts across the repair site. Most failures in grout matching occur because the installer ignored the bounce in the joists. When a floor moves, the grout joints are the first thing to fail. If you have a crack in your grout, simply filling it with a new color will not work. The movement will cause the new grout to pulverize into a fine dust, which then reflects light differently than the solid, aged grout around it. This creates a shadow line that makes the repair obvious even if the color was a perfect match in the bucket. For long-term results, you should look into grout restoration secrets for long-lasting results to ensure the structural integrity is sound before you even touch a pigment.
“A floor is only as good as the subfloor beneath it; deflection is the enemy of every joint.” – Master Flooring Axiom
The physics of aged grout discoloration
Aged grout discoloration happens through oxidation and the accumulation of microscopic particles within the porous cement matrix. To match old grout, you must identify the level of dirt saturation and calculate the UV fading that has occurred over the years. This process involves deep cleaning the control area to see the actual pigment remaining. Every time you mop a floor, you are pushing microscopic bits of dirt into the pores of the grout. Over five or ten years, these particles become a permanent part of the grout’s visual profile. If you try to match a brand new bag of grout to a floor that has five years of floor wax and foot traffic on it, you will lose every time. You have to scrub the existing grout with a professional-grade alkaline cleaner first. This is why tile cleaning tips for a sparkling bathroom in 2025 are so important for repair prep. Without a clean baseline, your color matching is just guesswork.
| Material Property | Cement Grout | Epoxy Grout | Polymer Grout |
|---|---|---|---|
| Water Absorption | 5 to 10 percent | 0.05 percent | 1 to 3 percent |
| Flexural Strength | 400 psi | 3000 psi | 1200 psi |
| UV Resistance | Moderate | High | Very High |
The cementitious math of pigment ratios
Calculating pigment ratios for grout requires measuring by dry weight mass rather than liquid volume to achieve a consistent color profile. You must account for the evaporation rate of water and the hydration of Portland cement which can darken or lighten the final hue based on ambient humidity. In my years on the job, I have seen guys try to eyeball it by adding a little bit of liquid dye to a bucket. That is a recipe for disaster. Grout is a hydraulic cement. The way it cures is a chemical reaction, not a drying process. If you add too much water, you wash out the pigments and end up with a chalky, weak joint. If you use too little, the cement never fully hydrates and the color stays dark and blotchy. I always recommend using distilled water for repairs. The minerals in tap water, like iron or calcium, can react with the grout pigments and cause a yellowing effect over time. If you are working on a sustainable project, consider eco-friendly tile solutions for sustainable homes in 2025 which often use more stable, mineral-based pigments.
Why your lighting is lying to you
Lighting conditions create metamerism where two grout colors appear identical under incandescent light but mismatch under natural sunlight or LED fixtures. You must check your color samples at different times of day and ensure the Kelvin rating of your bulbs matches the environment where the repair is taking place. I have walked into bathroom jobs where the grout looked like a perfect match at 8:00 AM, but once the sun hit those showers that wow in the afternoon, the repair looked purple. This is because pigments reflect light at different wavelengths. Modern LED lighting is particularly harsh on grout repairs. It highlights the texture differences between old, hand-mixed grout and new, polymer-modified grout. To combat this, I always mix a small test batch and let it cure for a full 24 hours. Never judge a grout color while it is wet. The hydration process takes time, and the color will usually lighten by three shades as the water leaves the matrix. This is especially true when working near baseboards makeover ideas to elevate your space where shadows can play tricks on your eyes.
The 1/8 inch that ruins everything
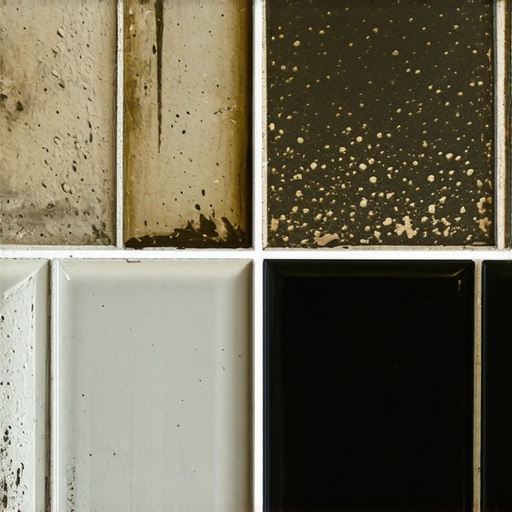
Narrow grout joints require unsanded grout to ensure the pigment density remains high enough to hide the repair seam. If you use sanded grout in a joint smaller than one-eighth of an inch, the sand particles will bridge the gap and leave voids in the color. This is a common mistake made by installers who want to use one bag for the whole house. Sanded grout is for large joints. The sand acts as a structural skeleton. In a tiny joint, that skeleton is too big, and you end up with a surface that looks like sandpaper. This texture difference is just as visible as a color mismatch. It catches the light differently and holds onto dirt faster than the surrounding area. When repairing high-moisture areas like showers with a style, the texture of the grout also affects how water beads on the surface, which in turn affects how the color looks when wet. [IMAGE_PLACEHOLDER_1]
“Proper curing of cementitious grout requires a controlled environment where moisture is retained long enough for the hydration of Portland cement particles to reach peak crystalline strength.” – TCNA Handbook for Ceramic Tile Installation
A checklist for perfect repair prep
- Scrape out at least two-thirds of the existing grout depth to ensure a mechanical bond.
- Vacuum all dust and debris from the joint to prevent pigment contamination.
- Wipe the tile edges with denatured alcohol to remove any oily residues or soap scum.
- Dampen the existing grout slightly to prevent it from sucking the moisture out of the new mix.
- Mix the grout to a peanut butter consistency to ensure the polymers are fully activated.
- Apply the grout with a firm rubber float at a 45-degree angle to the joint.
The final word on grout integrity involves patience. If you rush the cleaning process, you are just burying dirt under new cement. If you are struggling with a complex color, you might need to look at how to refresh grout without replacing it using a colorant or stain. This can provide a more uniform look across the entire floor if a spot repair is proving impossible. Remember that grout is not just a filler, it is a structural component of your floor system that must handle the stresses of thermal expansion and contraction every single day. Treat it with the respect it deserves, and your repair will last for decades.