
The physical reality of a ceramic impact
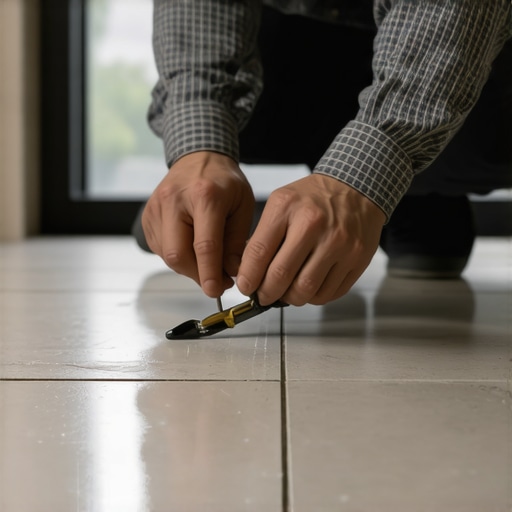
Repairing a chipped floor tile involves cleaning the crater, mixing a color matched resin, filling the void, and polishing the surface to match the original sheen. Most guys skip the leveling compound. They think the underlayment will hide the dip. It won’t. I spent three days grinding concrete on a job last month just so the floor wouldn’t click like a castanet. That job taught me that even the most expensive porcelain is vulnerable if the foundation is trash. When you drop a heavy tool on a brand new floor, the trauma is not just cosmetic. It is a structural failure of the glaze. This is especially true in high traffic zones like showers where water can penetrate a compromised surface. If you ignore a chip in a wet area, you are inviting moisture to rot the thinset from the inside out.
The hidden mechanics of the subfloor secret
A floor is only as good as the subfloor beneath it. Deflection is the enemy of every joint. If your tile chipped because a heavy object fell, that is one thing. If it chipped because the floor flexed under your weight, you have a bigger problem. I have seen thousand dollar installations fail because the installer did not check the L/360 deflection rating of the joists. Before you reach for the epoxy, tap the tile with your knuckle. If it sounds hollow, the bond has failed. You are not just fixing a chip, you are patching a symptom of a moving substrate. I remember a job in a high rise where the wind load actually caused enough floor vibration to pop the glaze off the edges of the grout lines. We had to use high flex additives just to keep the floor from eating itself.
“A floor is only as good as the subfloor beneath it; deflection is the enemy of every joint.” – Master Flooring Axiom
The exact science of resin color matching
Getting the color right is where most homeowners fail. They buy a generic white kit and wonder why it looks like a thumbprint of toothpaste on their floor. You need to understand the pigment load. Porcelain tiles are not a solid color through the body. The glaze is a thin layer of liquid glass fired at high temperatures. To mimic this, you need a two part polyester resin or a UV cured acrylic. I prefer the UV kits for small nicks because they do not shrink. If the resin shrinks during the curing cycle, it pulls away from the edges of the chip, creating a ring of shadow that screams “repair.” You should mix your pigments on a scrap piece of glass, not on the tile itself. Hold the glass over the tile to check the match under the actual lighting of the room.
Tools that separate pros from amateurs
You cannot do this with a butter knife and a prayer. You need a variable speed polisher, diamond sanding pads ranging from 800 to 3000 grit, and a surgeon’s precision with a razor blade. When you are working near baseboards, you have to be extra careful not to scuff the wood while you are leveling the resin. I always tape off the surrounding grout with blue painter’s tape. It prevents the fine dust from the sanding process from staining the cementitious joints. If you are looking for ways to improve the overall look of the room while you are at it, consider baseboards makeover ideas to elevate your space. A clean floor repair looks much better when the perimeter is sharp.
| Material Type | Cure Time | Durability Rating | Best Use Case |
|---|---|---|---|
| UV Acrylic | 2 Minutes | High | Small surface chips |
| Two Part Epoxy | 24 Hours | Maximum | Deep structural gouges |
| Floor Wax Fill | Instant | Low | Temporary rental fixes |
| Polyester Resin | 30 Minutes | Medium | General residential use |
The role of baseboards in protecting floor edges
Baseboards are not just there to look pretty. They serve as the expansion joint cover for the entire floor system. If your tile is chipped right at the edge of the wall, it is often because the tile was installed too tight against the framing. When the house settles or the humidity shifts, the pressure has nowhere to go. It travels through the tile until the weakest point, the glaze, snaps. I have seen this happen in laundry rooms where the vibration of the machine creates a rhythmic percussion against the wall. If you are replacing the trim after a floor repair, check out chic baseboard designs that transform rooms in 2025 to ensure your expansion gaps are properly hidden. Proper spacing is the difference between a floor that lasts decades and one that buckles in two years.
A technical checklist for a permanent bond
- Clean the chip with 90 percent isopropyl alcohol to remove skin oils and floor wax.
- Undercut the edges of the chip slightly with a dremel tool to create a mechanical lock.
- Overfill the void by approximately 1/16th of an inch to allow for leveling.
- Use a fresh razor blade to plane the excess resin flat before it fully hardens.
- Polish the area using progressively finer diamond pads to match the factory sheen.
- Apply a high quality sealer if you are working with natural stone or porous ceramic.
Maintaining the integrity of the surrounding area
Once the chip is filled, you have to look at the health of the rest of the floor. A single chip is often the first sign of a neglected surface. If your floor looks dull, the repair will stand out like a sore thumb because it will be the only part that is truly clean. You should follow tile cleaning tips for a sparkling bathroom in 2025 to get the rest of the surface up to par. Furthermore, if the lines between the tiles are looking dingy, you might need grout restoration secrets for long lasting results. A floor is a system. You cannot fix one part and ignore the rest without the whole thing looking like a patchwork quilt. I have walked off jobs where the homeowner refused to clean the floor before I started. You cannot match a color to dirt.
“Glaze is glass. Treat it like a windshield, not a piece of plastic. Once the surface tension is broken, the clock is ticking.” – Tile Council of North America Logic
Final thoughts for the job site
Repairing a tile is an exercise in patience. It will buckle if you rush the curing process. Take your time. Measure your pigments. Check your subfloor for movement. If you follow these steps, that chip will vanish into the history of the house. No one will ever know it was there. But remember, a repair is only as good as the preparation. If you skip the cleaning or the sanding, you are just wasting your time. Get on your knees, use your light, and do it right the first time. The physics of the bond demand nothing less than perfection.