
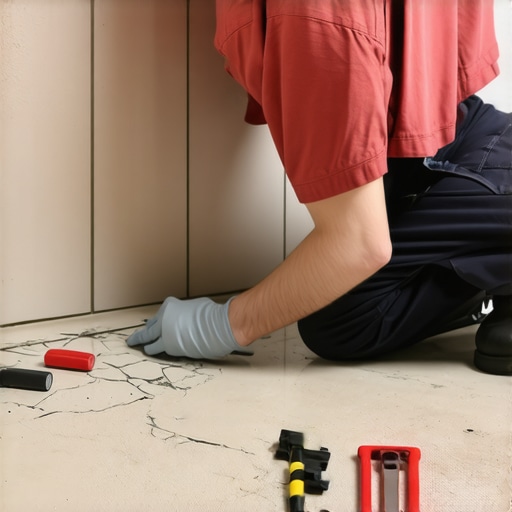
Replacing a single bathroom tile requires surgical precision and an understanding of the structural physics behind the ceramic surface. Most homeowners ignore a hairline fracture until it becomes a structural failure. You must identify the root cause of the crack, remove the damaged unit without compromising the surrounding bond, and apply a fresh adhesive that matches the specific deflection requirements of your subfloor. Professional results depend on the chemistry of the thin-set and the mechanical removal of the old grout line. I spent three days grinding concrete on a job last month just so the floor would not click like a castanet. Most guys skip the leveling compound. They think the underlayment will hide the dip. It will not. I have seen fifteen thousand dollar floors ruined because the installer ignored the substrate. That same negligence leads to the single cracked tile you see in your bathroom right now. It is never just a crack. It is a symptom of a subfloor that is moving or a bond that failed. I smell the wet concrete and the dust of a thousand jobs every time I walk into a repair. If you want this done in sixty minutes, you need to stop thinking like a decorator and start thinking like a structural engineer.
The anatomy of a ceramic failure
A cracked tile usually indicates a violation of the L over 360 deflection standard or an air pocket in the thin-set. When a tile is not supported by ninety-five percent mortar coverage in a wet area, it becomes a bridge. Bridges break under pressure. You might have dropped a heavy bottle of shampoo, but more likely, the house settled or the joists are bouncing.
“A floor is only as good as the subfloor beneath it; deflection is the enemy of every joint.” – Master Flooring Axiom
This is not about aesthetics. It is about the physical bond between the ceramic body and the cementitious bed. In modern showers that wow, we see these issues often when the waterproof membrane is not properly integrated with the mortar bed.
The surgical removal of ceramic shards
Removing a broken tile starts with isolating the area by grinding out the surrounding grout to prevent vibration transfer. If you take a hammer to a tile without clearing the grout, the shockwaves will travel. You will end up with four cracked tiles instead of one. Use an oscillating multi-tool with a diamond grit blade. This tool is the scalpel of the flooring world. Move slowly. The friction creates heat, and heat can expand the neighboring tiles. Keep a vacuum nozzle right at the blade. You do not want that silica dust in your lungs or in your bathroom cabinets. Once the grout is gone, you find the center of the tile. Drill a few holes with a masonry bit to break the tension. Then, use a sharp chisel and a light hammer to pop the pieces from the center out.
The subfloor secret that ruins everything
The subfloor must be perfectly clean and flat before the new tile is set to ensure a lifetime bond. After the shards are gone, you will see the old mortar. It looks like a gray, dried moonscape. You cannot just put new glue on top of old glue. That is what hacks do. You need to scrape that substrate down to the original backer board or concrete. If you skip this, the new tile will sit too high. It will create a trip hazard. You will feel it every time you walk by. For those dealing with older homes, you might even see the chic baseboard designs shifting because the subfloor is rot-softened. Check for moisture. If the wood is dark, you have a leak.
The chemistry of the bond
Modified thin-set mortars use liquid latex polymers to create a flexible yet incredibly strong mechanical grip. For a single tile, do not buy a giant bag of powder. Use a high-quality pre-mixed adhesive if it is a wall tile, but for floors, I stick to the bag. You want something with high polymer content to handle the movement of the bathroom floor. When you mix it, it should look like peanut butter. Not runny, not dry. Apply it with a notched trowel. The notches are not there for decoration. They create valleys for air to escape, allowing the tile to collapse the ridges and achieve full coverage.
| Adhesive Type | Best Use Case | Drying Time | |||||||||
|---|---|---|---|---|---|---|---|---|---|---|---|
| Modified Thin-set | Floor Tiles / High Traffic | 24 Hours | Unmodified Thin-set | Over Cement Board | 12-24 Hours | Type 1 Mastic | Small Wall Tiles Only | 24-48 Hours | Epoxy Grout | Industrial / Waterproof | 8 Hours |
The grout line mystery
Matching grout requires analyzing the existing pigment fade and the aggregate size of the original installation. Your old grout is dirty. Even if you have been following tile cleaning tips, the color has changed since the day it was laid. Take a piece of the old grout to the store. Do not guess. If you cannot find a match, you might need to look into how to refresh grout without replacing it for the whole floor to make it uniform.
- Diamond blade oscillating tool
- 1/4 inch notched trowel
- Matching ceramic or porcelain tile
- Polymer-modified thin-set mortar
- Sanded or unsanded grout
- High-density grout sponge
- Margin trowel for mixing
The final set and the waiting game
The tile must be pressed into the mortar bed with a slight twisting motion to collapse the ridges. Once it is level with the neighbors, stop touching it. Do not walk on it. Do not let the cat walk on it. If you bump it now, you break the bond before it even starts. Let it sit for at least a few hours before you even think about grout. Grout is the final seal. It keeps the water out and the tile in place. If you are worried about future issues, consider grout restoration secrets to keep the entire floor waterproof.
“A floor is a performance surface, not a decoration. Treat it with the respect the physics demand.” – Master Flooring Axiom
This repair is about the details. It is about the 1/8 inch gap. It is about the clean substrate. It is about doing it right the first time so you do not have to do it again in six months.