
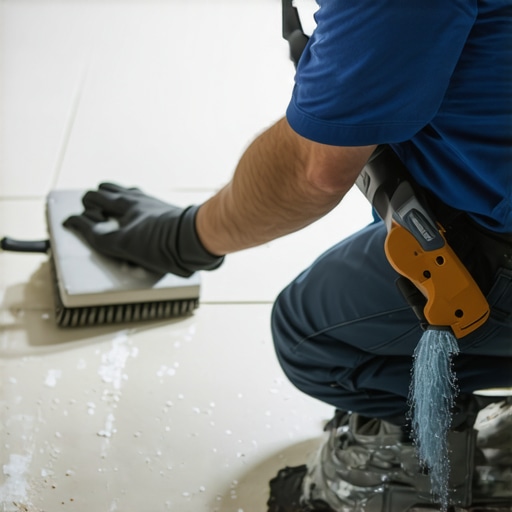
The precision of the oscillating multi tool
The oscillating multi tool with a diamond or carbide grit blade is the industry gold standard for removing grout without harming tile. This tool works by vibrating at high frequencies, typically between 10,000 and 20,000 oscillations per minute, allowing for a controlled grind that disintegrates the grout while leaving the tile edges untouched. Most guys skip the leveling compound. They think the underlayment will hide the dip. It won’t. I spent three days grinding concrete on a job last month just so the floor wouldn’t click like a castanet, and that same level of patience is what you need when you approach a grout line. I have seen too many rookies go at a bathroom with a hammer and chisel only to find they have cracked a dozen porcelain pieces by lunch. When I walk into a job site, I smell the WD-40 on my tools and the dust of a thousand renovations, and I know that the right tool is the difference between a professional finish and a total demo job. The oscillating tool creates a tiny arc of movement, usually around 3 degrees. This microscopic range of motion means that even if the blade touches the edge of a tile, it does not have the centrifugal force of a spinning blade to cause a massive chip. You can find more about maintaining these surfaces in our guide on tile cleaning tips for a sparkling bathroom in 2025. The diamond grit on these blades is essential because it is harder than the Portland cement based grout but less aggressive than a serrated metal saw. This allows you to melt through the grout line like it is soft butter. Check the depth of your grout before you start. Most residential tiles are set with a depth of about 1/4 inch to 3/8 inch. If you plunge too deep, you hit the thin-set or, worse, the waterproofing membrane. A ruined membrane in a shower means you are starting over from the studs.
“A floor is only as good as the subfloor beneath it, deflection is the enemy of every joint.” – Master Flooring Axiom
Manual grout saws for delicate control
The manual grout saw is the safest tool for beginners and for work in tight corners where power tools might skip or jump. This tool consists of a handle and a blade coated in tungsten carbide grit, providing the user with total tactile feedback to ensure no damage occurs to the glazed surface of the tiles. While it takes more physical effort, the manual saw allows you to feel the resistance of the grout. If the blade slips, you are unlikely to have the momentum to scratch the tile face. This is particularly important for high end materials like hand painted ceramic or soft marble. If you are working on showers with a style trendy ideas for small bathrooms, you know that every inch of space is a premium and one wrong move can ruin the entire aesthetic. The physics of the manual saw are simple. It uses abrasive friction to wear down the cementitious bond. You must use short, steady strokes. Long strokes increase the risk of the blade jumping out of the track. After you have cleared the main channel, you can use the corner of the blade to scrape the remaining residue from the tile shoulders. This preparation is vital if you are planning on how to refresh grout without replacing it entirely. If you do not clear at least two thirds of the grout depth, the new grout will not have enough surface area to bond, and it will flake out within months.
Rotary tools and the danger of high speed
A rotary tool equipped with a grout removal attachment provides high speed grinding but requires the highest level of skill to prevent tile damage. These tools spin at up to 35,000 RPM, creating intense heat and dust that can quickly spiral out of control if the guide is not properly adjusted. I have a love hate relationship with rotary tools. They are fast, but they are unforgiving. One sneeze and you have a permanent scar across a piece of Italian marble. The attachment is basically a plastic shroud that keeps the bit at a fixed angle and depth. It is a smart design, but it can get clogged with dust easily. When that happens, the tool can kick. To avoid this, you must keep a shop vacuum hose right at the tip of the bit. This is not just for visibility. It is for health. Grout contains silica, and breathing that in is a one way ticket to lung problems. When the grout is removed properly, you might want to look into grout restoration secrets for long lasting results to ensure the new installation lasts longer than the first. The molecular structure of grout is basically a matrix of sand and cured cement. The high speed bit shatters this matrix. If you hit the tile, the bit will jump because the tile is significantly denser and harder than the grout. This recoil is what causes the most damage.
“The integrity of the installation depends on the complete removal of old bonding agents before new material is introduced.” – TCNA Handbook Logic
The chemistry of grout and its removal
Understanding the chemical composition of grout is necessary for selecting the right removal strategy because modified grouts containing polymers or epoxy require different abrasive levels than standard cement grout. Epoxy grout is essentially a plastic resin that is extremely hard and chemical resistant, making it a nightmare to remove with manual tools. If you are dealing with epoxy, you need heat or specialized diamond blades. Most residential homes use sanded or unsanded Portland cement grout. The hydration process of cement creates calcium silicate hydrate crystals. These crystals interlock with the microscopic pores on the side of the tile. To remove them, you are not just cutting, you are breaking a chemical bond. This is why a simple screwdriver will not work. You need a material harder than the cement. Tungsten carbide and industrial diamonds are the only things that truly work. If you are also looking at your trim, you might consider baseboards makeover ideas to elevate your space once the floor is sorted. A clean floor next to a rotting baseboard is a job half done. The regional climate also plays a role. In high humidity areas like the coastal south, grout often stays slightly more porous over time due to moisture cycles. In dry climates like the desert, the grout can become brittle and bone hard, making it more likely to chip in large chunks rather than grind into dust. Knowing the age of the installation helps too. Grout that has been sealed multiple times will be harder to penetrate initially because the sealer has filled the top layer of pores with acrylic or silicone.
| Tool Type | Speed Rating | Precision Level | Risk to Tile |
|---|---|---|---|
| Oscillating Multi Tool | High | High | Low |
| Manual Grout Saw | Low | Extreme | Very Low |
| Rotary Tool | Extreme | Moderate | High |
| Reciprocating Saw | Moderate | Low | Very High |
A systematic approach to grout extraction
Successful grout removal follows a strict protocol of preparation, execution, and cleanup to ensure the structural integrity of the tile remains intact for the next phase of the project. You cannot just start hacking away. You need a plan. First, you must protect the surrounding areas. If you are working near a tub, tape it off. If you are working near chic baseboard designs that transform rooms in 2025, make sure you do not scuff the paint. Use a vacuum with a HEPA filter to manage the dust immediately. Here is the checklist for a clean job.
- Wear a N95 respirator and eye protection to guard against silica dust and flying shards.
- Select a blade that is slightly narrower than the grout joint to allow for a safety margin.
- Test the tool in an inconspicuous area like a closet or under a vanity.
- Maintain a 45 degree angle when using manual tools to avoid catching the tile edge.
- Clear the debris frequently to ensure you can see the depth of your cut.
- Vacuum the joints thoroughly before applying any new material or sealer.
While most people want the thickest underlayment, too much cushion actually causes the locking mechanisms on LVP or the grout lines in tile to snap under pressure. This applies to grout too. If you leave old grout in the joint, the new layer will be too thin. This is called ghosting. The new grout will look fine for a week, then it will crack and reveal the old color underneath. You have to get down into the joint. If you need help or professional advice on a complex project, you can always contact us for a consultation. It is better to ask for help than to replace a whole floor because of a $20 tool mistake. We also suggest reviewing our eco friendly tile solutions for sustainable homes in 2025 if you are considering a full replacement of your old, cracked surfaces.