
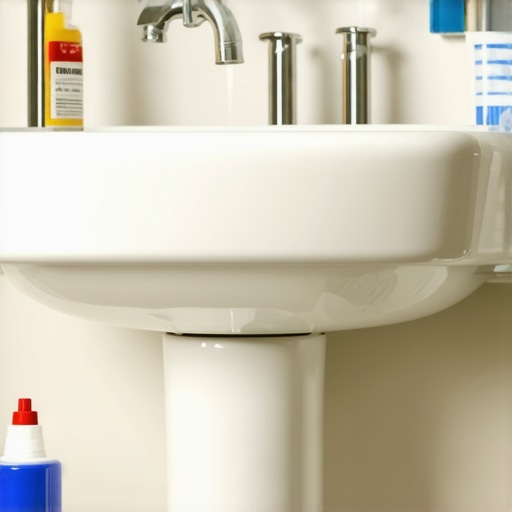
The structural myth of the floating pedestal
Sealing the base of a pedestal sink requires a high-grade 100 percent silicone sealant to prevent water from migrating beneath the porcelain and rotting the subfloor. While many homeowners view the sink as an isolated fixture, it is actually a heavy load point that exerts significant pressure on your tile and grout. Without a proper seal, microscopic water droplets from daily use travel down the pedestal through capillary action, eventually reaching the subfloor where they can cause mold, mildew, and structural failure over time.
I spent three days grinding concrete on a job last month just so the floor wouldn’t click like a castanet. The homeowner had installed a beautiful pedestal sink but ignored the subfloor prep. Most guys skip the leveling compound. They think the underlayment will hide the dip. It won’t. In that bathroom, the sink base was sitting on a 1/4 inch void. Every time someone leaned on the sink, the tile flexed. Eventually, the grout cracked, water seeped in, and the entire subfloor became a sponge. I had to rip out the baseboards, pull up the tile, and rebuild the joists before we could even think about the finish work. It was a $5,000 mistake that a $10 tube of silicone and a level could have prevented.
Why your subfloor is lying to you
The subfloor is the foundation of every bathroom installation, yet it is the most ignored component of the room. When you place a heavy porcelain pedestal on top of tile, you are concentrating hundreds of pounds onto a small footprint. If the subfloor has any deflection, the sink will shift. This movement breaks the seal between the sink and the floor. You must verify that your subfloor meets the National Wood Flooring Association standards for flatness, which typically requires a deviation of no more than 1/8 inch over a 10 foot radius. If your floor is out of spec, the sink will never stay sealed. You can find more about maintaining these surfaces in our tile cleaning tips for a sparkling bathroom in 2025. The physics of the pedestal demand a perfectly flat plane. When the floor is uneven, the pedestal acts like a lever, prying at the grout and eventually snapping the bond. This is why I always check the floor with a 6 foot level before the first piece of tile even hits the thin-set.
“A floor is only as good as the subfloor beneath it; deflection is the enemy of every joint.” – Master Flooring Axiom
The molecular failure of cheap latex caulk
Standard latex caulk is a recipe for disaster in a high moisture environment like a bathroom. Latex is porous and will eventually support the growth of black mold. You need a 100 percent silicone or a poly-ether sealant that offers high elasticity. A pedestal sink moves. It expands and contracts with the temperature of the water running through the pipes. If you use a rigid sealant, it will pull away from the porcelain or the tile within six months. You need a material that can handle 25 percent movement without losing adhesion. This is the same principle we apply when we look at baseboards makeover ideas to elevate your space, where expansion gaps are the difference between a flat board and a warped one. When selecting your sealant, look for the Shore A Hardness rating. A sealant that is too hard will crack; one that is too soft will tear. You want a middle-ground durability that can withstand the weight of the pedestal while remaining flexible enough to breathe with the house.
| Sealant Type | Elasticity Rating | Mold Resistance | Cure Time |
|---|---|---|---|
| 100% Silicone | High | Excellent | 24 Hours |
| Siliconized Latex | Medium | Fair | 12 Hours |
| Polyurethane | Very High | Good | 48 Hours |
| Standard Grout | None | Poor | 72 Hours |
The 1/8 inch that ruins everything
The gap between the pedestal and the floor should ideally be 1/8 inch. This gap allows for a sufficient bead of sealant to be injected under the edge, creating a mechanical bond. If the sink sits flush against the tile with zero gap, there is no room for the sealant to grip. It will just sit on the surface like a thin film and peel off. I often use plastic shims to create this consistent 1/8 inch space. Once the sink is bolted and the shims are in place, I run the bead of silicone. This creates a gasket that supports the weight of the sink and blocks water. This attention to detail is what separates a master plumber from a weekend warrior. If you are dealing with old, cracked material, you should look into grout restoration secrets for long-lasting results to ensure the surrounding area is stable before you seal. A stable base prevents the sink from vibrating, which is a common cause of leaks in the P-trap assembly hidden behind the pedestal column.
- Remove all old caulk and debris using a sharp razor and denatured alcohol.
- Check the floor for levelness using a precision spirit level across both axes.
- Apply painter’s tape to both the sink base and the floor to ensure clean lines.
- Inject the sealant into the gap until it slightly oozes out the front.
- Tool the joint with a rounded spatula or a gloved finger dipped in soapy water.
- Allow the sealant to cure for at least 24 hours before using the sink.
When grout becomes a liability
Many installers try to use grout to fill the gap at the base of the pedestal. This is a fundamental mistake. Grout is a cementitious product. It is rigid. It does not handle movement. As the house settles, the grout will crack. These cracks act like tiny straws, pulling water underneath the pedestal. If your grout is already failing, you might need to know how to refresh grout without replacing it before you apply a flexible sealant over it. In wet areas like showers, we never rely on grout for waterproofing, and the same logic applies to the sink base. The sealant must be the primary barrier. If you are designing a bathroom with showers that wow modern designs for 2025, you will notice that the most durable designs utilize high-performance silicones at every change of plane. This is because every corner and every floor-to-wall transition is a movement joint. The base of a pedestal sink is the ultimate movement joint, as it supports a heavy, water-filled basin that is constantly being leaned on and bumped.
The physics of expansion gaps at the perimeter
Flooring is a living system. Whether you have porcelain tile or engineered wood, the floor moves. When you anchor a pedestal sink, you are effectively pinning a portion of that floor in place. This is why you must maintain expansion gaps around the perimeter of the room, usually hidden under baseboards. If the floor cannot expand toward the walls, it will buckle upward at the weakest point, which is often right under the heavy sink. I always ensure that the chic baseboard designs that transform rooms in 2025 leave at least a 1/4 inch gap for the flooring to slide. Without this, the pressure against the pedestal base becomes immense. You might find your porcelain sink base cracking because the floor is pushing against it with several tons of force during a humid summer. It sounds extreme, but the chemistry of wood and the thermal expansion of tile are powerful forces. Always plan for the floor to move, or the floor will move on its own terms, usually by breaking your expensive fixtures.
Applying the final bead for a professional finish
The final step is the most visible. Once you have addressed the subfloor and the spacing, you must apply the sealant with precision. I use a dripless caulk gun and cut the tip at a 45 degree angle to match the 1/8 inch gap. The goal is to push the sealant into the void, not just smear it on the surface. If you see bubbles, the seal is compromised. You are looking for a dense, uniform bead that looks like it was part of the sink from the factory. This is particularly important when matching the aesthetic of showers with a style trendy ideas for small bathrooms where every inch of space is visible. A messy caulk line makes even the most expensive tile look cheap. Clean the excess immediately. If you wait even ten minutes, the silicone will skin over and you will end up with a jagged edge that catches hair and dust. Perfection is the only acceptable result when you are protecting the structural integrity of a home.