
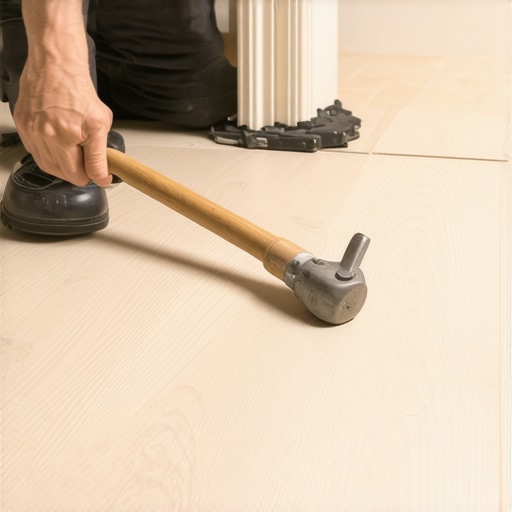
Most guys skip the leveling compound. They think the underlayment will hide the dip. It won’t. I spent three days grinding concrete on a job last month just so the floor wouldn’t click like a castanet. If you walk across your bathroom and hear a thud that sounds like an empty drum, you have a bond failure. This sound is the audible ghost of a structural void. It tells you that the mechanical bond between the tile, the mortar, and the substrate has been compromised. Identifying these hollow spots is the first step in preventing a full floor failure.
The diagnostic sound of failure
A hollow spot in a bathroom floor indicates a lack of mortar coverage or a debonding event between the tile and the substrate. This usually occurs because of poor transfer during installation, improper trowel size, or the mortar skinning over before the tile was set. If you ignore these spots, the weight of a person will eventually crack the porcelain or pop the grout lines loose.
“A floor is only as good as the subfloor beneath it; deflection is the enemy of every joint.” – Master Flooring Axiom
The physics of the hammer test
Sound waves travel differently through solid objects than they do through air gaps. When you tap a tile that is 100 percent bonded to a concrete slab, the energy of the strike is absorbed and dissipated into the mass of the building. This produces a high pitched, sharp click. When you hit a tile with a void beneath it, the air pocket acts as a resonant chamber. The energy reflects back, creating a low frequency vibration that sounds hollow. I don’t use a standard framing hammer because you will chip the glaze on a nice piece of porcelain. I use a small rubber mallet or even a heavy plastic screwdriver handle. You move across the floor in a grid pattern, tapping the center and all four corners of every single tile. You are looking for a change in pitch. If you find a hollow spot, mark it with blue painter tape so you can track the extent of the damage. This is a common issue when people try to rush the process of showers that wow without checking the floor integrity first.
Chemistry of thin set failure
Mortar is not just glue, it is a hydraulic cement product that grows crystals to lock into the microscopic pores of the tile and the subfloor. This process is called hydration. If the subfloor is too dusty, the dust particles coat the pores and prevent the mortar from grabbing hold. If the installer used a trowel that was too small, there isn’t enough material to bridge the gap between a warped tile and a dip in the slab. Large format tiles are especially prone to this. They are rarely perfectly flat. They often have a slight crown or bow. If you don’t back-butter the tile, which means spreading a thin layer of mortar on the back of the tile itself, you are begging for hollow spots. The moisture is sucked out of the thin set by a dry concrete slab or a thirsty piece of backer board, leaving the mortar brittle and weak. This leads to a situation where you might need to know how to refresh grout without replacing it because the movement in the tile is shredding the joints.
The moisture trap under the slab
Concrete looks solid but it is actually a hard sponge. Moisture vapor is constantly moving through it from the ground up. If you didn’t lay down a high quality vapor barrier or use a topical membrane like Kerdi or RedGard, that moisture will eventually attack the alkaline bond of the mortar. In high humidity environments, the slab never truly dries out. This leads to efflorescence, where white minerals are pushed up through the grout. It also leads to debonding. I have seen entire floors lift up like a tent because the vapor pressure was so high. You have to check the calcium chloride levels or use a relative humidity probe in the concrete before you even think about opening a bag of thin set. If the moisture is too high, your tile cleaning tips won’t matter because the tiles will be loose in five years.
Why your subfloor is lying to you
Deflection is the secret killer of bathroom floors. If you have a plywood subfloor, it might feel solid to your feet, but it might have too much flex for tile. The industry standard is L/360, which means the floor should not bend more than the length of the span divided by 360 when under a heavy load. If your joists are spaced too far apart or if the plywood is too thin, the floor will bounce. Tile and grout have zero flexibility. When the wood bends, the bond snaps. You are left with a floor that sounds like a xylophone when you walk on it.
“The integrity of the ceramic assembly is dependent upon the rigidity of the supporting structure.” – TCNA Handbook Standards
| Mortar Type | Bond Strength (PSI) | Flexibility Rating | Best Use Case |
|---|---|---|---|
| Unmodified Thin-set | 200-300 | Low | Concrete slabs only |
| Polymer Modified | 400-600 | Medium | Plywood subfloors |
| Epoxy Mortar | 1000+ | High | Chemical resistance needed |
The 1/8 inch that ruins everything
Precision is not a suggestion in flooring. If your subfloor has a dip of 1/8 inch over a 10 foot span, a large format tile will bridge that gap like a tiny bridge. Without support in the middle, that bridge will eventually collapse. I see guys try to glob extra mortar in the holes to level it out. This is a mistake. Mortar shrinks as it cures. If you have a thick pile of mortar in one spot and a thin layer in another, the uneven shrinkage will pull the tile down and create a lippage issue or a void. Use a self-leveling underlayment. It is expensive and it is a mess to work with, but it is the only way to ensure a flat plane. Once the floor is flat, you can focus on the finishing touches like chic baseboard designs that hide the expansion gaps at the perimeter.
The ghost in the expansion gap
Every floor needs room to breathe. Tiles expand and contract with temperature changes. If you grout the tile directly against the wall or the bathtub, the floor has nowhere to go when it expands. It will push against the wall, build up internal pressure, and eventually tent or pop off the floor. This creates massive hollow sections. You must leave a movement joint at the perimeter and fill it with 100 percent silicone caulk, not grout. This allows the entire floor assembly to move as a single unit without cracking. If you are doing a baseboards makeover, make sure you don’t pin the floor down with the trim. The trim should sit just a hair above the tile.
Steps for a proper hammer test
- Remove all rugs and furniture from the bathroom area.
- Clean the floor to ensure no grit or sand interferes with the sound.
- Use a plastic or rubber tool to tap every corner of every tile.
- Listen for a hollow, drum like resonance vs a sharp click.
- Mark hollow areas with tape to see if they are isolated or widespread.
- Check the grout lines near hollow spots for hairline cracks.
- Use a moisture meter in the grout lines to check for sub-surface dampness.
If you find that more than 20 percent of your floor is hollow, you are looking at a tear out. Small isolated spots can sometimes be fixed by injecting a low viscosity epoxy resin through the grout lines, but that is a temporary fix. For long lasting results, you have to address the root cause, whether it is moisture or a bad subfloor. You might also want to look into grout restoration secrets if the tiles are solid but the joints are failing. Always remember that a bathroom is a wet environment. Any void under a tile is a place where water can collect, grow mold, and rot your structure from the inside out. Be diligent and trust your ears. The hammer doesn’t lie. If you want to stay environmentally conscious during a remodel, check out eco-friendly tile solutions that use recycled content and low VOC adhesives. Your floor is the foundation of your home life. Treat it with the respect it deserves.