
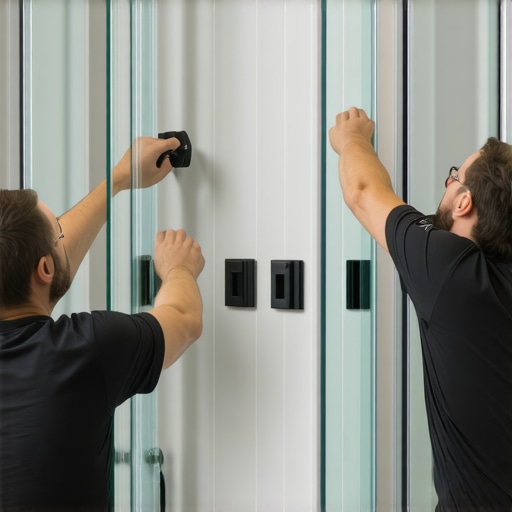
Installing a heavy glass shower door without a stud is a structural engineering challenge that most installers fear. I once walked into a bathroom where a 150 pound glass door was hanging off a single sheet of half inch moisture resistant drywall because the framer forgot the blocking. The glass was screaming, the screws were pulling, and the homeowner was one shower away from a disaster. It is a common nightmare in modern builds where light gauge steel or poorly placed wood prevents a standard install. You cannot just screw into the tile and hope for the best. You are dealing with shear force, gravity, and the constant vibration of a moving heavy object. This guide breaks down the molecular reality of how to secure these systems when the wood just is not there.
Why your shower wall is lying to you
A shower wall without a stud relies on the compressive strength of the tile and the tensile strength of the wall substrate. To succeed, you must use specialized heavy duty anchors such as snap toggles or molly bolts that can withstand at least 200 pounds of shear weight. Standard plastic plugs will fail because they cannot grip the hollow cavity effectively behind the ceramic or porcelain layer.
The anatomy of a bathroom wall is often deceptive. You see beautiful tile and clean grout lines, but behind that is usually a layer of cement board or moisture resistant gypsum. When there is no stud, the wall lacks the structural spine needed to resist the lever effect of a 3/8 inch or 1/2 inch thick glass door. A standard 30 inch wide door made of 1/2 inch glass weighs roughly 6.5 pounds per square foot. That is nearly 130 pounds pulling outward and downward. If you are looking for inspiration for the final look, you might check out showers that wow modern designs for 2025 to see how these heavy units look when finished correctly. Without a stud, every ounce of that weight is transferred to the tile face and the hollow wall cavity. This is where the physics of shear force becomes your primary enemy. The screw is not just holding the door up, it is fighting to not be ripped sideways through the material.
“A floor is only as good as the subfloor beneath it; deflection is the enemy of every joint.” – Master Flooring Axiom
The physics of shear force in heavy glass
Shear force is the primary stressor when mounting heavy glass doors on hollow substrates. Understanding the Youngs modulus of the glass and the compressive strength of the porcelain tile allows an installer to calculate the load distribution. Using 1/4 inch stainless steel bolts with toggle wings ensures the load is spread across the back of the substrate rather than a single point of failure.
When you open a shower door, you are applying dynamic load. This is far more dangerous than static load. A static load just sits there. A dynamic load moves, creating torque. If your hinges are not anchored into something solid, that torque will eventually widen the holes in your tile. I have seen grout crack within weeks because the installer used cheap plastic anchors. To prevent this, you need to understand how grout restoration secrets for long lasting results apply to the initial installation, specifically how the grout acts as a gasket for the hinge plate. If the hinge plate shifts even a millimeter, the grout will pulverize into dust. This is why we use high performance anchors that clamp the wall from both sides, essentially sandwiching the tile, the thin-set, and the backer board into a single rigid unit.
| Anchor Type | Max Load (Drywall + Tile) | Vibration Resistance | Best Application |
|---|---|---|---|
| Plastic Plug | 20 lbs | Low | Light mirrors only |
| Wing Toggle | 85 lbs | Medium | Fixed glass panels |
| Snap Toggle | 200 lbs+ | High | Heavy swinging doors |
| Epoxy Bolt | 300 lbs+ | Extreme | Commercial applications |
The engineering of the snap toggle
Snap toggles are the gold standard for studless shower door installations. These anchors use a zinc plated steel channel that remains behind the wall, allowing a 1/4-20 bolt to be threaded through the hinge. This creates a mechanical bond that is far superior to any friction based anchor, providing the necessary pull out resistance for 1/2 inch glass.
The process starts with a precision hole. You cannot just blast through the tile with a hammer drill. You need a diamond tipped hole saw and constant water lubrication. If you overheat the tile, you create micro fractures that will lead to a full crack once the door weight is applied. Once the hole is drilled through the tile and the backer board, you insert the metal channel of the snap toggle. You pull it tight against the back of the wall and snap the plastic straps. This leaves a fixed threaded nut waiting for your hinge bolt. It is a permanent solution. Unlike traditional toggles, if you ever need to remove the door for tile cleaning tips for a sparkling bathroom in 2025, the anchor stays in place. It does not fall behind the wall.
- Use only diamond tipped drill bits for porcelain.
- Always vacuum out the dust from the hole to ensure a clean seat.
- Apply a bead of 100 percent silicone inside the hole before inserting the bolt.
- Ensure the hinge plate sits perfectly flat against the tile surface.
- Tighten by hand to avoid cracking the tile with excessive torque.
Tile and grout as structural components
Tile and grout are not just decorative finishes in a studless installation. The compressive strength of porcelain, often exceeding 50,000 psi, acts as the bearing surface for the hinge plate. Proper grout density prevents moisture from reaching the anchor cavity, which would otherwise lead to oxidation and structural failure of the mounting hardware.
Many people treat grout as a cosmetic filler. In a heavy glass installation, the grout is the seal. If moisture gets behind that hinge, it will rot the substrate, and the anchor will eventually pull through the softened board. This is why learning how to refresh grout without replacing it is useful, but getting the initial seal right is vital. I always recommend using an epoxy or high performance grout around the hinge area. These materials have a higher resin content and are virtually waterproof. They provide a stable, non-compressible base for the hinge. If you use a cheap, sanded grout, the pressure of the door can actually crush the grout particles over time, leading to a loose hinge and a sagging door. For those looking to keep the bathroom aesthetic consistent, you might consider how baseboards makeover ideas to elevate your space can tie the flooring into the wall design, ensuring the transition at the floor remains watertight.
“The integrity of a mechanical fastener in a hollow wall is limited by the surface area of the anchor footprint.” – Structural Fastening Guide
Baseboards and the moisture barrier at the floor
The junction between the shower threshold and the baseboards is a critical moisture management zone. Proper silicone sealing at this point prevents capillary action from drawing water into the subfloor assembly. Using waterproof baseboard materials like PVC or high density polymer ensures that the wall remains structurally sound at its base.
When you install a heavy door, the bottom sweep or the threshold must be perfectly aligned. If water leaks out, it often travels along the edge of the shower and finds its way behind the baseboards. This can rot the very wall you just spent hours anchoring a door into. I always suggest looking into chic baseboard designs that transform rooms in 2025 that utilize moisture resistant materials. A rotted wall base is a death sentence for a studless door installation. The weight of the door pushes down, and if the bottom of the wall is soft, the entire tile assembly can shift. It is a chain reaction of failure that starts with a tiny leak. Keep your baseboards sealed and your grout lines tight.
The final calibration of the hinges
The last step is the most tedious. Once the anchors are set and the glass is hanging, you must calibrate the swing. Because there is no stud, there is zero room for error. If the door is out of plumb by even 1/16 of an inch, the gravity will want to pull it open or slam it shut. This constant movement puts unnecessary stress on your hollow wall anchors. Use a long level, at least 48 inches, to ensure the vertical hinge line is perfect. Tighten the bolts in a star pattern, just like the lug nuts on a truck. This distributes the pressure evenly across the tile. If you hear a click or a crunch, stop. You have over-tightened. The goal is a firm, immovable mount that feels like it is part of the building foundation. If you follow these steps, that door will stay put for decades, regardless of the missing wood behind the wall.