
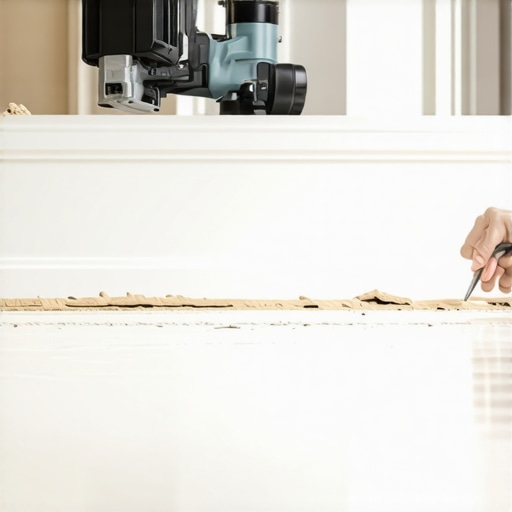
The subfloor secret that determines your finish
Most guys skip the leveling compound. They think the underlayment will hide the dip. It won’t. I spent three days grinding concrete on a job last month just so the floor wouldn’t click like a castanet. When you are looking at a fresh tile installation, you are looking at a chemical process in motion. The thin-set mortar under those tiles is a hydraulic cement that creates a crystalline structure as it hydrates. If you rush to install your baseboards before this process is complete, you are trapping moisture and inviting mold. The grout in your showers and main floors needs air to breathe. If you slap a piece of MDF trim over wet grout, that trim will act like a sponge, sucking up the alkaline water and swelling until it looks like a soggy biscuit. I have seen fifteen thousand dollar projects ruined because an installer couldn’t wait three days for the slab to settle. You need to respect the chemistry of the bond.
“A floor is only as good as the subfloor beneath it; deflection is the enemy of every joint.” – Master Flooring Axiom
The 72 hour rule for thin-set curing
Installing baseboards over fresh tile requires a 72-hour curing window for the polymer-modified thin-set and grout to reach full compressive strength. You must use flexible caulk at the floor-to-wall transition to accommodate structural movement and prevent grout cracking or baseboard warping. This timeline is not a suggestion. It is based on the ASTM C39 standards for cement strength development. When you walk on a floor too early to nail trim, you risk breaking the bond between the tile and the substrate. This creates hollow spots. You will hear them every time you walk across the room. It is a haunting sound for any professional. Use this time to explore chic baseboard designs that transform rooms in 2025 while the floor stabilizes. The moisture content in the air must also be managed. High humidity slows down the evaporation of the water used to mix the thin-set. In a basement, this can take even longer. I always carry a capacitance-based moisture meter to check the wall behind the tile. If the wall is damp, the baseboard will rot from the inside out.
The physics of the expansion gap
The 1/8 inch that ruins everything is the gap you forgot to leave. Tile is rigid, but houses are not. They breathe. They expand and contract with the seasons. If you wedge your baseboards tight against the tile without a tiny relief, something has to give. Usually, it is the caulk line that snaps. I prefer to leave a 1/16th inch gap between the bottom of the baseboard and the top of the tile. This is not for looks. It is for load distribution. I use plastic shims during the installation to keep the wood off the tile surface. This prevents the baseboard from sitting in any standing water if a pipe leaks or a child splashes in the bathroom. This is especially vital in showers or wet areas where tile cleaning tips for a sparkling bathroom in 2025 often involve heavy water usage. You are building a system, not just a wall detail. The baseboard is the final gasket in that system.
Selecting the right trim material for wet environments
| Material | Density (kg/m3) | Moisture Resistance | Best Use Case |
|---|---|---|---|
| MDF | 700 | Low | Dry Bedrooms |
| Finger-Jointed Pine | 500 | Medium | Halls |
| PVC | 650 | High | Showers and Baths |
| Solid White Oak | 750 | Medium | Luxury Living |
Not all baseboards are equal. In a bathroom with high-moisture grout, stay away from MDF. It is nothing more than compressed sawdust and glue. One steam session in the shower and it will expand. I suggest PVC or a high-quality solid wood that has been back-primed. Back-priming is the act of painting the side of the wood that touches the wall. It creates a vapor barrier. If you are interested in modern aesthetics, look into baseboards makeover ideas to elevate your space to find a profile that fits your architectural style. The Shore A hardness of your sealant also matters. You want something that remains flexible. A pure silicone or a high-grade siliconized acrylic is the only way to go. Do not use cheap painter’s caulk. It will shrink and pull away within six months.
Mastering the technical installation checklist
- Vacuum the perimeter to remove all grout dust and thin-set shards.
- Check the wall for planar irregularities using a six-foot straight edge.
- Apply a bead of sealant to the bottom of the baseboard if installing in a wet area.
- Locate studs with a rare-earth magnet to ensure a mechanical bond.
- Use 15-gauge stainless steel finish nails for superior corrosion resistance.
- Leave a perimeter expansion gap of at least 1/4 inch for the tile itself.
Precision is everything. When I cut a miter, I am looking for zero-tolerance fitment. I use a 12-inch carbide-tipped blade with at least 80 teeth. A dull blade will tear the fibers of the wood and leave a ragged edge that caulk cannot hide. If the floor is not level, you must scribe the baseboard. Scribing is the process of tracing the floor’s contour onto the wood and cutting it with a jigsaw. It is tedious. It is difficult. But it is the difference between a handyman and a master. A scribed baseboard sits perfectly flush with the tile, eliminating the need for bulky shoe molding. I hate shoe molding. It is a cover-up for lazy work. If you do the tile right and you do the scribe right, you get a clean, architectural line that looks like it was carved out of the house. This level of detail is what we discuss when looking at showers with a style trendy ideas for small bathrooms where every millimeter of space counts.
“Standard ceramic tile installations require a minimum of 24 to 48 hours of curing before any vertical load or trim installation is applied.” – TCNA Handbook Summary
The chemistry of the final seal
Once the boards are nailed, the real work begins. You have to seal the transition. The joint where the baseboard meets the tile is a change of plane. According to the TCNA (Tile Council of North America), any change of plane requires a flexible sealant. If you put hard grout in that corner, it will crack. It is a physical certainty. Houses move. Concrete shrinks. I use a color-matched siliconized caulk that matches the grout color. This creates a visual flow that makes the floor look infinite. If you are dealing with older tile, you might need grout restoration secrets for long-lasting results before you start the trim work. A dirty or failing grout line will compromise the adhesion of your caulk. Clean the area with denatured alcohol before applying the bead. This removes any oils or waxes that might interfere with the chemical bond. Pull a smooth line with a caulk tool or a wet finger, but do not leave a thick mess. The goal is a concave fillet that sheds water and disappears into the design. If you see a thick glob of caulk, you have failed the architectural test.
Final structural considerations for the flooring architect
The weight of the baseboard is negligible, but the pressure of the nails is not. When you fire a pneumatic nailer, the force can vibrate the wall. If your tile is fresh and the thin-set is still in its plastic state, those vibrations can cause tiles to shift. This is why the 72-hour wait is non-negotiable. I have seen guys fire a nail into a stud and pop a tile right off the wall because the mortar hadn’t set. It is a disaster. You also need to be careful with the jamb saw. If you are undercutting door casings, do it before the tile goes in. Doing it after involves a high risk of scratching the new surface. If you must do it after, use a diamond-grit blade and plenty of protection for the floor. A floor is a performance surface. Treat it with the respect that structural engineering demands. From the Janka hardness of the trim to the capillary break at the shower door, every choice you make impacts the longevity of the home. This is not just decorating. This is building for the next century.”