
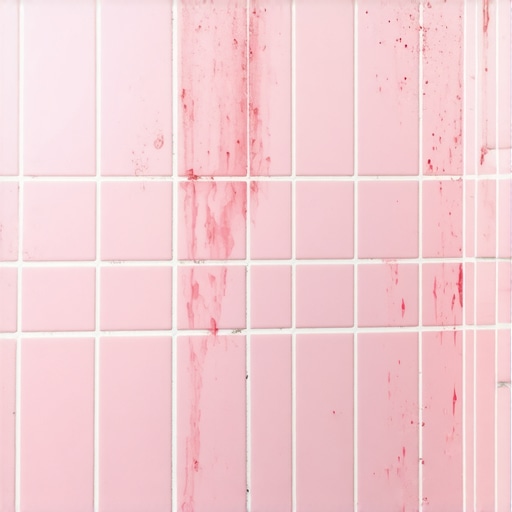
The Real Reason Your Shower Grout is Turning Pink
I spent three days grinding concrete on a job last month just so the floor wouldn’t click like a castanet. Most guys skip the leveling compound. They think the underlayment will hide the dip. It won’t. I have spent twenty-five years on my knees with a moisture meter and a level, and I can tell you that a floor is only as good as the structural integrity beneath it. This same logic applies to your shower. When homeowners call me complaining that their beautiful white tile is suddenly looking like a strawberry milkshake exploded in the corners, they expect a simple cleaning tip. The reality is far more biological and structural. That pink film is not just dirt. It is a sign of a microscopic ecosystem thriving on the failures of your bathroom ventilation and the chemical porosity of your installation materials.
The biological squatter in your shower
Serratia marcescens is the airborne bacteria responsible for the pink film on your grout. It thrives on fatty substances like soap residues and body oils in moist environments. Standard cementitious grout provides a porous, alkaline home for this colony to anchor itself deep within the tile assembly. This bacterium is not actually a mold, though it behaves like one. It is an opportunistic organism that produces a red pigment called prodigiosin when it reaches room temperature. If you see this pink hue, your shower has become a laboratory. The grout is the petri dish. Because cement-based grout is essentially a hardened sponge, it sucks in the moisture and the phosphorus found in your shampoos, creating a buffet for the bacteria. You can scrub the surface until your arm is sore, but if the bacteria have migrated into the internal pores of the grout, they will return within days.
The chemistry of pink slime
The molecular reality of grout is why this problem persists. Cementitious grout is composed of Portland cement, graded aggregates, and chemical additives. During the hydration process, the cement forms a matrix of calcium silicate hydrate. This matrix is inherently filled with microscopic capillaries and voids. When you take a hot shower, the steam increases the humidity to nearly one hundred percent. This moisture enters the grout through capillary action. If the grout was not sealed with a high-quality fluorinated sealer, the Serratia marcescens bacteria follow the water into the voids. These organisms are airborne, meaning they enter your bathroom every time you open a window or turn on the HVAC system. Once they find a damp, nutrient-rich site like a grout joint, they begin to secrete a biofilm. This biofilm is a protective layer of extracellular polymeric substances that shields the bacteria from common household cleaners. It is a structural defense mechanism that makes the pink stain feel slimy to the touch.
“A floor is only as good as the subfloor beneath it; deflection is the enemy of every joint.” – Master Flooring Axiom
The 1/8 inch that ruins everything
Proper drainage and slope are the primary defenses against bacterial growth. If your tile installer did not achieve a perfect quarter-inch per foot slope toward the drain, you will have standing water. Even a tiny dip of 1/8 inch can hold enough moisture to keep the grout saturated for hours after you have finished toweling off. This is why you see the pink stains most prominently near the drain and the base of the shower walls. In these areas, the water tension keeps the liquid trapped against the chic baseboard designs or the bottom row of tiles. When water sits, it begins the process of stagnation. The Serratia marcescens bacteria do not need much. A thin film of moisture and a few skin cells are enough to start a colony. If your shower floor is flat or has ‘birdbaths’ where water pools, you are fighting a losing battle against the pink slime until you fix the structural slope of the pan.
| Grout Type | Porosity Level | Resistance to Bacteria | Maintenance Requirements |
|---|---|---|---|
| Sanded Cement | High | Low | Annual Sealing Required |
| Unsanded Cement | High | Very Low | High Moisture Retention |
| Epoxy Grout | Zero | High | Occasional Scrubbing |
| Urethane Grout | Very Low | High | Minimal Sealing Needed |
Why bleach is a temporary lie
Most people reach for the bleach when they see pink grout. This is a mistake that actually damages the grout over time. Bleach is a high-pH alkaline substance that can weaken the cementitious bond of the grout if used in high concentrations. While it kills the bacteria on the surface, it does nothing to address the biofilm or the organisms living deep within the pores. Furthermore, bleach does not remove the fatty soap scum that the bacteria feed on. To truly address the issue, you must use an enzymatic cleaner that breaks down the lipids and proteins in soap residue. If you continue to use harsh oxidizers, you will eventually cause the grout to crumble, leading to water intrusion behind the tile. For better results, look into tile cleaning tips for a sparkling bathroom in 2025 to learn how to maintain the surface without destroying the chemistry of the installation.
The ghost in the expansion gap
Every shower needs expansion joints at the change of plane. This means the corner where the wall meets the floor should never be filled with hard grout. It should be filled with a one hundred percent silicone sealant. If your installer used grout in these corners, it will inevitably crack due to the natural movement of the house. These hairline cracks are the perfect hiding spot for pink slime. Moisture gets trapped in the gap between the tile and the wall stud, creating a dark, damp cavern where Serratia marcescens can grow undisturbed by your scrub brush. If you see pink lines appearing specifically in the corners of your shower, it is likely that the grout has failed and is holding water. You should consider how to refresh grout without replacing it by removing the hard grout in corners and replacing it with a color-matched silicone that resists microbial growth.
- Ensure the bathroom fan runs for at least twenty minutes after every shower to drop humidity levels.
- Squeegee the walls and floor after every use to remove the standing water and soap scum.
- Apply a high-quality penetrating sealer to cementitious grout every twelve months to block the pores.
- Switch to liquid soap instead of bar soap to reduce the amount of fatty acids left on the grout surface.
- Inspect the silicone beads in the corners for any signs of peeling or cracking where water could hide.
The subfloor secret and moisture barriers
Underneath that tile is a system of waterproofing that you cannot see. If the installer used a traditional mud bed without a topical moisture barrier like a liquid-applied membrane or a polyethylene sheet, the entire substrate becomes a giant wet sponge. In older homes, the water saturates the mortar bed and stays there for weeks. This creates a constant source of vapor drive that pushes moisture up through the grout lines from behind. This is the most difficult version of the pink grout problem to solve. If the moisture is coming from the bottom up, no amount of surface cleaning will stop the bacteria. You can learn more about professional interventions in grout restoration secrets for long lasting results. In these cases, the only permanent solution is often a full tear-out to install a modern, bonded waterproof system that prevents the substrate from ever getting wet in the first place.
Final steps for a clean shower
Maintaining a pink-free shower requires a shift in how you view the surface. It is not a static piece of stone. It is a dynamic environment influenced by physics and biology. If you are tired of the constant scrubbing, you might want to look into eco-friendly tile solutions for sustainable homes in 2025 which often feature denser, less porous materials. Always check the humidity levels in your home. In regions with high ambient humidity, the bacteria have a much easier time surviving outside the shower. Keeping your bathroom dry is the only way to win. If the damage is already done, don’t wait for the grout to fail completely. Address the leaks, fix the slope, and seal the pores. If you need specific help with a failing installation, you can always contact us for expert advice on how to rebuild a shower that stays clean for decades.